Search Results for: sewing machine

looking back on 2015

2015….another busy year is over. Full of ups and downs and stress but we’ve come out of it all the better for it.

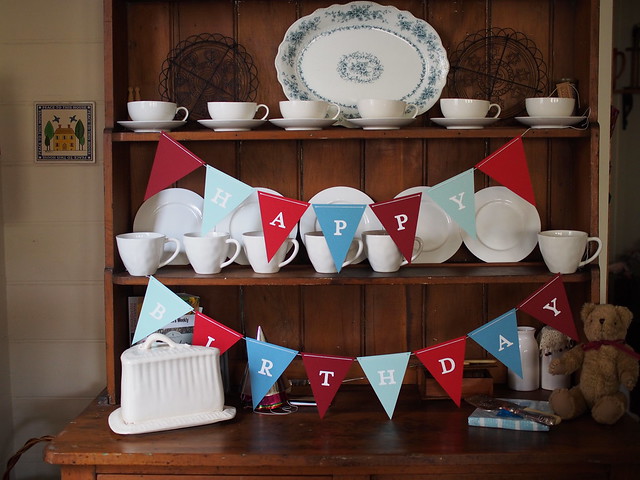
I celebrated my last birthday before 40

I was on TV with a very funny lady

I knitted a cardigan that still remains unworn…..must pass it on to someone else since it wasn’t popular here

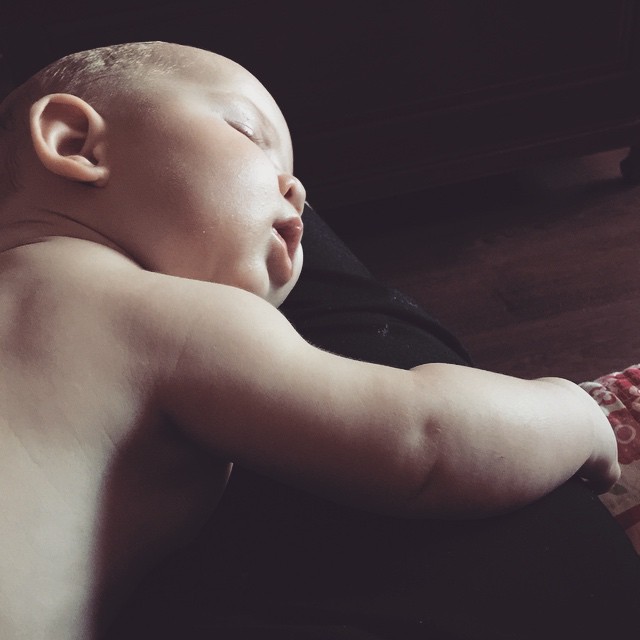
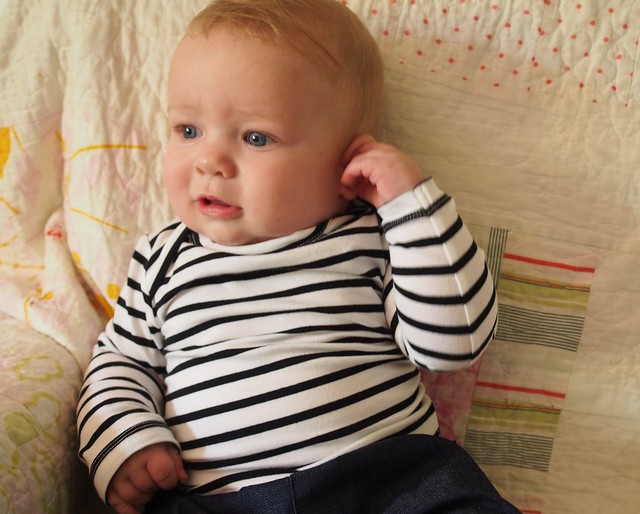
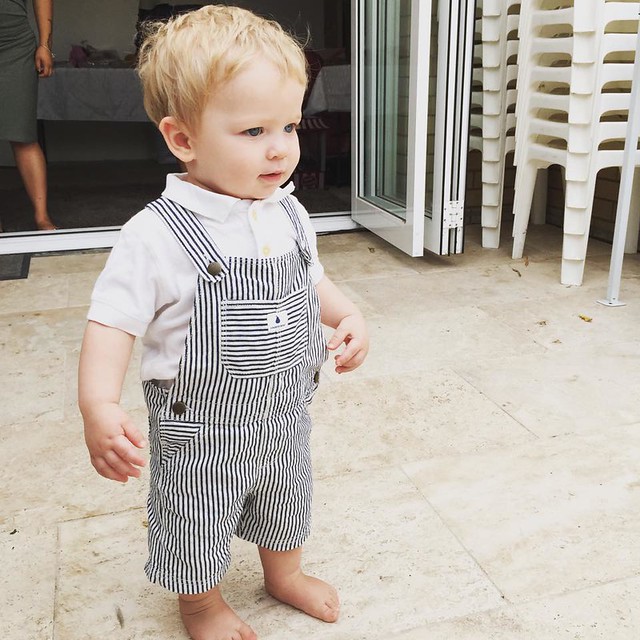
my baby turned into a toddler before my eyes! plagued with ear infections he had grommits put in before the year was out and despite another ear infection we are hopeful he’s on the way to clear ears.


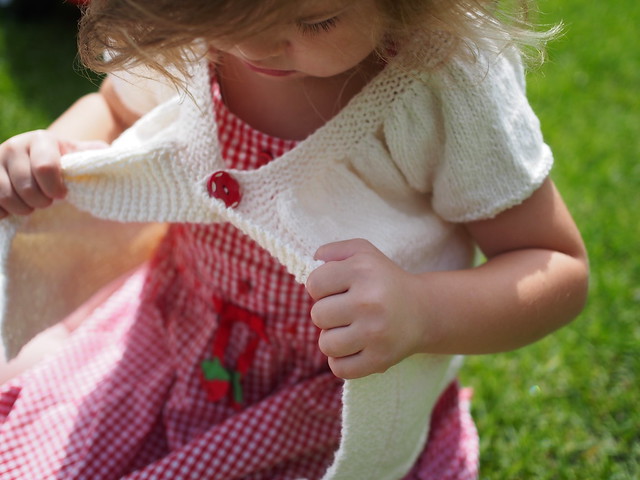
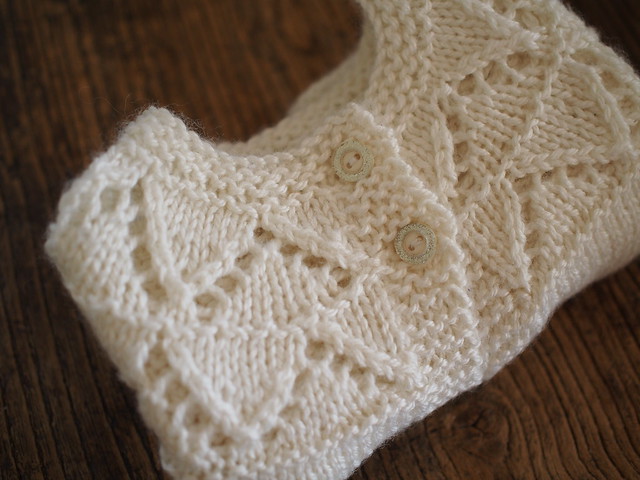
I made a few cardigans for babies! This one  was a real favourite………

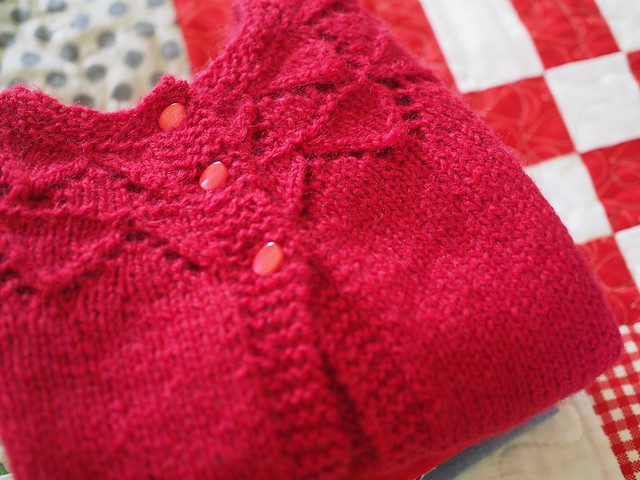
and another one by tikki was this one, also in red. I sense a theme here.

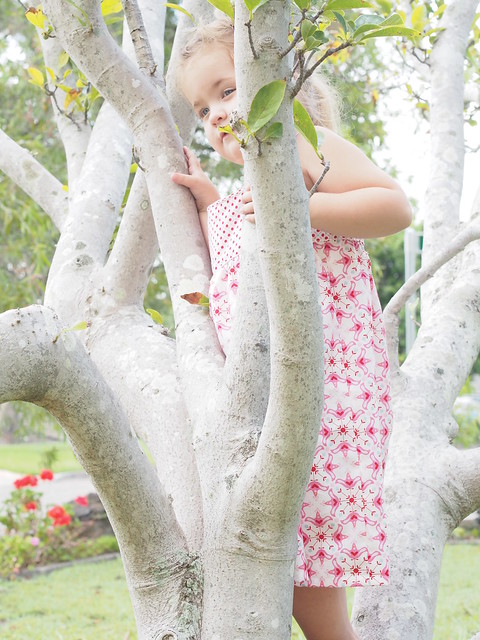
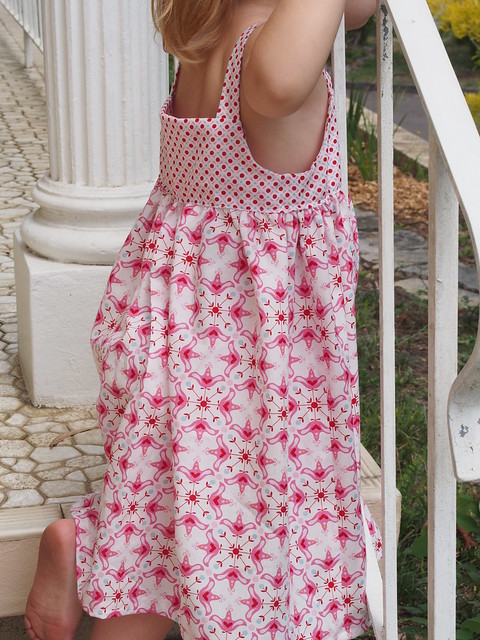
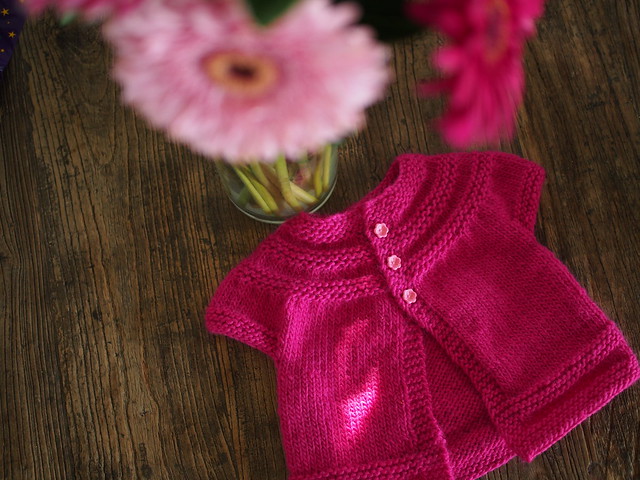
in threes in hot pink, all the details are here.

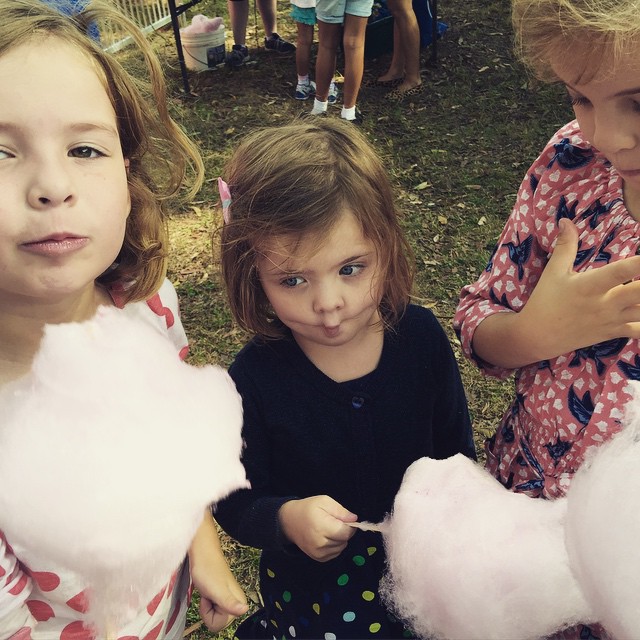
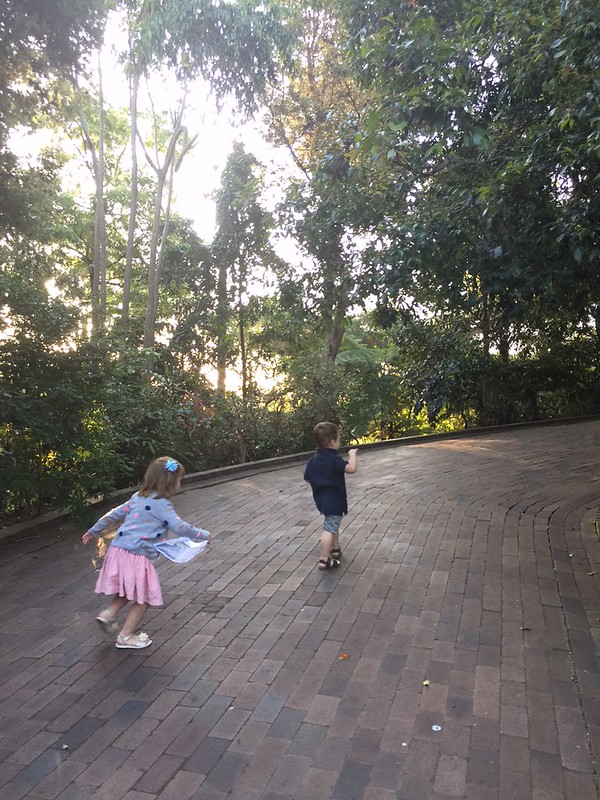
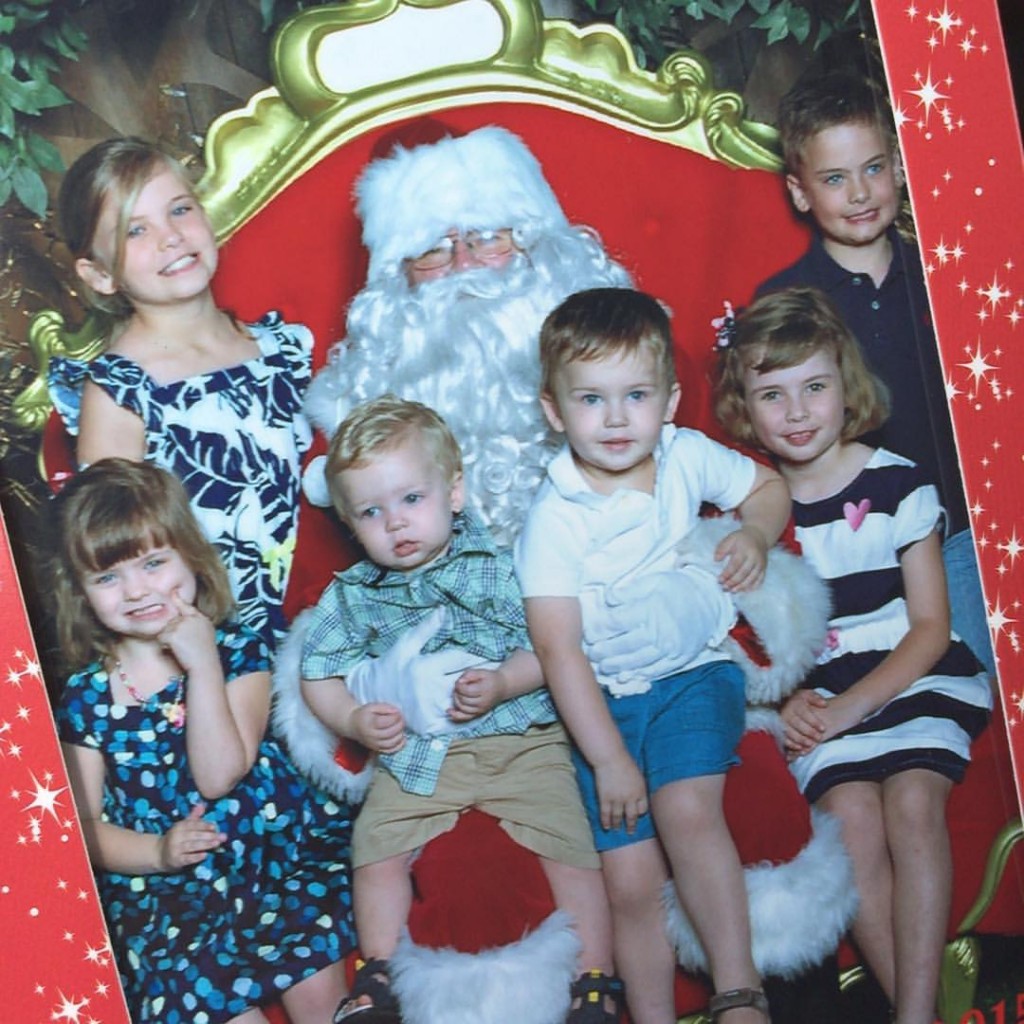
We made a big effort to get out and about and do fetes and fairs and noisy events with our big family and we survived.

my cousin got married, I love family weddings so much

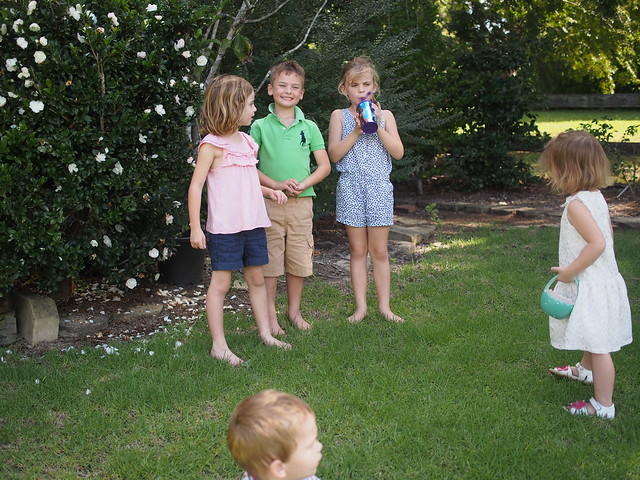
we had a relaxing easter at home, not everyone enjoyed a few days at church over the weekend but we survived! And you wouldn’t believe these photos were taken a few days apart. Good Friday was freezing cold and rainy and then Easter Sunday was beautiful and warm!

I became the mother of a 9 year old………..

we loved picking the mandarins and oranges from our trees and gave away as many grapefruit as we could. Not grapefruit fans here.

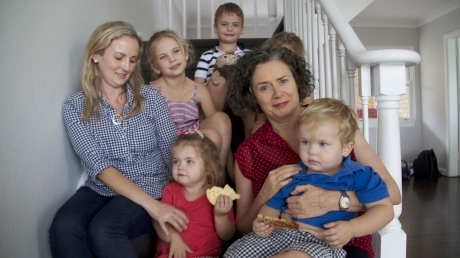
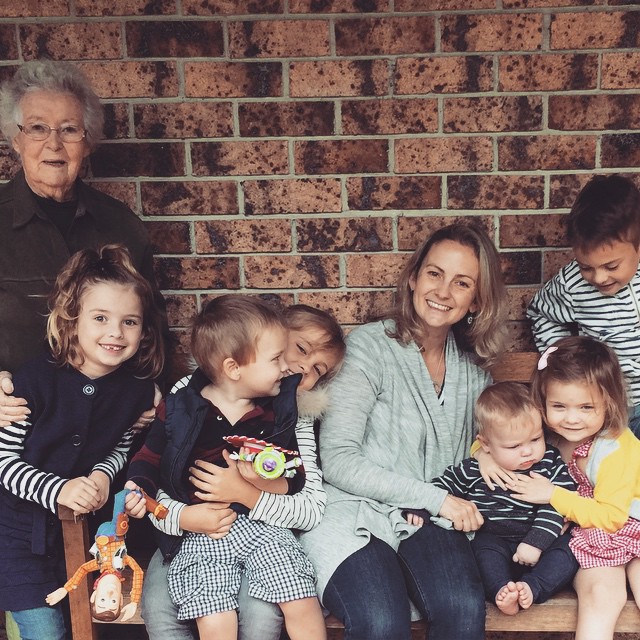
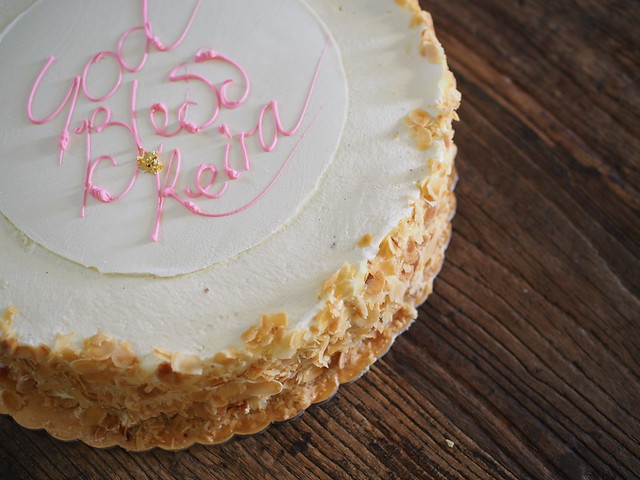
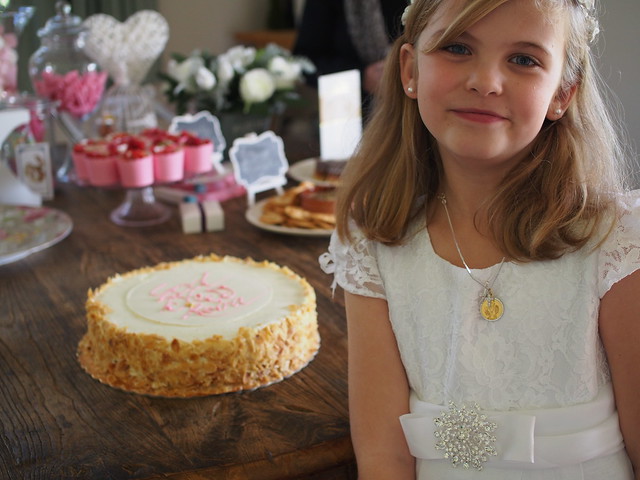
One of the biggest highlights of our year was the beautiful ‘first’ First Holy Communion that we celebrated in our family. It was just perfect in every way and now all of the kids want to make their First Holy Communion just like their big sister.

and we used the occasion to get a very rare family photo with all of us, not all in our sunday best but these days I take what I can get it. We were all in the photo so that’s something and I love looking at the twins gappy smiles.

I knitted a jumper for the baby of the family but then couldn’t get it over his head again! Must learn new technique for neckholes after that one. But I’ve passed it on and I’m sure it will bring joy to another family. Such a sweet pattern.

lawson6

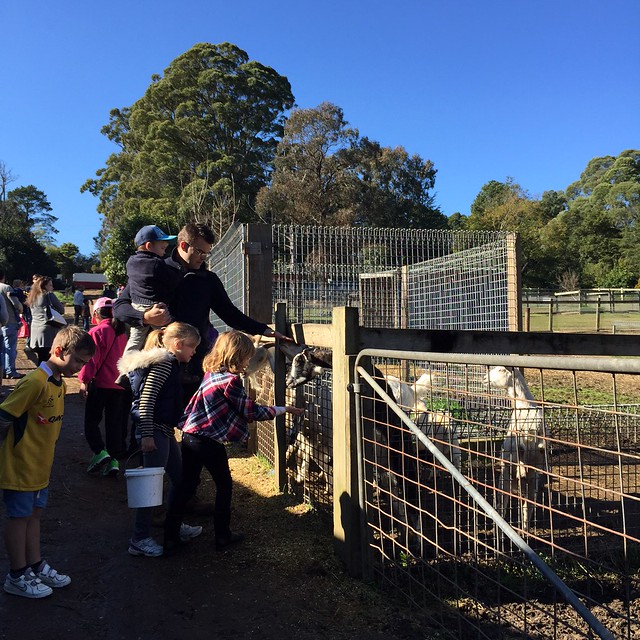
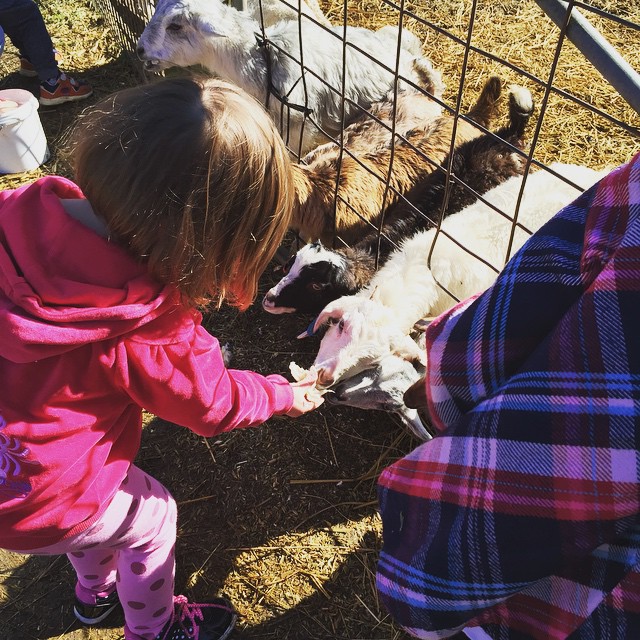
we visited an animal farm for one of the little one’s birthday and everyone loved it


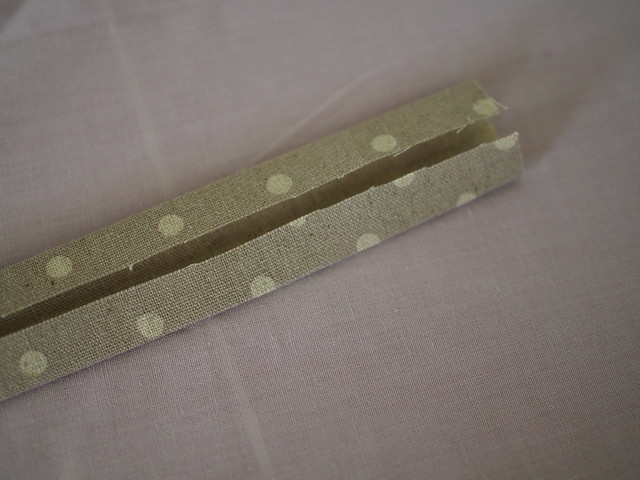
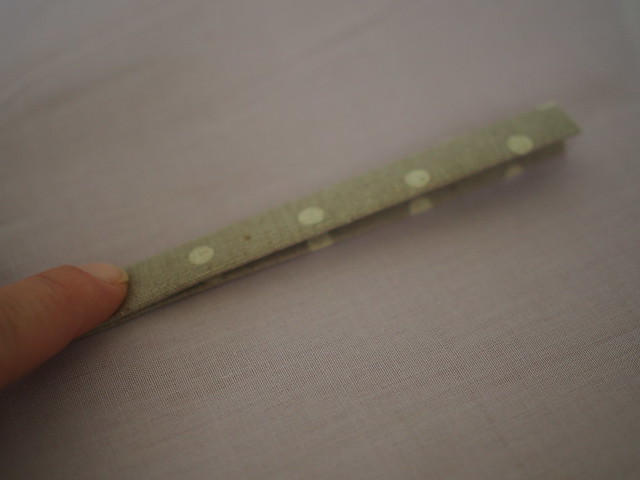
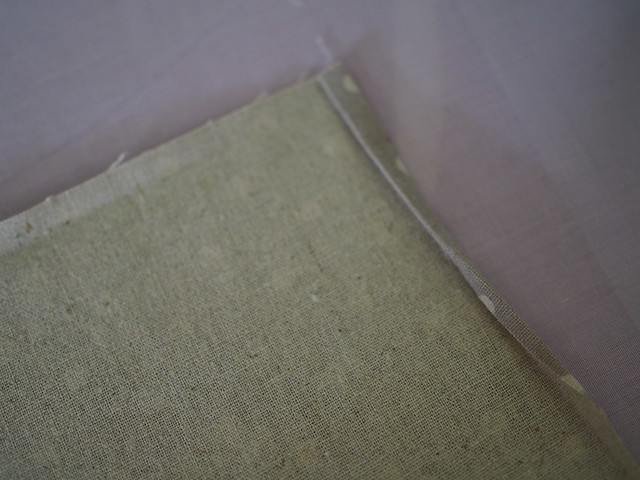
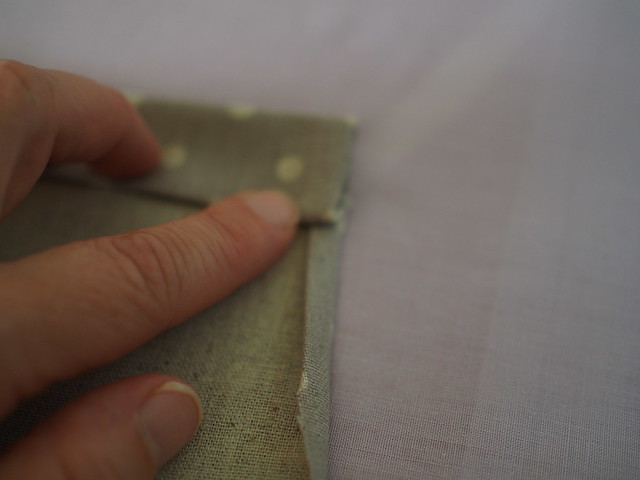
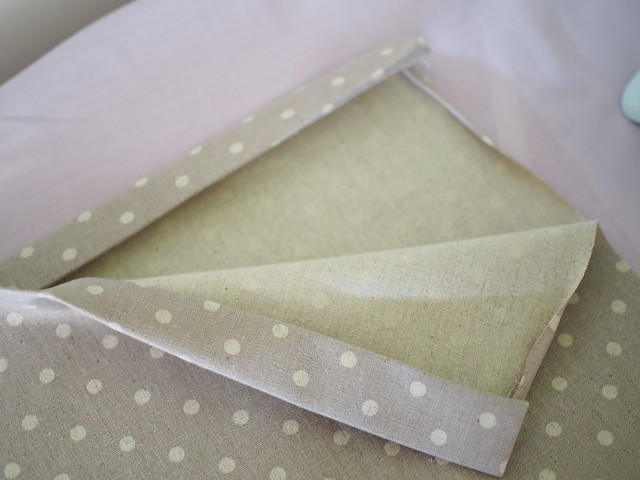
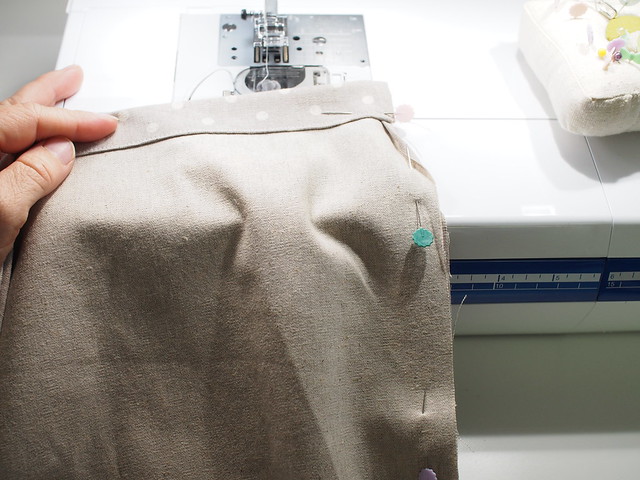
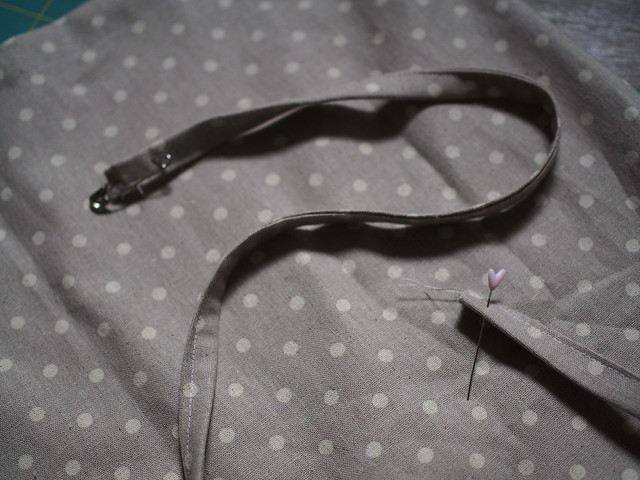
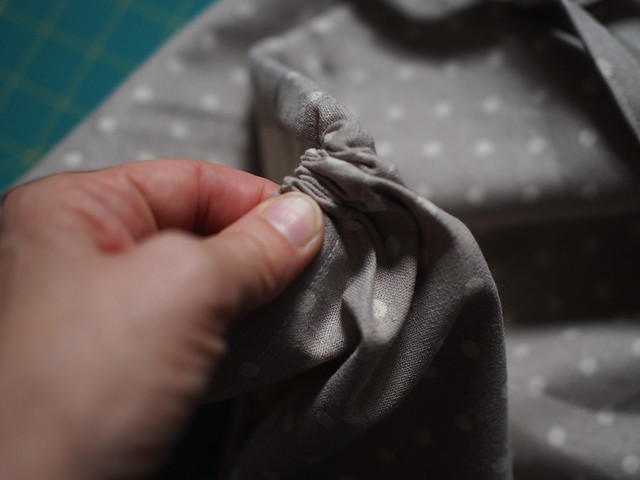
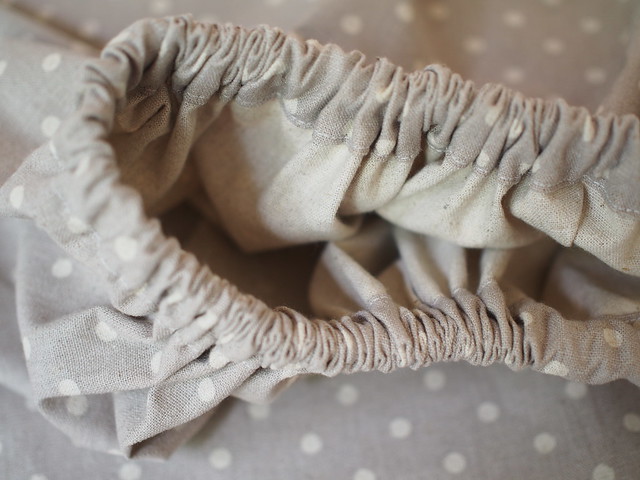
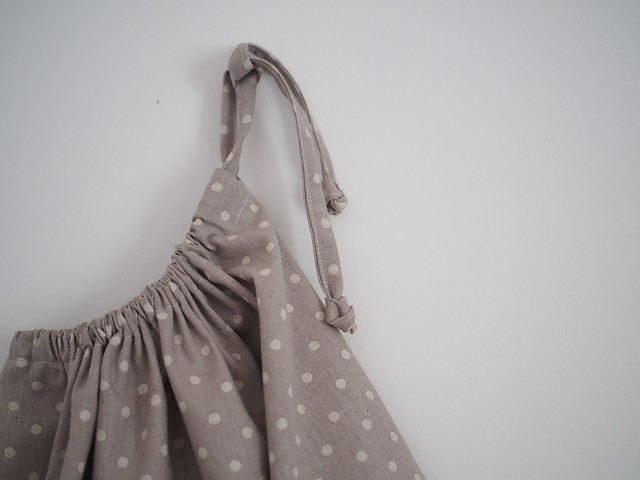
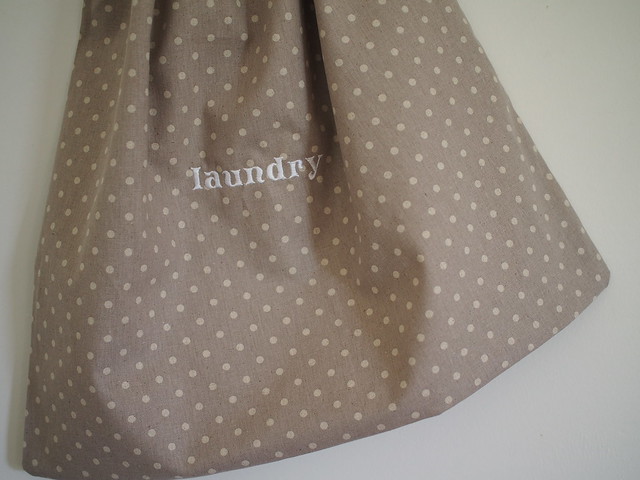
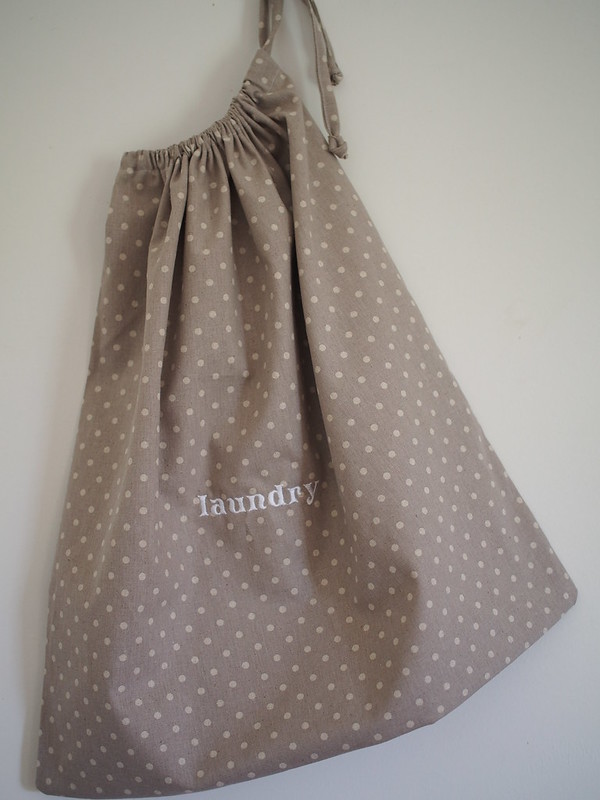
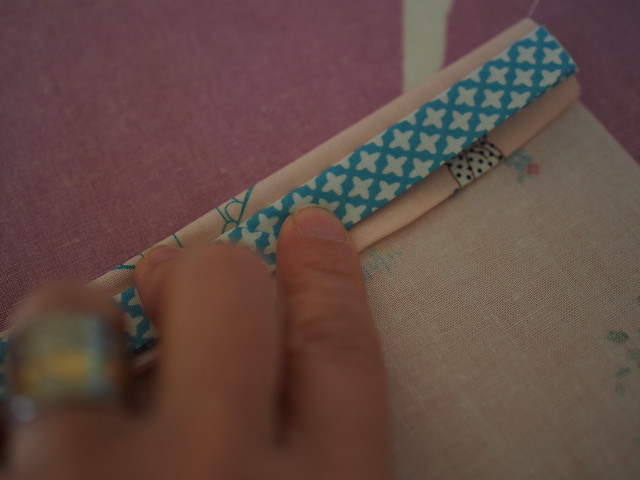
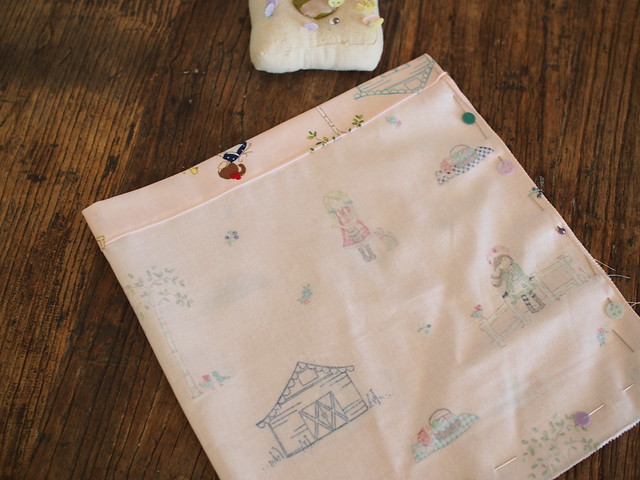
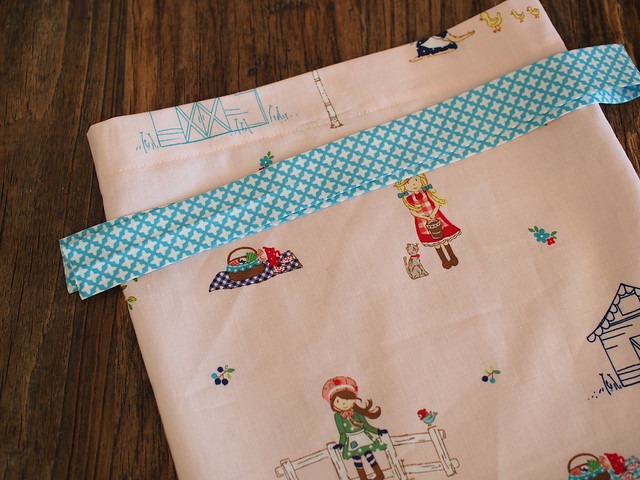
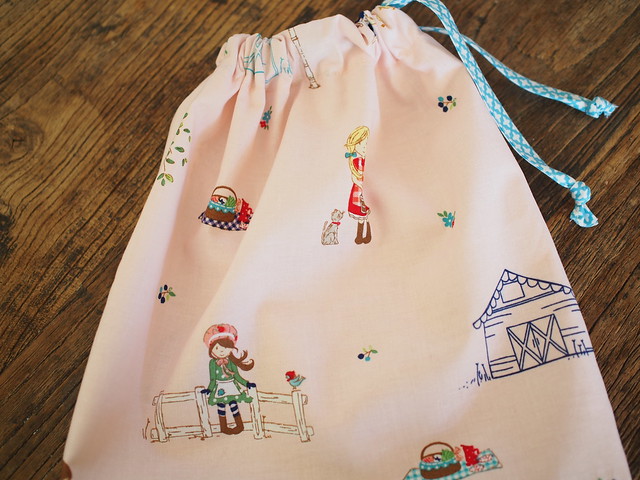
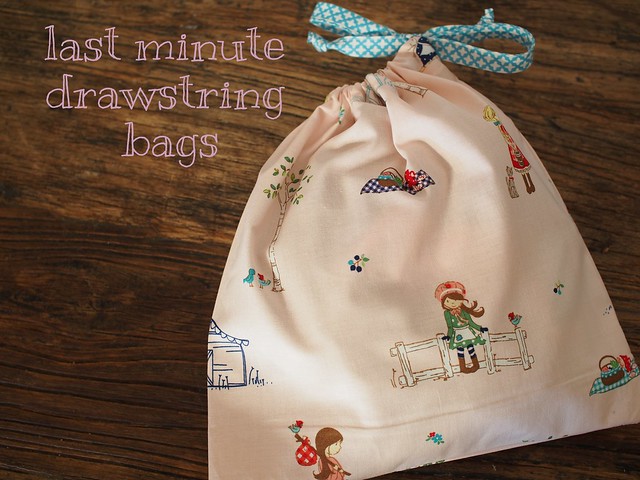
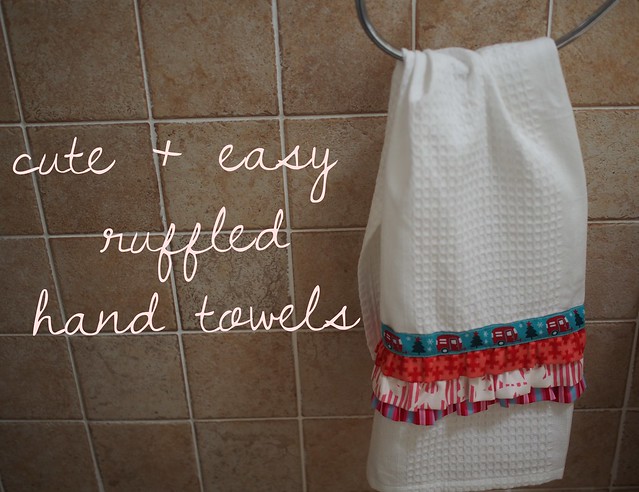
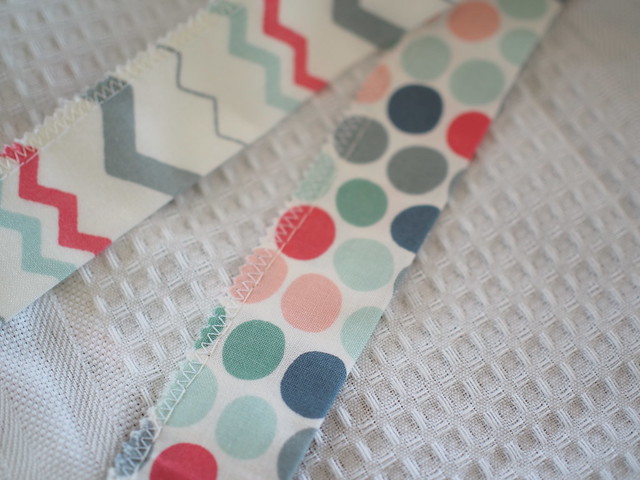
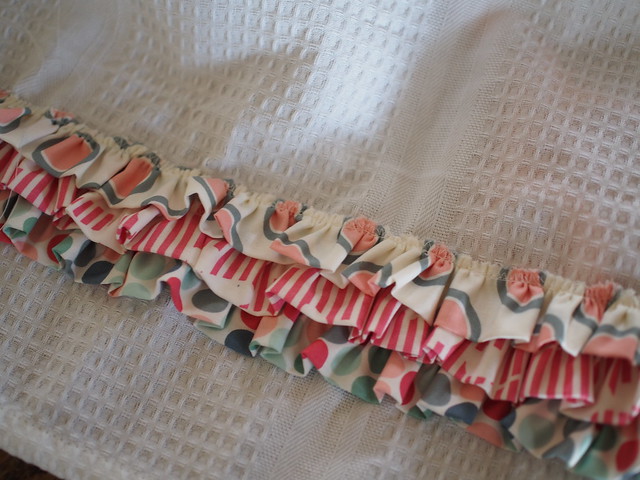
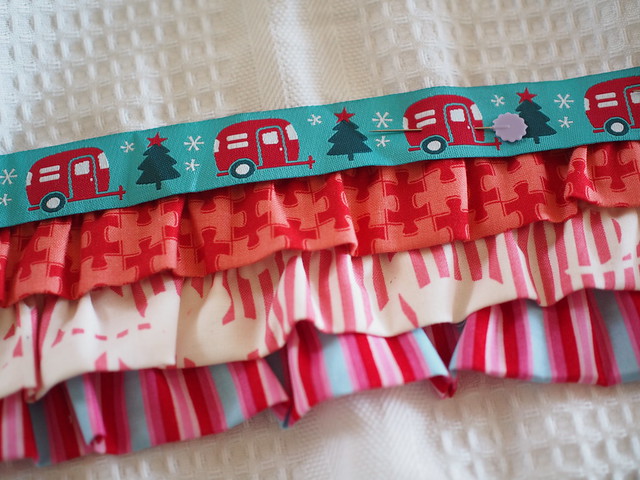
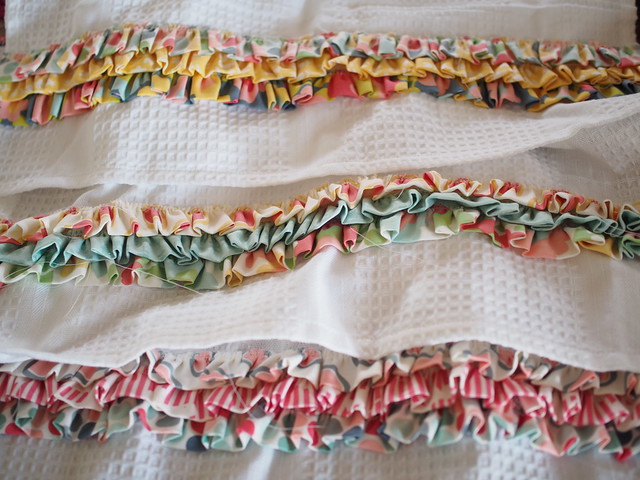
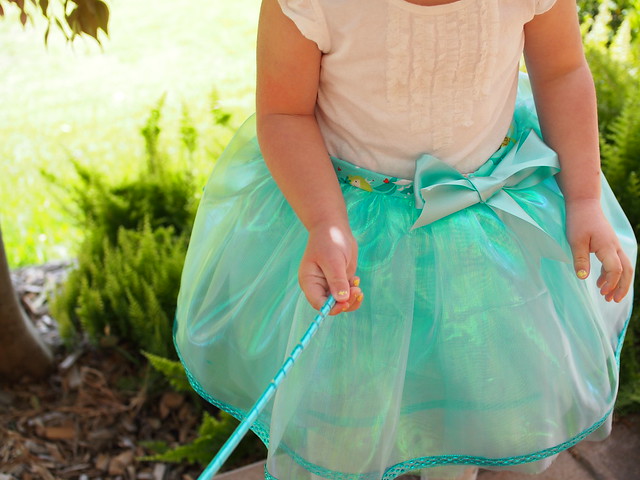
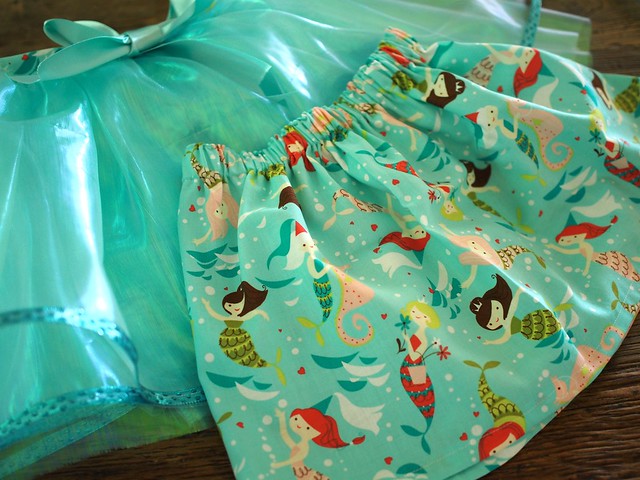
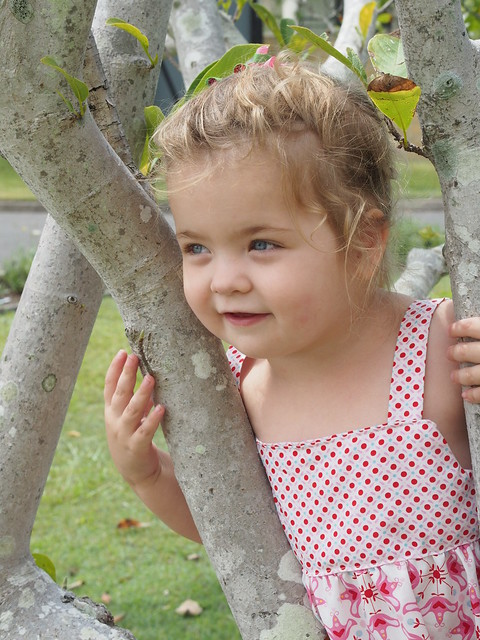
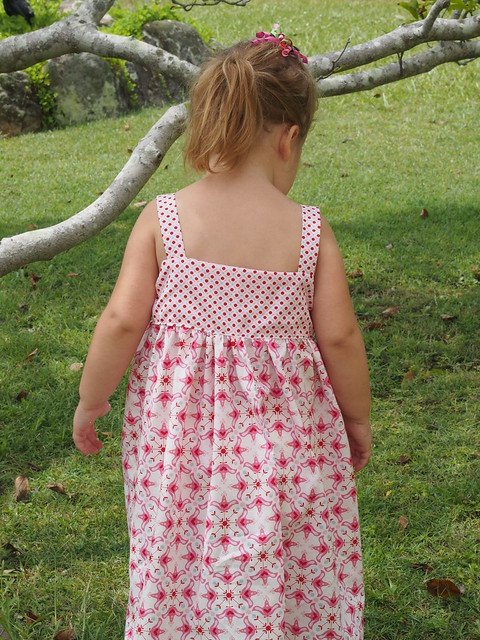
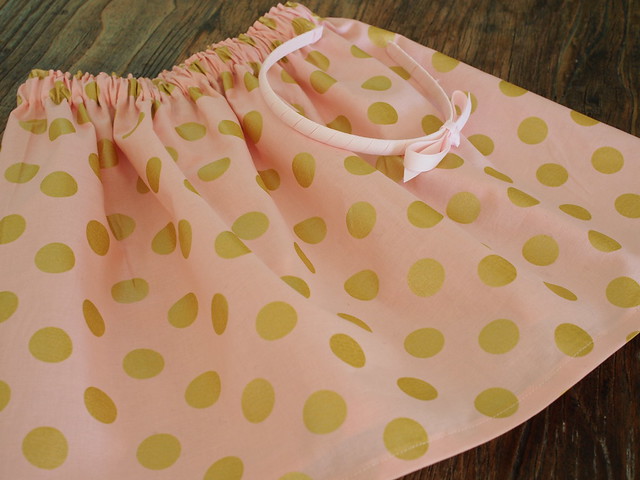
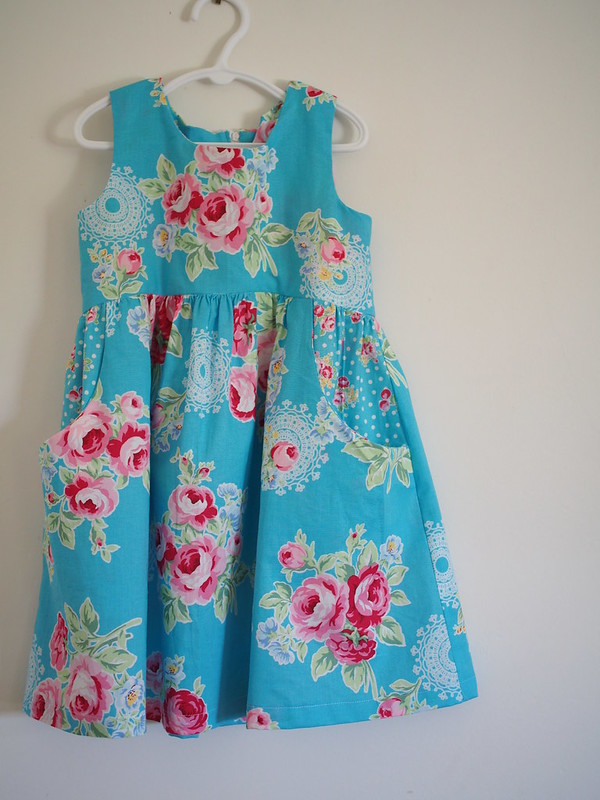
there was a little bit of sewing

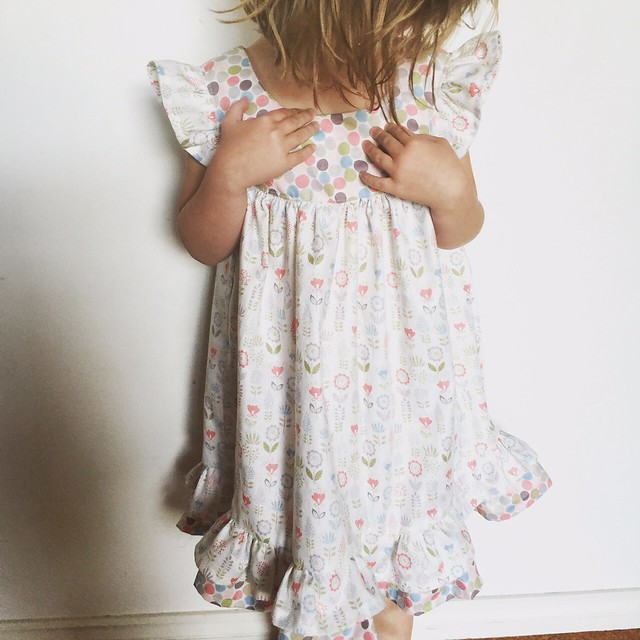
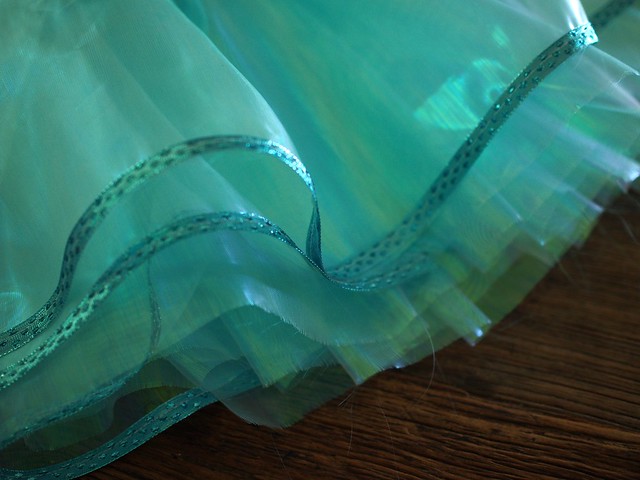
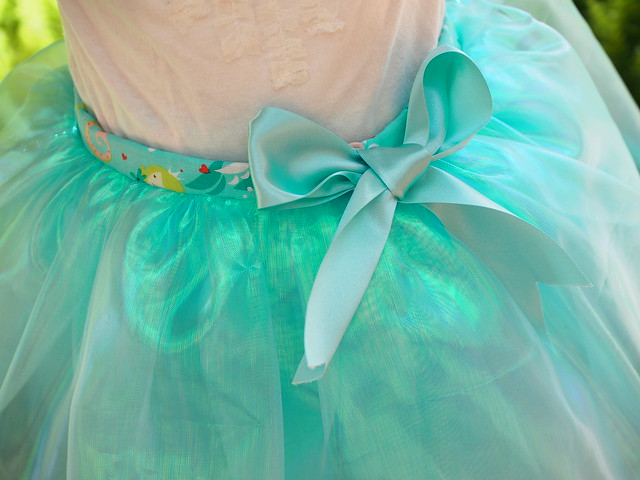
this dress is still going well and I’m looking forward to tackling a second version and nailing the zipper.

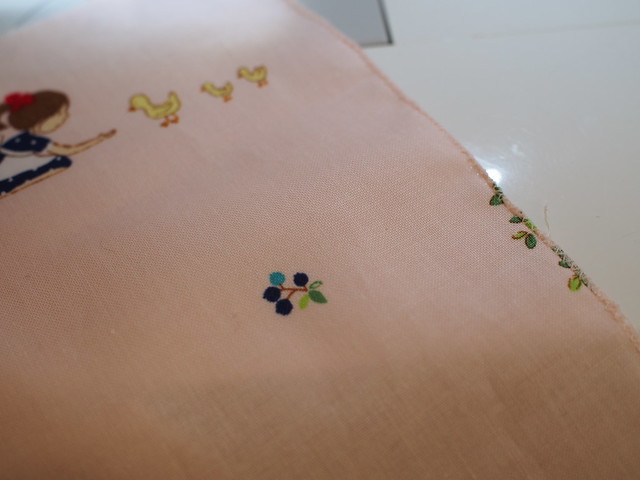
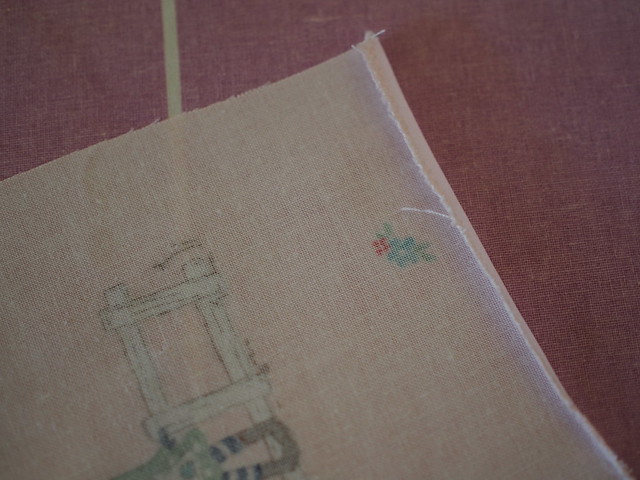
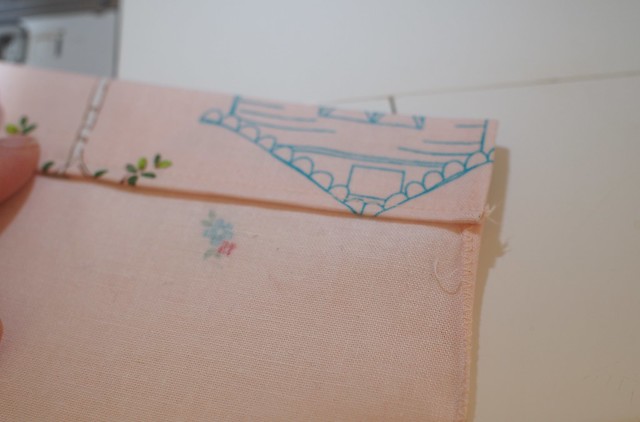
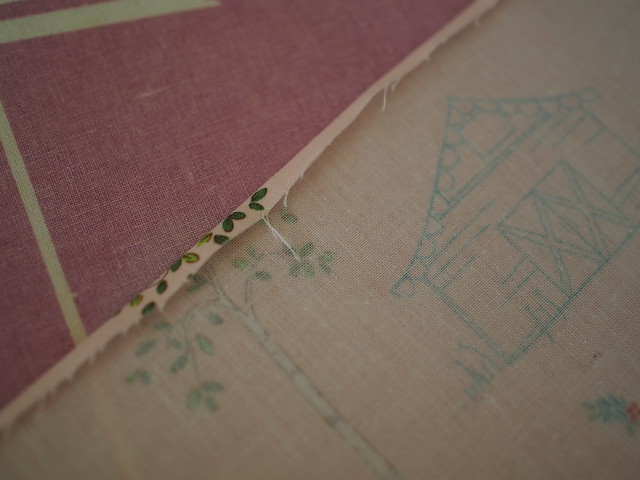
I cut into one of my all time favourite fabrics and didn’t cry over it and I taught 3 classes at the Better Homes & Gardens show which was so much fun. I love meeting people and despite my nerves had a really great time.

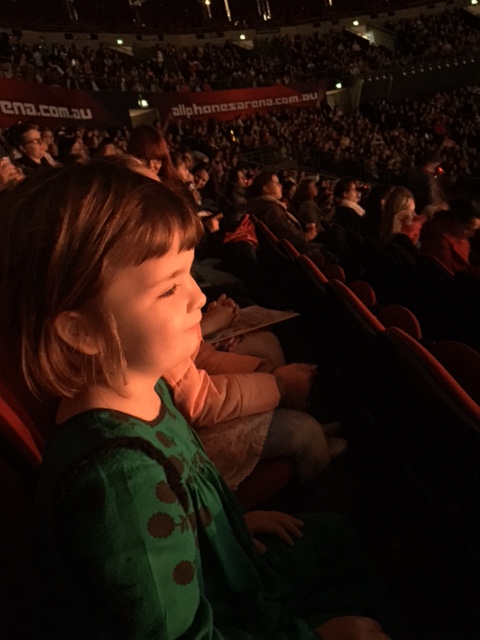
we fell in love with Disney on Ice! In fact we loved it so much that someone is getting tickets nice and close to the rink for Christmas this year. Pure joy for this little one and still ticking the box of getting out and about and doing lots of noisy big kid things.

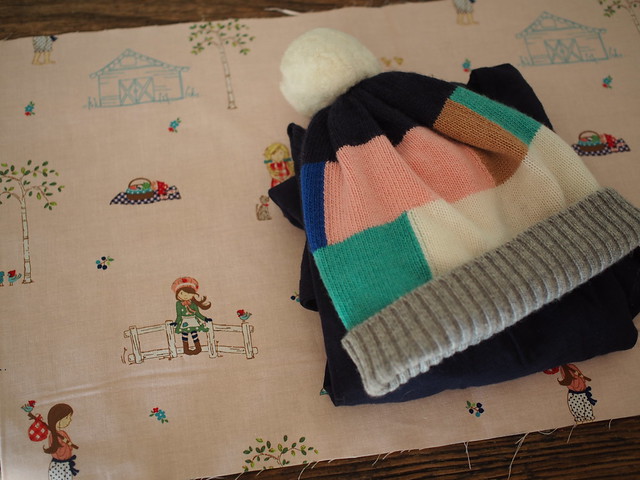
the kids all came down with whooping cough which meant lots of swabs, medicine and home time. I put it to good use…knitting wise

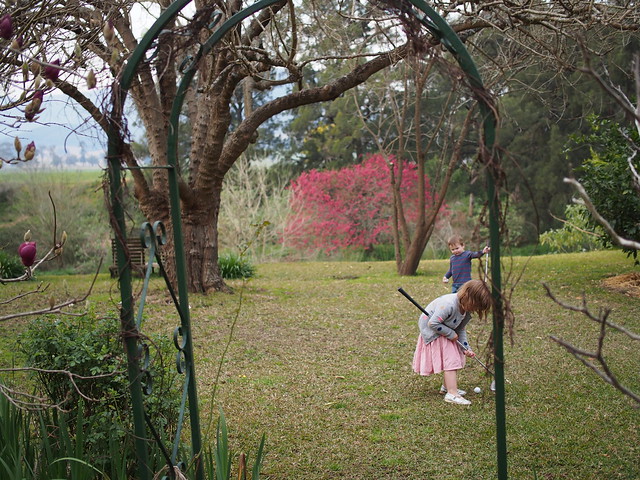
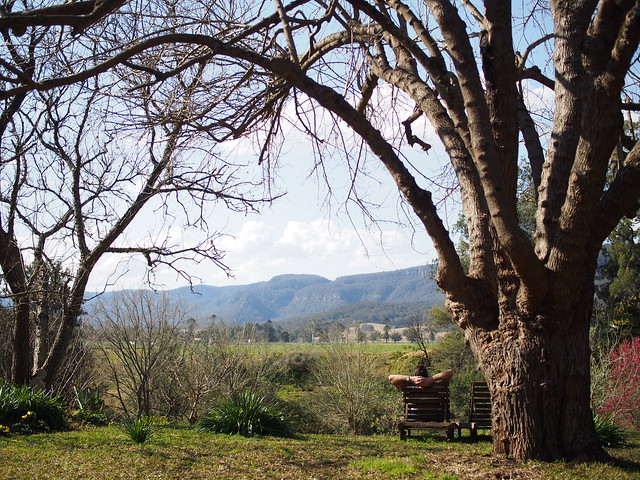
someone turned 40 and we had a gorgeous weekend away in Kangaroo Valley, loved the peace and quiet down there and that fresh air. The kids just loved playing golf and exploring.

After years and years of telling you all how much I love Bendigo Woollen Mills they sent me some before it was released which was the greatest thrill and fun.

I ditched deodorant full of chemicals and went natural and am loving it. I have to confess it took a few months for my body to adjust but now I’m happily still using the tea tree without an issue. Or chemical.

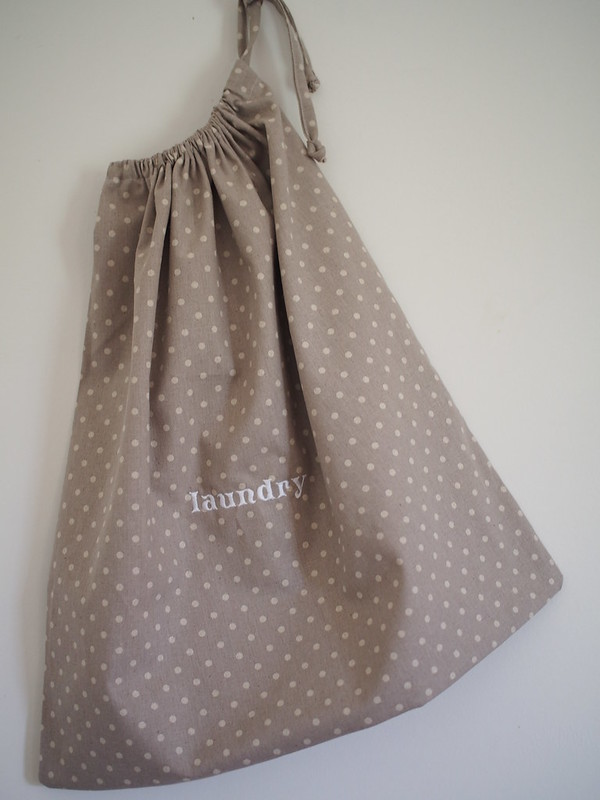
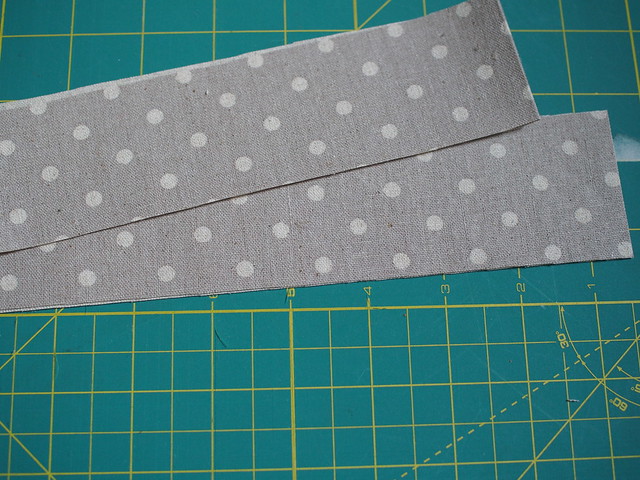
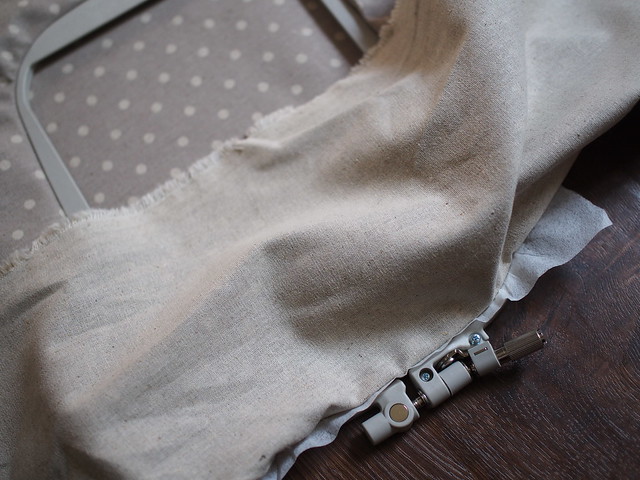
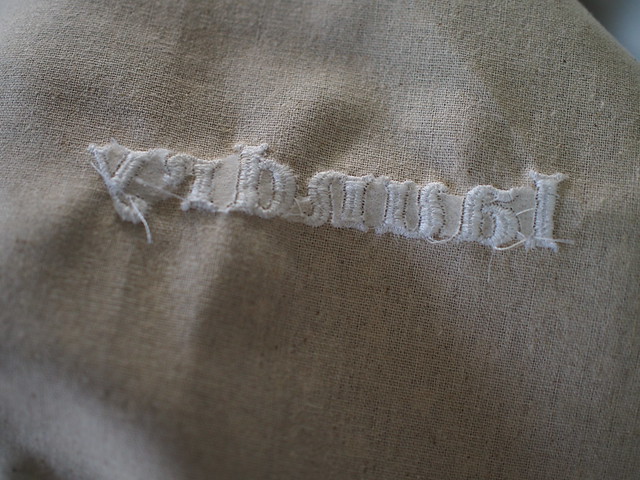
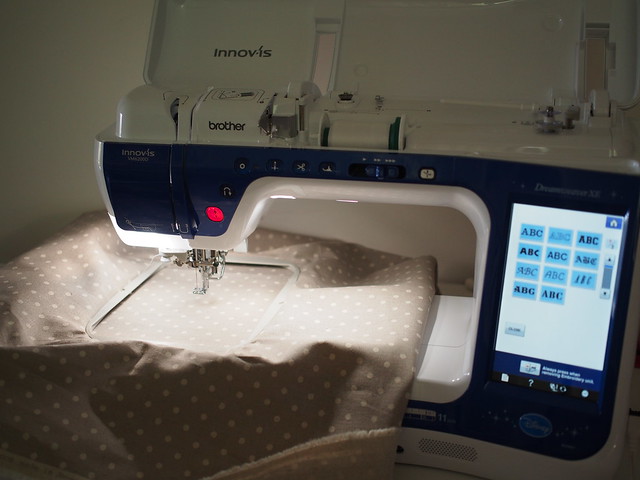
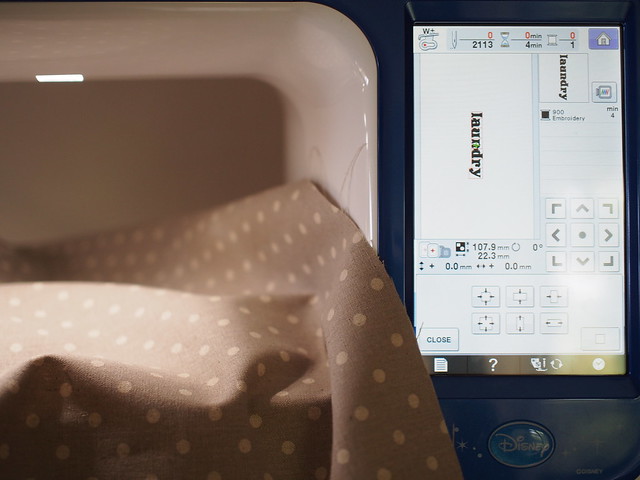
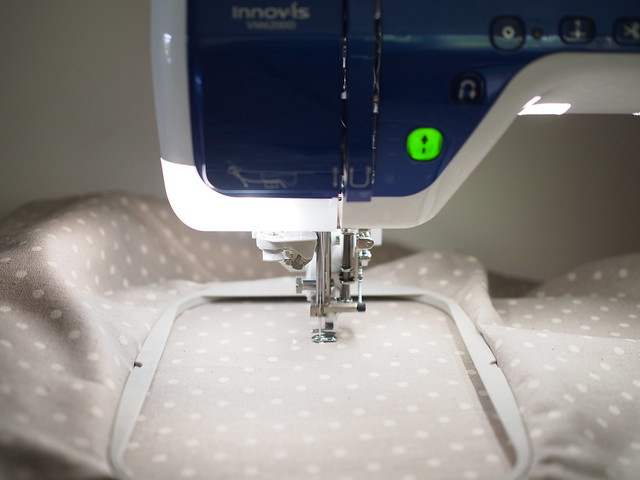
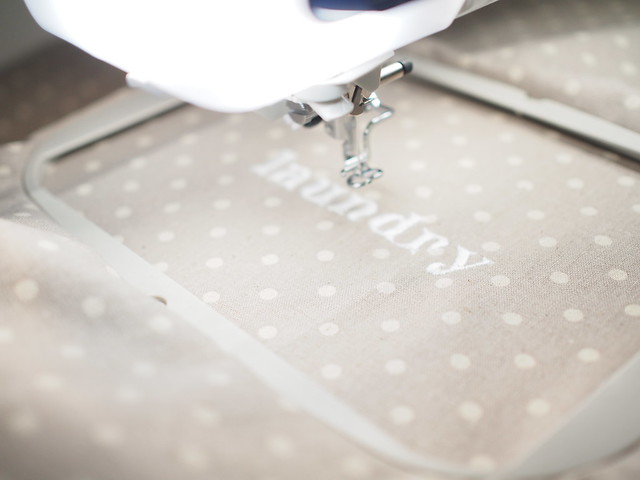
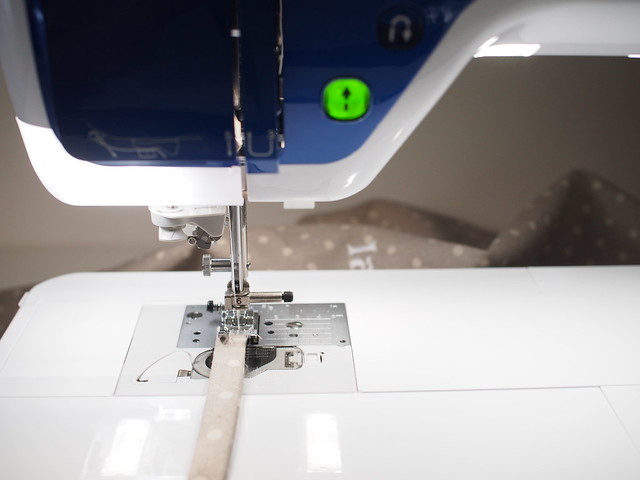
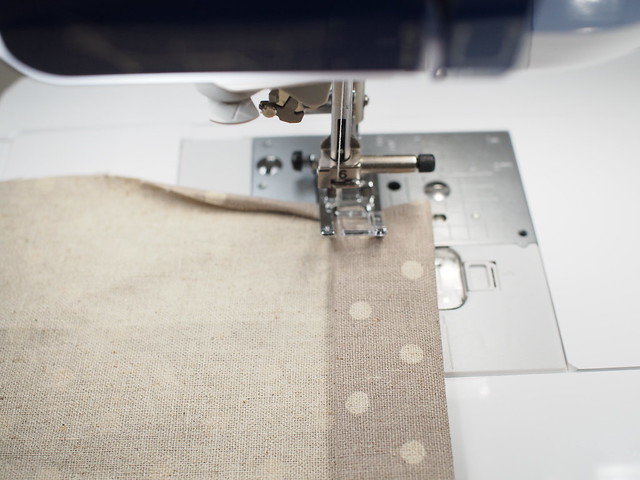
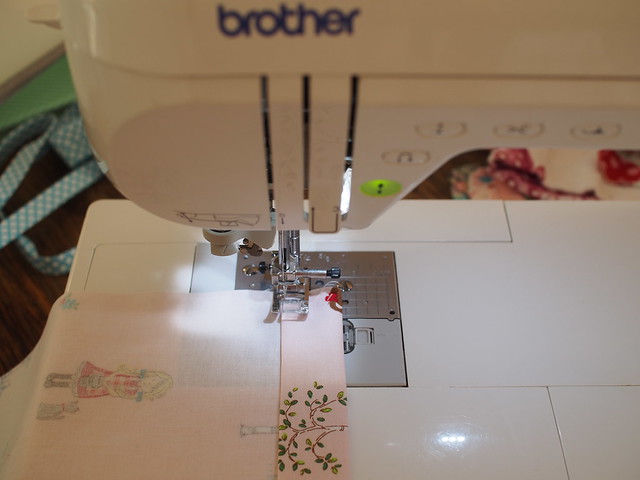
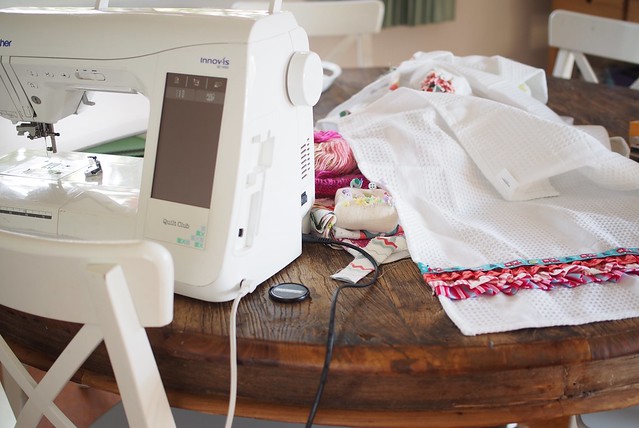
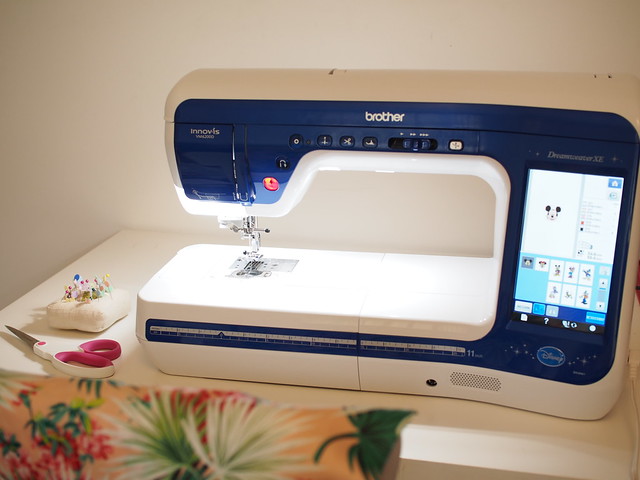
I got a very fancy sewing machine that I just love and am still learning how to use but feel the luckiest sewer in the world. Embroidery has been the best fun and I’m itching to make some girls clothes and a quilt over the Christmas break. We are still in discussions with hubby over how many sewing machines one person needs.

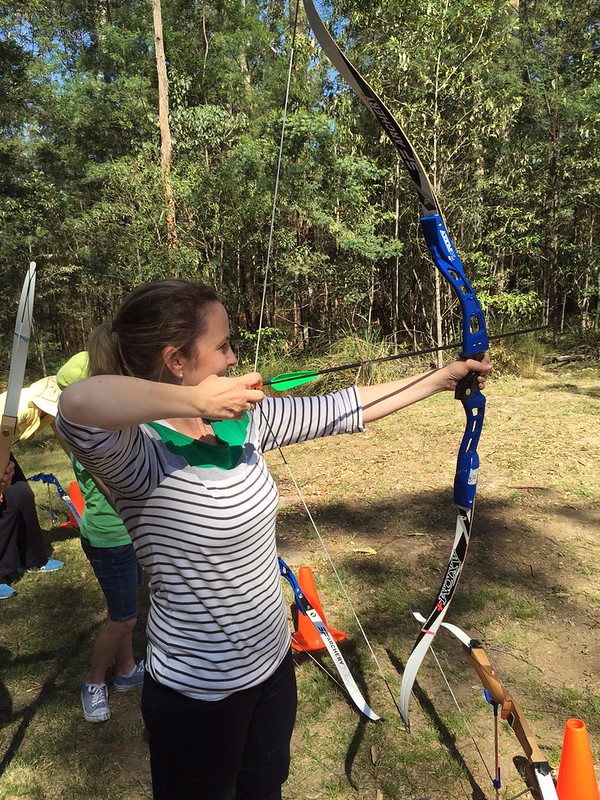
we went to school camp and I tried archery for the first time and loved it!

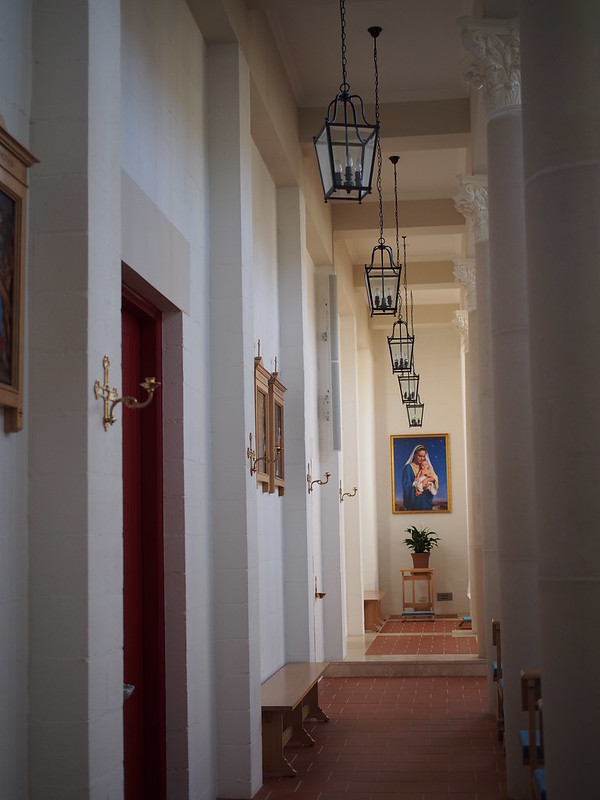
I still rave about the beautiful chapel and share photos whenever the venue comes up in conversation, we need more beautiful places to worship like these. Just a very special place and I look forward to visiting again.


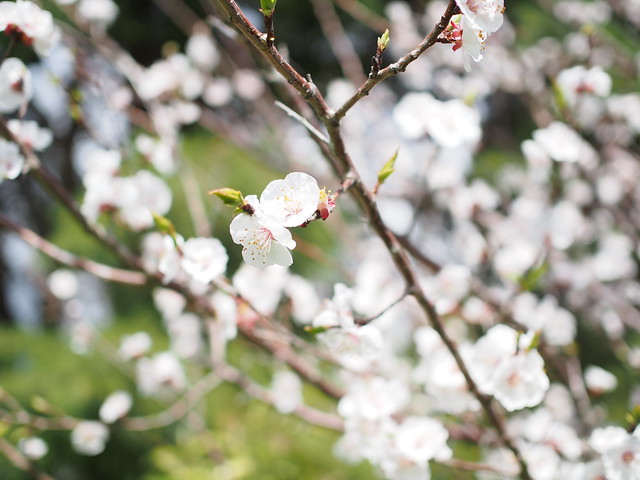
we had beautiful blossoms at our house…………

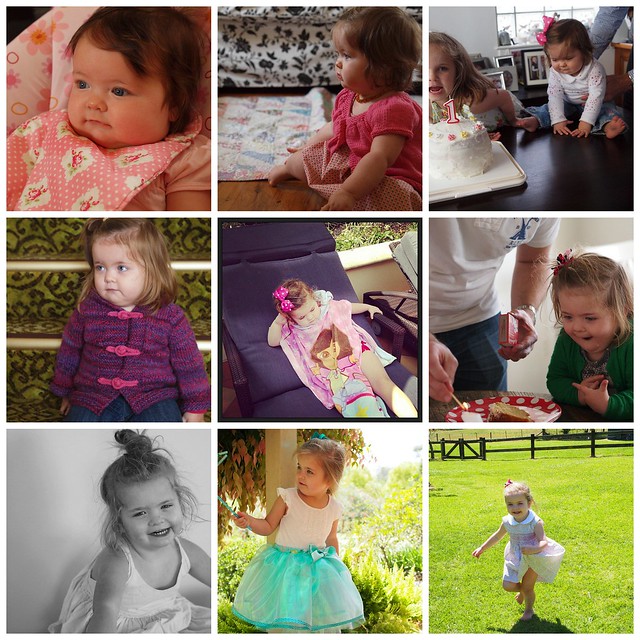
out beautiful elodie turned 5, had her IQ test for the first time and got accepted into both special schools that we were looking at. She’s happy and fun to be around and weekly speech sessions as well as using proloquo2go on the ipad have helped her improve her vocabulary. The greatest thing is being able to have little conversations with her. Some of her favourite phrases are ‘oh my gosh’, I love you mummy, I’m pine (for I’m fine) and a great achievment is telling us I want eat/water/biscuit/banana/bed etc. She can tell us when she’s tired, sick, thirsty and hungry and had the best year at preschool. The best.

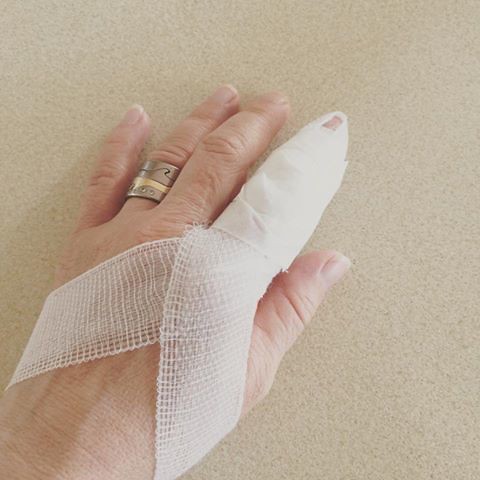
I sliced my finger with my rotary cutter and needed 7 stitches. It took a while to heal because of the way our fingers bend but thankfully is looking great and doesn’t give me any pain. Oh boy you should see me use a rotary cutter these days, total concentration. You’ll only do it once.

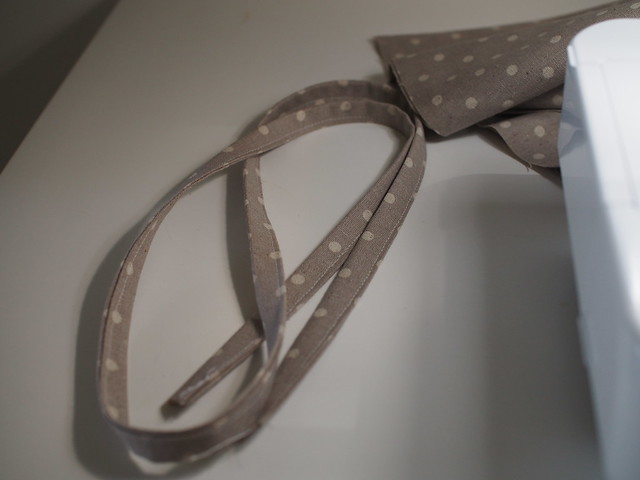
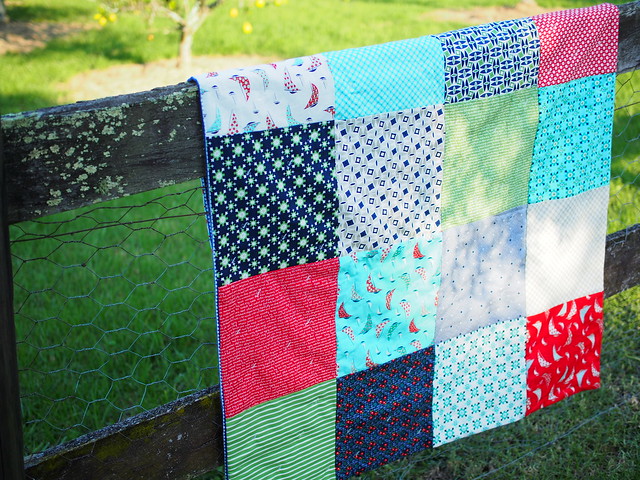
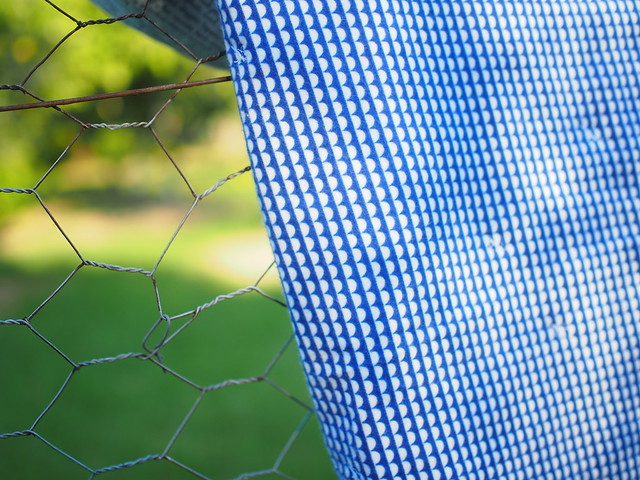
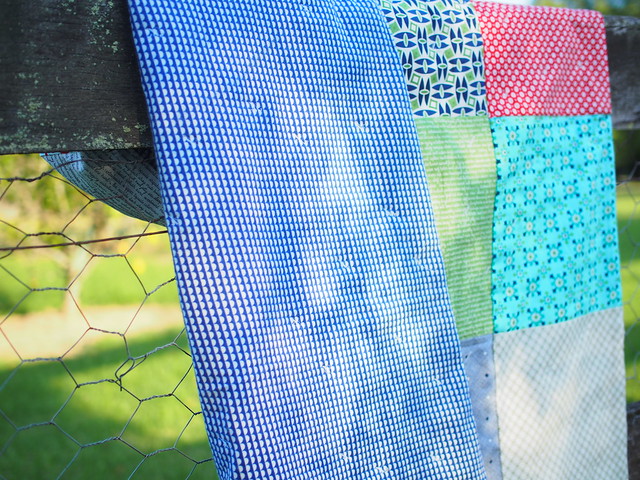
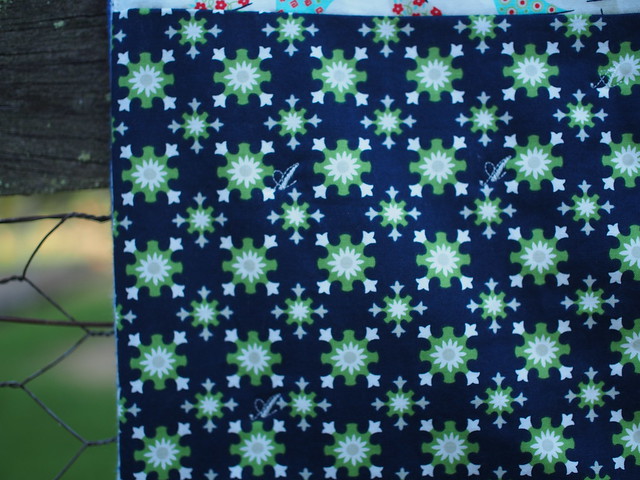
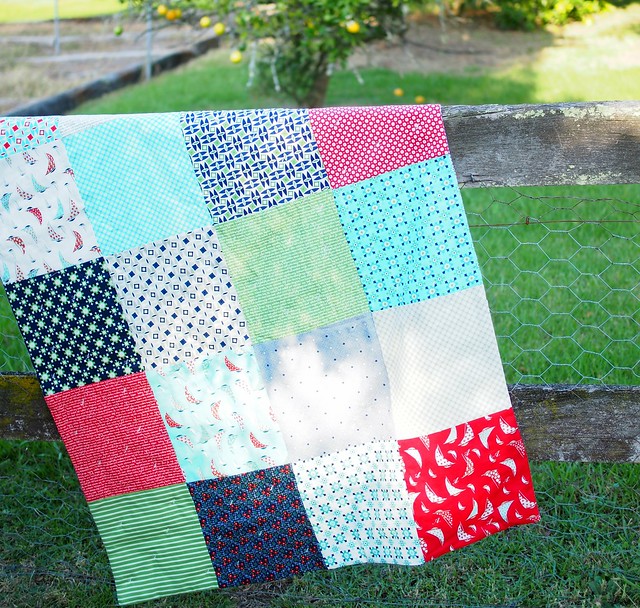
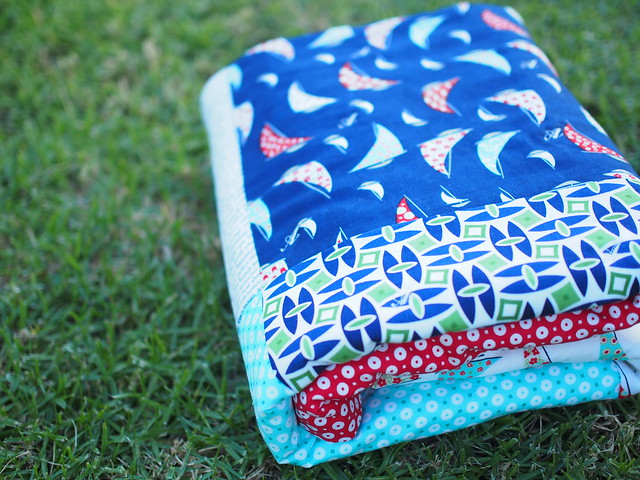
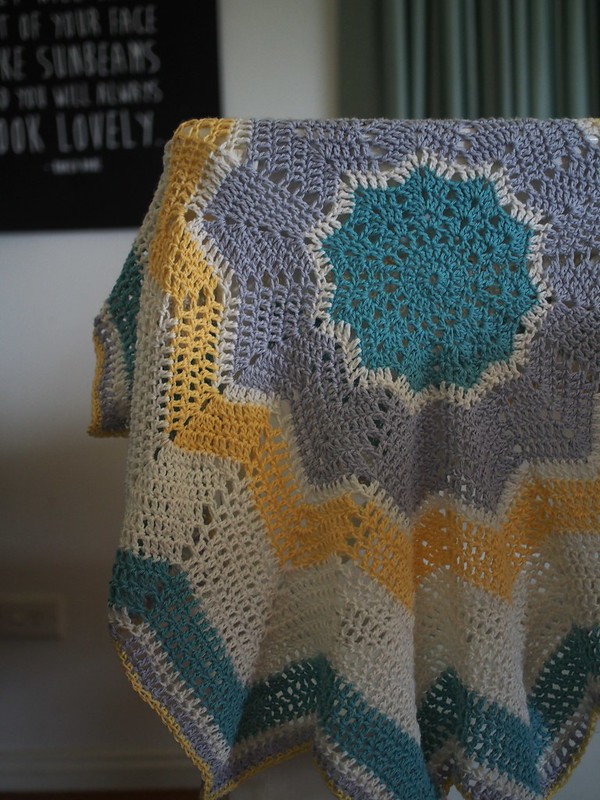
I whipped up a baby blanket for my cousin’s baby shower and loved it. I don’t usually love neutral colours but love how this turned out and it really is a great little pattern.

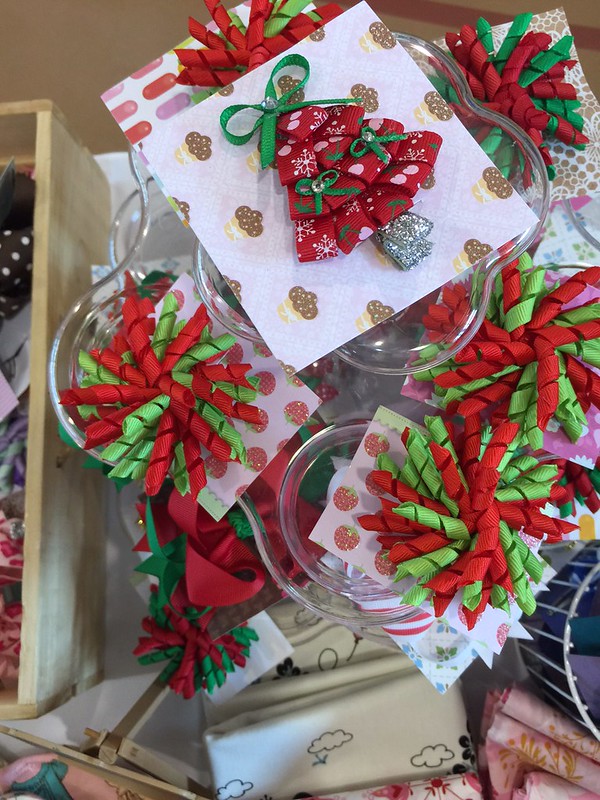
I ran the craft stall for our school fete and lived to tell the tale. It was a lot of work and stress and in the end I’ve realised that I’m a crafter not an organiser so next time I’ll just make the stuff and go crazy making rather than having to co-ordinate it all. But it was fun, I met gorgeous mums at school and it was successful so it was worth it.

we had a very special night at Taronga zoo that we just loved

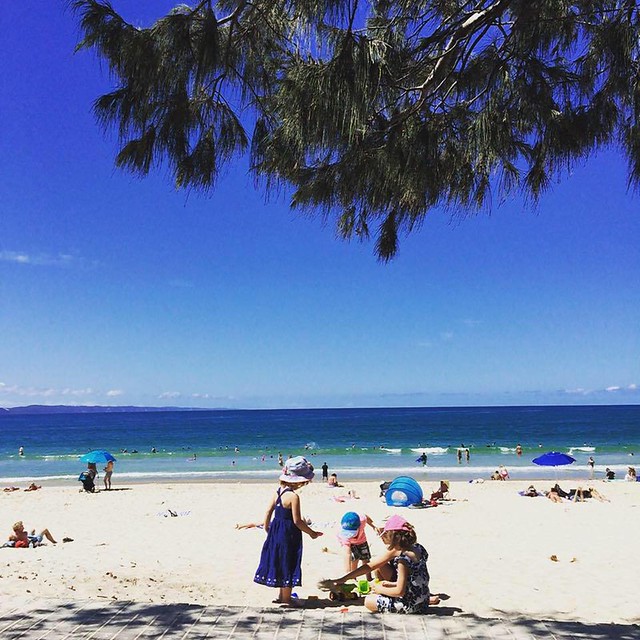
we finished up school and preschool for the year and drove up to Noosa in a day. We survived and had a wonderful rest. If money and work weren’t an issue I’d spent my winters in kangaroo valley and summer in noosa. I think that would cover off some beautiful parts of Australia and keep everyone happy.

Work wise it’s been a bit of a quiet year which I really wanted.  I’ve been spending less time on the blog and more time with the family – also out of necessity because the workload at home always seems to increase. When an opportunity came up to do social media for my favourite hospital I jumped at the chance and am really enjoying it. It’s not easy working from home and I’ve stopped comparing myself to others who are really growing their blogs.

1274174_10153121255496012_811839010558434826_o

And that’s where I say thank you to my loyal readers out there. You have stuck by me and still pop in to say hi whether it’s here on the blog or FB or instagram. I always love seeing your comments and questions. It’s been my busiest year with the family and trying to fit everything in but now that the year is over it’s nice to look back on 2015 with fond memories and get excited about a new year and what it holds.  I sometimes find myself a bit grumpy as I do another load of washing or stand at the sink washing dishes when everyone is asleep but then I remind myself that I never could have imagined the big and beautiful family that I have. I feel so lucky to have these beautiful faces in my life and call them my own. My house is noisy, busy and cluttered and while it’s getting harder to get a minute to myself at least I’m never bored.

Thank you and I hope you’ve had a wonderful 2015 and if you haven’t then I hope 2016 is your year!


embroidered linen laundry bag

So I had this great idea to make a laundry bag for the mother daughter camp we went on recently. But of course life got in the way and I was still learning how to do embroidery on my machine (and still learning). So now that I’m in school holidays I’ve whipped this up in an afternoon. And in the interest of full disclosure my dear husband had taken 4 of the big kids to the movies which did make sewing time a little easier.

Embroidering on my machine is so much fun. Thanks to Brother Australia, I’m using a Brother Dreamweaver 6200D but you could do the embroidery on any embroidery machine and any size hoop. You can even make the bag and do the stitching in hand yourself. And I can leave the room when it’s doing the embroidery and then it plays a little tune and comes up with a smiley face when its finished sewing. So sweet.

The linen I used for this bag is by MoMo for Moda and so beautiful. I bought it when I was selling fabric but just couldn’t part with it all. It’s nice and thick which gives the bag and also the stitching a bit of support. You can use any fabric but I find a good quality quilting cotton or linen/cotton blend or a cotton canvas works really well when you are embroidering the font and using for a more durable bag.

What you’ll need 

rotary cutter, ruler and mat (or scissors)

about 80cm of fabric (112cm wide)

embroidery thread for your machine

tear away stabiliser if you doing machine embroidery

regular sewing thread

pins and sewing supplies

Instructions

Cut your fabric for the bag. I use my rotary cutter, ruler and mat to get a nice neat rectangle. For this sized bag I used about 60cm (about 24 inches) x width of fabric. Trim off the selvages

Cut a 2 inch strip of fabric going across the width of the fabric which we will use for the bag tie later on.

Attach tear away stabiliser to the wrong side of your fabric where you want the embroidery. I used my medium embroidery hoop (my machine came with 2 and this is the smaller of the 2) and a piece of stabiliser just a bit bigger than my hoop.

I like an iron on stabliser that is tear away which means it just tears away from my work when I’ve finished. This is what it looks like after I quickly ripped off the excess stabiliser. Just those little bits to remove and a few threads to trim but very neat.

Attach hoop to fabric with the stabiliser and a little tip is to have the excess of your fabric to the right away from the end of your embroidery arm. Take your hoop to your machine.

Select the font you want, if I wanted to use the font in large letters then I would have needed the bigger hoop (and I’d already hooped up my fabric and stabiliser) so I used medium font and upsized it a little.

Now let the machine do the work.

Remove the hoop and stabiliser and let’s work on the rest of the bag. At the iron press over the tie fabric once across the width of the fabric and then open up and press each end in towards the centre line. Press again.

Fold over one side to the other and press well along the tie.

Create a pocket for your tie. Start by tidying up our edges. Fold over the top of the side edge of your fabric a little bit and a little bit again and press well. Repeat on the other top side of the fabric top.

Now press over the top of the fabric going right along the top edge of the fabric by a little bit.

Press over again by a width that is more than your finished tie/ribbon/binding folded over.

At the sewing machine you are going to sew your tie from one end to the other. Set aside.

Sew the folded over top of your fabric from one end to the other.

Now with right sides of the fabric together you are going to pin the side and bottom of the bag together. Sew from just at the bottom of where you created the opening for your ties and sew down the side of the bag and then across the bottom of the bag.

Now take your tie and put a safety pin in one end and a pin in the other. The safety pin will help you push through the tie and the pin will stop the other end from getting lost in your tie casing.

I tie a knot in each end of the tie and trim the excess fabric. Voila the bag ties are done

You can overlock or zig zag your inside edges. I just zig zagged on my machine and trimmed the corners and I was done. Stand back and admire your bag.

Everyday Cooking for Thermomix Families and recipe chip

Well you know I love my thermomix. So much so that when my new sewing machine was on it’s way to me one of the kids kept saying when is your disney thermomix arriving? And I’d say disney sewing machine, not thermomix. I do love my thermomix. As soon as I heard the TM5 was coming out I knew that I wanted to upgrade and it hasn’t let me down. And now there is another recipe chip available for your TM5. Yay. And it’s got one of my all time favourite recipes on it. Wait for it.

It’s not too fancy but is a big favourite here…………….pasta with tuna. Yep, it’s a dish that we usually have on high rotation for our dinners but I haven’t made it since my new TM5 arrived. Until this week………it tastes like a very fancy marinara dish but is just good old canned tuna in there.

Everyday Cooking for Thermomix Families has just been released and comes with a recipe chip for your TM5. If you have the TM31 you can still use the recipes you just won’t use the recipe chip. I actually use the recipe chip instead of cookbooks now and love it so having more recipes in my machine is going to be a great thing for me.

This cookbook is full of the most popular Thermomix recipes so you’ll find some old favourites from your other cookbooks but also has some great new recipes. I’m busting to try the sultana, apple and custard scrolls (yum, how great do those sound!), stone fruit crumble, classic lemon tart and the coconut butter cake and that’s just from the Sweet Baking section in the book. There’s even a recipe for rocky road where you make the vanilla bean marshmallow yourself.

The recipes are family friendly and not super fancy which is my kind of cooking. These are definitely do-able weeknight and weekend recipes that you can make for your family. Some of the old favourites that you’ll find in there are zucchini slice, chicken and cashews, brown rice salad and some of the basics. One of the new ones I really want to try is Sour cream and chicken enchiladas. Great for a friday or saturday night.

This is definitely a welcome addition to my kitchen and great to have some of my favourites as well as new recipes to try in my TM5. You can buy the book alone, the recipe alone or the two together and you’ll find them online at the Thermomix website or through your consultant.

last minute drawstring bags

It’s Sunday and the twins have a party to go to.  I’m all out of gift bags, wrapping and my appliqued calico bags that I usually use for parties. I do have loads of fabric. Loads. And I needed something to wrap it all up. And since drawstring bags are on my to do list for the school fete I thought I’d whip one up, share the tutorial and have the present wrapped all at once. That and since moving my sewing machine to the dining room I’m getting more sewing done…..

The fabric really steals the show so pick something perfect for the occasion. This is Country Girls by tasha noel for Riley Blake Designs and it is perfect!

Here is what you will need

Rectangle of fabric larger than your present or a fat quarter is perfect

2 1/2 inch strip of fabric or premade binding or ribbon ( 2x the width of finished bag)

your usual sewing supplies and sewing machine

how to make

Cut out a rectangle of fabric (or two square pieces) of fabric that are larger than the gift or what you want to use the bag for. Or just use a fat quarter which is a nice rectangle size in itself. I used my rotary cutter, mat and ruler. Quilting supplies are great to have in your sewing room but you can make a paper template to ensure you cut out neatly or draw in pencil on the wrong side of your fabric and cut. It’s up to you. Here was our party gift so we made sure it would fit in the bag.

Now zig zag/overlock your edges. We do this first to make the opening for our drawstring easier to work with.

Take your fabric to the iron (I hate ironing so often wonder why I have a craft that requires ironing). With the wrong side of your fabric facing up, fold over one side edge a little bit over for about 2 inches from the top of your fabric and press down.

We are creating a seam for our drawstring opening because we need our side seams for the bag to stop just before our drawstring opening. Repeat on the other short edge of your fabric. You are helping create a neat drawstring opening that will look like this at your machine later on.

Back to our ironing, fold down the top edge of your rectangle by a little bit and press.

Fold down again more than the width of your ribbon/tie/whatever you are using for the string part of your bag.

Back at your machine with the wrong side of your fabric facing you we are going to open up the folded over edge and on each side sew close to the folded over edge of your fabric (remember we pressed down about 2 inches to create a neat opening). Now fold back over and it should look like this.

Now you are going to sew close to the folded over edge with a neat row of stitches. I find sewing on the wrong side means I don’t miss any of the fabric out as I’m sewing.

Let’s sew our side seams. With right sides together fold fabric together, pin the side and bottom of your bag and sew together with your preferred seam allowance. I use 1/2 inch and remember to stop when you get to the opening. What I like to do is go back and forth over my end stitches at the top to reinforce the opening. If you do sew over your opening don’t worry. Unpick and you won’t do that again. It’s like sewing pants together the wrong way…you’ll only do it once.

cut your ribbon/tie/string a bit longer than twice the width of your bag

You can put a pin on one end and a big safety pin on the other or tie one end into a knot and safety pin on the other and we are going to thread our tie through the opening.

To finish the ties I like to tie into a knot near the end and trim the excess. It looks neat and is easy.

Now admire your bag…and put something in it! Perfect for a beginner sewer, to make for a kids party, fete or craft stall or to have a stash when you want to give a little gift. Have fun…..any questions just ask!

cute + easy ruffled hand towels

The school fete will be here before I know it. There are actually two craft stalls. One for Christmas craft which a super organised lady is running and then there is the craft stall that I’m running. And I’m not super organised. But now that we’re coming into term 3 I’m getting super organised. I mean my Pinterest board is full of great ideas and I’ve started giving people projects to do and sitting down to do some.

And one of the projects on my list was ruffled tea towels that I’d seen on Pinterest. The night before our sewing day I started to read how to make one and then realised I needed a ruffle foot. And I stopped reading. But don’t worry you don’t need a ruffle foot and I was going to call these tea towels but they are so cute that I put the sample one in my bathroom.

here is what you will need

a plain white waffle tea towel or hand towel (spotlight/homewares store)

jelly roll strips or 2.5 inch strips of fabric (by width of fabric – 44 inches or near enough)

ribbon to hide your top line of stitches

your usual sewing supplies and a sewing machine

how to make

The first step is to fold your jelly roll/strip in half lengthways and press with your iron. Take to your machine and zig zag or overlock the edge. On my sample I didn’t do this step on a ruffle and it was starting to fray so do yourself a favour and zigzag

Now put your stitch setting on the longest length you can so you can gather your strip. On my machine it’s a 5 on the stitch length. Do one big long line of stitches near your zig zag edge but not right on top of it.

Now gently pull the lower thread (on the back of your sewing) and gather evenly. To get a really full ruffle you’ll use the whole length of fabric so gather just a bit longer than the width of your tea towel because you’re going to tuck a bit on each end and sew to the back of the tea towel.

Work out some nice co-ordinating fabrics and you could do 3 or 4 ruffles to a towel. Start with your bottom ruffle and pin across the bottom of your towel or a little bit up like we did here. Take care to note that if your towel comes with a hanging tape that it’s at the top and ruffles at the bottom. Fold over the edge on itself at the back of the tea towel and sew to your tea towel on or close to your gather line. Repeat with the other ruffle strips going up the towel.

Trim all of your threads and find some fun ribbon and pin across the top ruffle and then sew.

You are done! Admire! Quick and easy and fun for a quick gift or your school fete. And a big thank you to my lovely reader and friend Robyn who joined me at my school craft sewing day. What a champion! She did all of these pretty ruffles for me and now I just need to trim and get some pretty ribbon and they are done.

I hope you enjoy making these and I hope I can keep the momentum going and get some more finished………..

making an easy baby blanket

I always have these wonderful ideas of things to make………and then just never find the time. I also think crazy things like on a monday decide I’d like to make a playmat for Wednesday when I’m seeing someone. That sort of thing. Finding time to get in the sewing room is pretty hard, at the moment it’s just to make orders, tell a little person to get out of there or have a tidy up. But a couple of hours (spread over 3 sessions, don’t worry I don’t get that much time to myself these days) in there on the weekend and I made little playmat/blanket for a little boy. And if you can sew a straight line then you can make this too. Oh yes you can. Don’t think that you can’t.

You will need : 20 x 10 inch squares of fabric (Moda do these in a layer cake), flannelette for the backing (I used some good quality Moda flannelette) and some 100% cotton quilt batting in the middle. You join up the squares using a generous seam (about 3/4-1 inch seam, don’t do a quarter inch) and just make sure you use the same seam throughout the whole playmat/blanket.

You firstly join the squares going down so you have 4 rows of fabric pieced together and then you join across by joining the first 2 rows together, then add the 3rd and then add the 4th. Give it a good press with the iron and I like my seams to one side, you might like them flat. Do what you prefer.

Measure up the backing and batting to be a bit bigger (a few inches) than your blanket top. Place the batting on the floor, then the backing flannelette right side up, then the quilt top right side down. Smooth out any lumps and bumps and pin together with pins or safety pins from the centre out in all directions smoothing out as you go.

Sew about 3/4 inch from the outside edge all the way around the quilt except for about 7 inches which is going to be the bit we’re going to turn out and pull our quilt through. Trim your corners, pull your quilt right side out through the gap you left. Close up the gap with a close to the edge stitch on your machine or just hand stitch it up. Give the blanket a little press with the iron

Sometimes I will top stitch all around the edge of the quilt (about 1/2 inch in) this one I didn’t as I decided just to do the A’s. It’s up to you. Now we’re going to use a fun stitch on your machine to join all the layers together randomly all over the playmat/blanket. I used the little boy’s initial all over. I had a moment of panic after a couple of squares when I realised I might be doing them upside down! Thankfully not. Check first. I do love fonts on sewing machines but I just don’t use them enough. After about 3 blocks I realised this could take a while so I did it in 2 sittings and I just love it. It really makes it special AND it’s a great reason to use the fonts on your machine.

And that’s one super cute and easy personalised baby playmat or blanket. Perfect if you don’t have time or don’t know how to quilt but want to make something special for a baby or little one.

The fabric range for this little project was Daysail by Bonnie & Camille for Moda, some Moda flannelette also from Bonnie & Camille on the back and some 100% cotton quilt batting. I find it best to buy Matilda’s Own quilt batting as it’s australian and better priced than the american equivalent at Spotlight. Starting out you might like to use a poly quilt batting but I always think start with something nice and it makes a beautiful 100% cotton quilt inside and out.

to make an even easier blanket you can just one piece of lovely fabric for the top instead of piecing squares together, just go here.

making skirts and going to parties

Once upon a time you couldn’t keep me away from my sewing machine and my sewing room. I was a regular down at Spotlight and I made time for doing something I loved. More little people have come along and finding that sewing time is hard and it’s been easier to knit on the couch. But a birthday party invite and a costume that didn’t arrive in time meant that I was on pinterest and looking for something that could be made quickly and easily with an under sea theme. I kind of did things in reverse too heading down to the shops to buy supplies and still not quite sure what I was going to make but just hoping for the best. Kind of like a project runway task or something like that.

I said to retro daddy on Friday night, don’t let me fall asleep before I make the costume……….and of course I did. I then woke up Saturday in a panic that I had no costume or skirt. Fed the baby thinking and sipped my coffee all the while thinking about how I could whip something up. Popped baby in his little swing at the door of my sewing room, and with a mixture of ideas and I had something finished. It won’t win any awards and the edges are left raw but I made something.

I will share some detailed instructions but basically I took 12 inch strips of fabric (by the width of the fabric), gathered the tops with a long running stitch, pulled them to make gathers, joined the strips end to end, folded them back on each other by a width bigger than her waist measurement (I basically did about 19 inches), stitched them together at the top with a zig zag stitch. At this point I realised I’m not cut out for costumes and fine materials. Then I drew on my quilting skills and did a bias binding strip to enclose the top of the skirt and all of those stitches, the ends of the binding tie up the skirt in a bow at the back and I stitched on a little ribbon at the front. Phew. I’ll share some pics and steps as my other girls want a skirt each now.

And then I decided since I also had some mermaid fabric to make a little cotton skirt to go underneath because costumes never last long on her so better to have something to wear. Honestly I think this was 15 minutes from start to finish. Super easy to make just take the width of the fabric (112cm for this one), measure a nice skirt you have or on the kneed of your model, add an inch for the hem and an inch or so for waistband, cut your fabric, sew up the sides, hem the bottom, fold over the top a little and press the whole way around.

Fold over the top again over the width of your elastic. Now sew around the top of the skirt where you have the folded down edge to create the waistband opening and leave about 2 inches at the seam for you to thread elastic through. I measured elastic to one of her favourite skirts, pin on one end and safety pin on the other, thread in the elastic, sew the ends together, sew up the waistband where you left space to thread elastic in and you are done. Done.

We had a white ruffle tee in our wardrobe. And picked up a mermaid little costume pack at Spotlight which had a wand, slippers, jewellery, purse and head piece and teamed up a few of the things with a pretty gymboree hair clip that she got for her birthday. And ta da now the outfit had really come together.

So with the outfit sorted we headed to the party. Parties can be hard work work for kids at the best of times and especially my little miss – new surroundings, new faces, lots of noise, not quite sure what the fuss is all about and just a lot of overload. And we were so excited before the party and then we arrive at the house and she doesn’t want to go in and starts walking back to the car. At these times you need to keep your sense of humour and a smile on your face and look like you have your act together (while juggling the baby and nappy bag and any other little ones you have with you).  And once she’s settled she has a great time, we didn’t join in any games this time but had found other things to play with, she sat and ate with the other little party guests and waved to me across the room, and after she had been in the face painting queue and had her little hands painted,  she pointed to the front door and said go and it was time to leave.

I treasure every invite we get to a party for this little girl. She has a helper with her at preschool just to do things that the other kids do on their own, she doesn’t have a lot of words but I do know that she always has friends to play with who tell their parents how much they love playing with her. And that melts my heart like you wouldn’t believe. So we lasted 2 hours of the 3 hour party and had a great time and it was a fabulous excuse to get back into my sewing

I’ll share a few pictures and step by step instructions of how I made both of the skirts once we’ve had little man’s baptism next weekend……..as I was making it I was thinking I should take some photos but then I wasn’t sure how (or if!)  it was going to turn out but I wish I had…………………..this week is all about preparing for the baptism and getting the house presentable. Wish me luck……

a little flower sugar giveaway

Firstly, congratulations to Ruthena who won my last fabric giveaway. Now I feel we are well overdue for another one.

Today I’ve got 11 fat quarters of my one of my all time favourite fabric ranges. Flower Sugar by Lecien

I just love the sweet florals and polka dots and this little collection includes teal and navy and is very pretty. Perfect for a quilt, some cushions, baby or children’s wear or you  might just like to look at them all stacked up for a while.

To enter I thought I’d ask a different question – what sewing machine do you use and why? Or maybe you are like me and have a few machines living at your house. Anyone can enter around the world, one entry per person and I’ll pick a winner this Sunday night 6th July.  Good luck.

congratulations Erolyn who was chosen as the winner of this giveaway! another one coming soon!

I made a dress

Well it’s been a long time between sewing projects around here. But a new delivery of fabrics had me searching through my patterns for something I could whip up in a day and add to elodie’s wardrobe. Once upon a time I made so many of keira’s clothes but then our family grew so quickly and so did this blog and I just don’t get as much time in front of my sewing machine as I’d like. Oh and there are competing crafts of course, that doesn’t help. But I know I’m not alone.

This is a great little pattern with some cute variations. The pattern is McCalls M4814 and I had the size 1-3 so I could cut out the size 3 and use it for elodie. It’s probably a tad too big but I prefer to make them a bit bigger to grow into.

I made a mistake with the bodice and should have done it differently but I’m still happy with the way it turned out and will blame that on being a bit rusty in reading sewing pattern diagrams. And let’s call it a design feature and just making it my own.

She loves it and that is all that matters. The fabric is from Rosalie Quinlan Candy Bloom and I’ll be selling some soon as I can photograph it all and get it up on the internet.