Search Results for: sewing machine

sewing for my girls

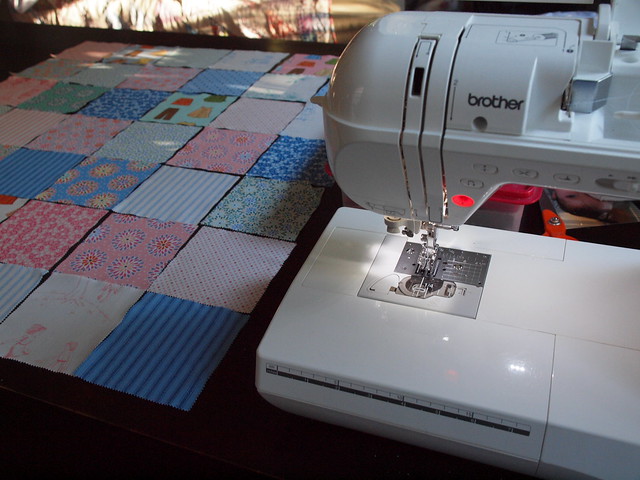
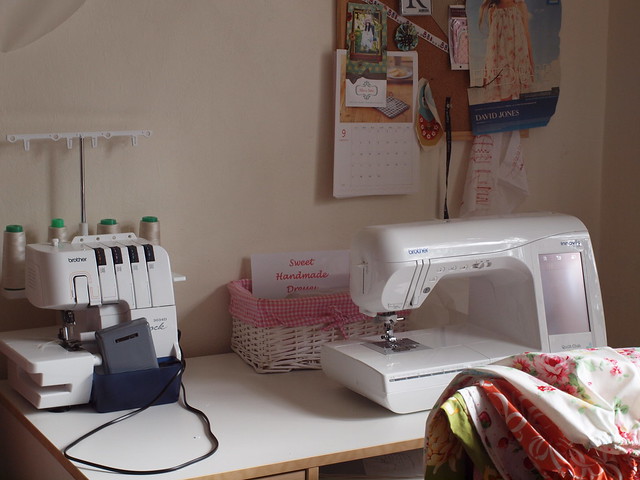
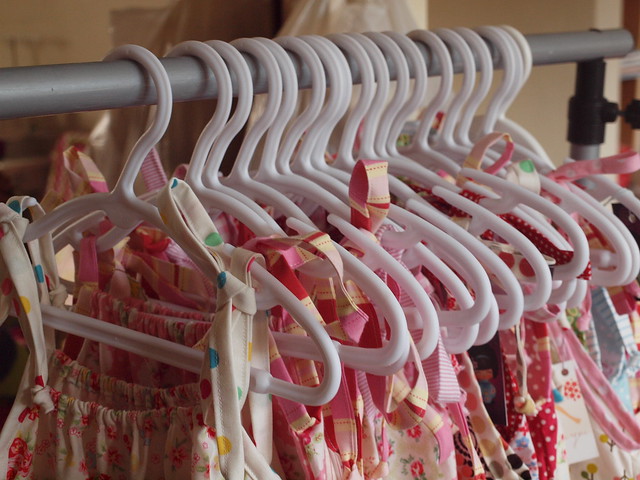
I really know I’m getting over the newborn days when I get to switch on my sewing machine and do a spot of sewing. I just feel normal and like my old self again when I get the chance. For anyone new here, I love to sew. I love craft full stop but I love getting the time to sit at my machine.
 
Ready for action!!!!
 
I picked it up again when keira was a baby and haven’t stopped since…………well except each time I have a new baby. Summer is a great excuse to make up some simple dresses for my girls. They don’t cost a lot of money to make, they’re easy (I avoid any girls pattern with a zipper in it) and my girls love wearing them. I do find it hard to pay $60 for a cotton dress when I can make my own  in an afternoon.
 
Elodie has a new dress! There were lots of breaks to feed Emerson, make lunch, change nappies, keep elodie entertained!
 
First cab off the rank was Elodie. I decided to make her this dress (Simplicity 5695) and make it size 2. Only trouble was that I couldn’t find the ruffle piece for the pattern so I used a ruffle from another pattern that was bigger. Anyway the whole dress turned out to be a big size 3 so we moved it on to Tillie. She was pretty happy about that and that’s the great thing about having 5 kids! Something will always fit someone in the house.
 
Might make it as a tunic too to wear over leggings
 
Perfect
 
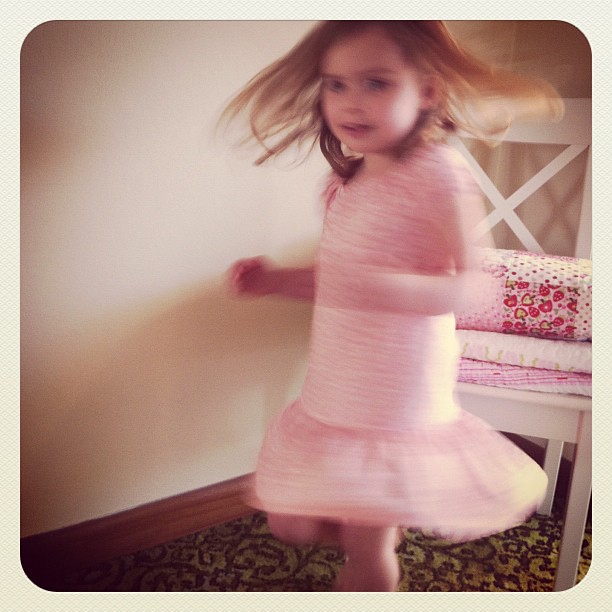
and like all girls, Tillie needed to test out it’s ‘twirlability’. Happy to report it passed the test. She wore this dress 2 days in a row and wanted to wear it to bed. We’ve agreed to make another one in a different colour and I got it in the washing machine as fast as I could! By the way and because I know you’ll ask the fabric is Lecien Colour Basics.
 
She loves it
 
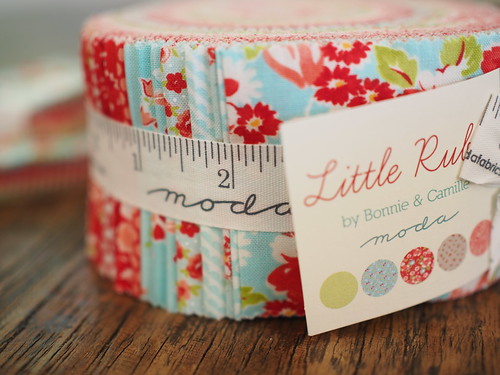
I then pulled out a modkid pattern that I had been selling at markets. Keira picked out some crazy fruit fabric and I then put it back and picked out a few fabrics I thought would work a bit better. I have to say that modkid patterns are fabulous.
 
I'm happy:)
 
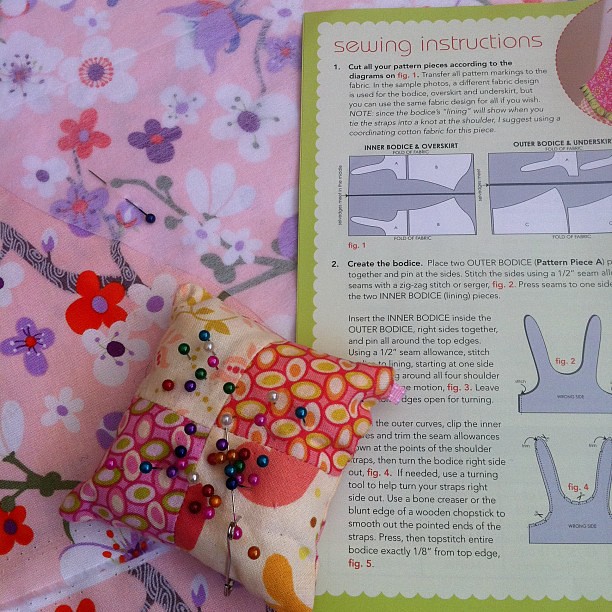
Super easy to follow instructions, she leaves nothing to chance and you don’t have to wing your way through the pattern the way I often find I have to when instructions aren’t clear or the designer has used a round about way of doing something.

Pink pink and more pink

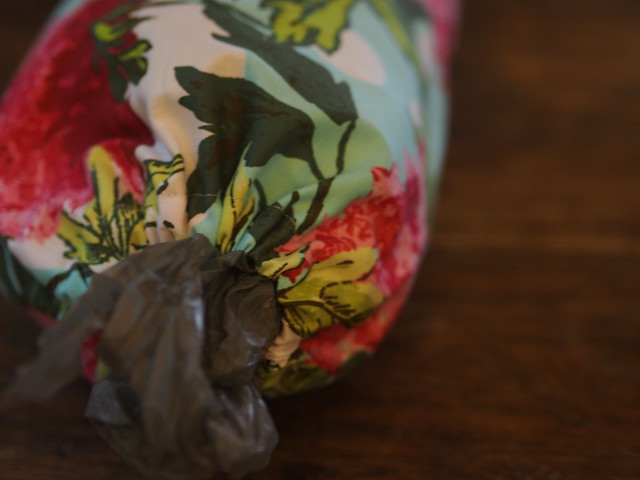
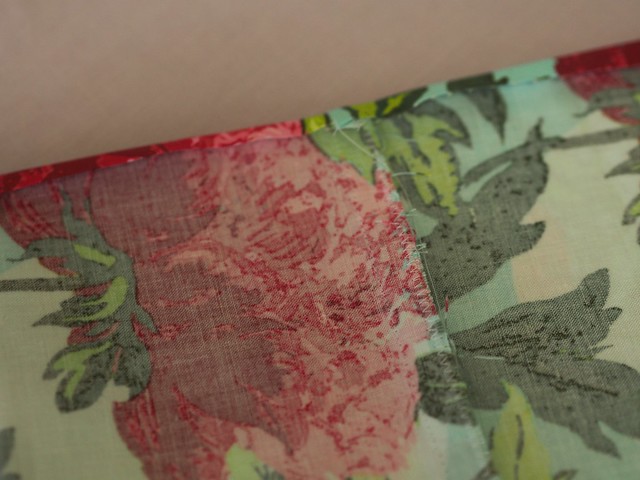
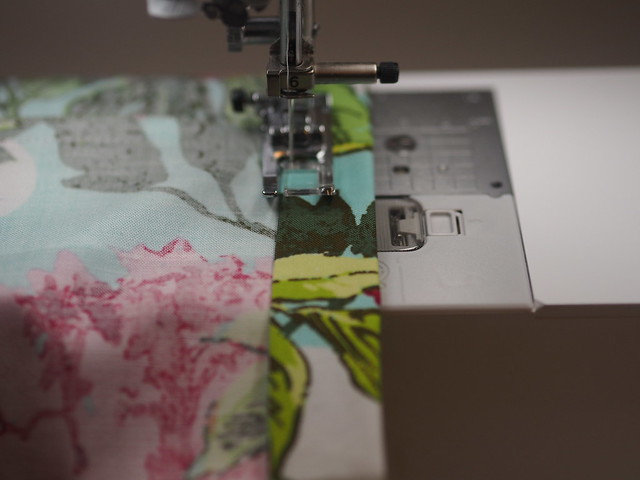
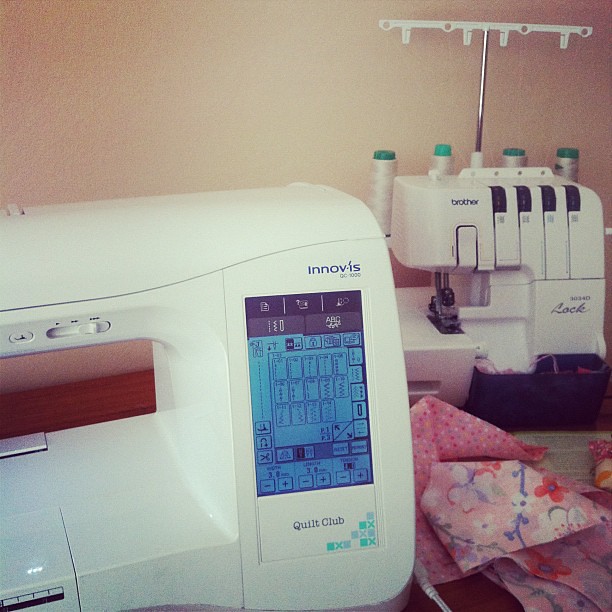
The dress came together easily and fairly quickly – except that when you have a baby on you or near you it’s not as quick. I got a little bit unstuck with my overlocker. I always use my overlocker for seams and especially when you’ve ruffled/gathered something, you have threads going everywhere and the overlocker trims them all away and you get a nice neat edge. I love using it when I do my gathered skirts. Only thing is that this is a curved skirt and I was moving too fast – I finished up with the overlocker, inspected my work only to discover I’d sewn over some of the skirt at the back. I very carefully unpicked the stitches but my worst fears came true – the cutting knife had cut right through the back and left a big hole. Bummer. That was not the word I used but you get the picture.

When your overlocker cuts the dress :( I've got a solution!

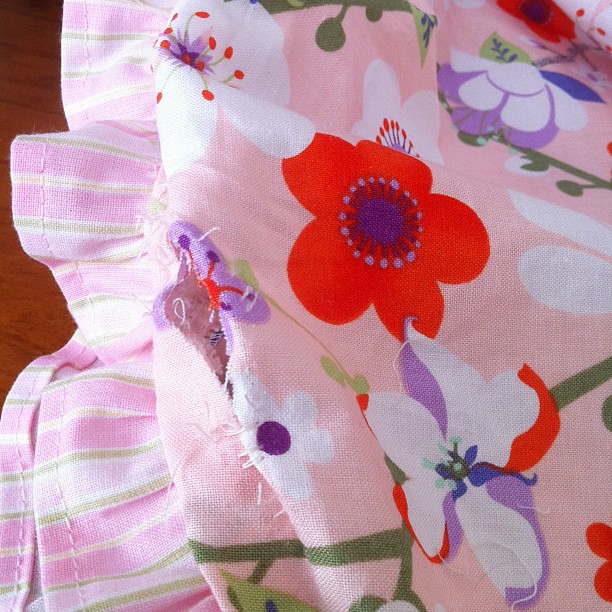
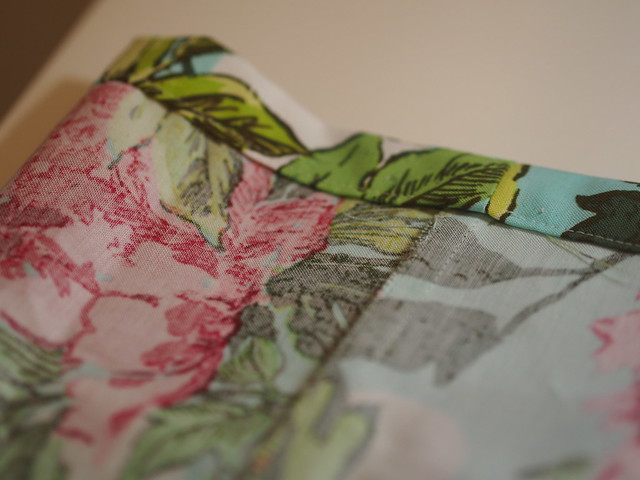
Thankfully I made my boo boo on the back piece of the apron. So I simply cut off that back piece and when I assembled the dress I just sandwiched the front apron piece inbetween my skirt front and back pieces and sewed the seams together. Ta da. You’d never know. And next time I’ll flick back the cutting knife!

Ta da!

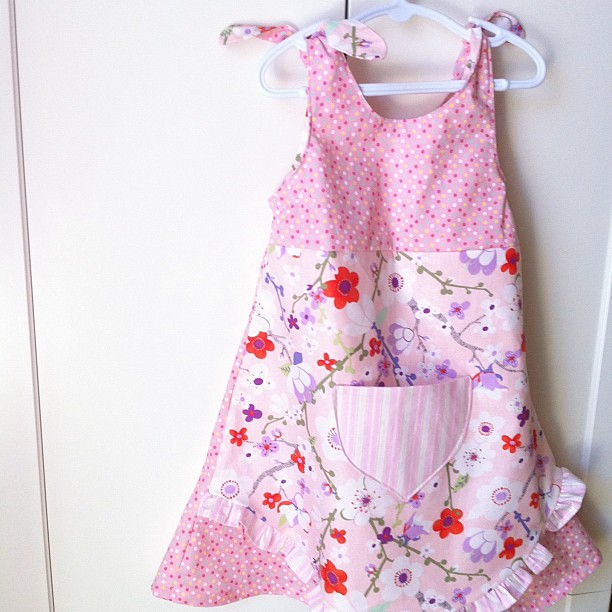
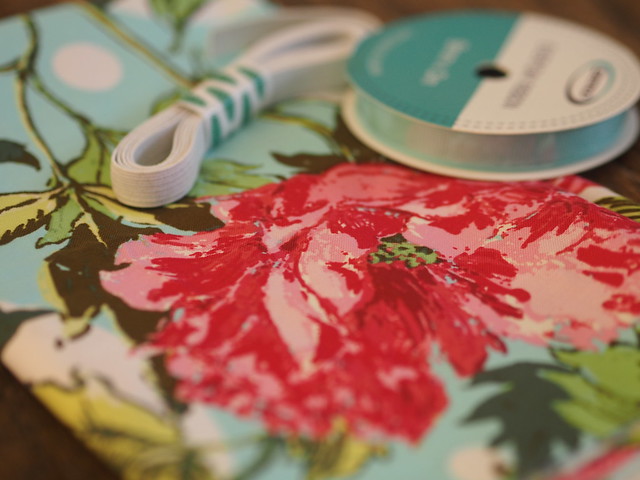
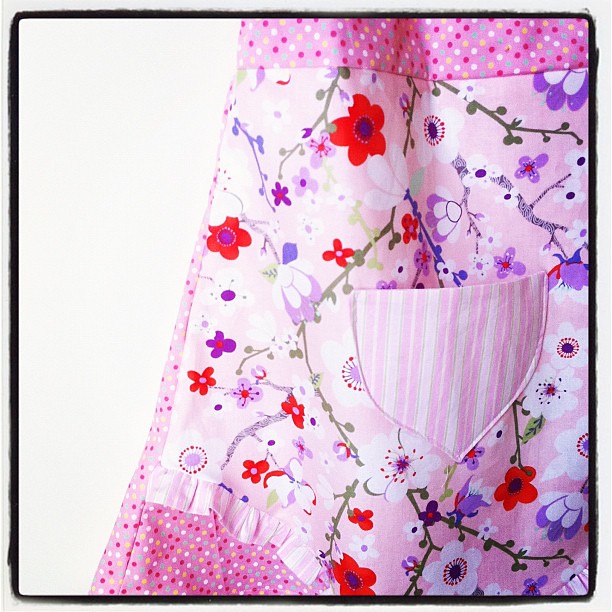
Now this is not a pretty stylised photo of her wearing the dress because I was interrupting her playtime!!! This is the size 6 in the pattern and fits her perfectly. She loves the dress, she’d prefer it not to be in pink, but she loves it. The spotty fabric is Lecien Colour Basics and the cherry blossom fabric is Kate Spain Good Fortune. The stripy fabric was from the quilting section at Spotlight, a few years back.

upload
 
Now to make a dress for Miss elodie and I’ll be happy.

I’m actually sewing

I can’t believe it either. My machine is out of hibernation. With the help of retro daddy I gained entry to my sewing machine and after an hour could bring out my sewing machine. Just like riding a bike and I’ve missed my machine so much.
I'm sewing
Retro daddy is away this week and as any sewer knows means a golden opportunity to pull out the machine to the dining room table and get some sewing done
cape ann
I also have mathilda’s market this Sunday at Fox Studios and am madly trying to turn some new charm square packs into sample quilts! It’s so lovely to see a new range all made up in a little quilt – which I’ll give to my little ones this Christmas. This is Cape Ann by Oliver & S which I have oodles of.

Sewing 101

A week or so ago, Farmers Wifey asked where should she start if she’s getting back into sewing! Here are a few things I think might help the beginner sewer……….it wasn’t too long ago that I was pregnant with keira and asked my dad to pull my old bernette out from the garage! It hadn’t been touched in a good 7 years or so and for a couple of sewing sessions I was totally clueless and getting my bobbin thread everywhere and caught up in the bobbin case….it was a mess! I hope this helps you…………….
Just getting started on your machine can be daunting for the beginner or returning sewer. I like how this girl covers the essentials all in less than 10 minutes. Sometimes this is all you need to get cracking and on the right track.
when it comes to first projects you really can’t go past a simple tote, a lunchbag, pillowcase, pincushion, cushion cover, apron, simple elasticised skirt, shirred dress, a bunting and how about this list of 45 bag tutorials! There are so many free resources on the net it’s a great place to start. When you’re a bit more confident don’t forget you can find my little girls dress pattern here – once you’ve mastered a few things you’ll love making it and the trickiest part is just adding the binding and sewing it on.
the start of my patterns
Unfortunately my easy shorts pattern for Notebook wasn’t copied to the net properly and now that the magazine is closed I am unable to have it changed! And you know what I did don’t you……yep, I never got the original back so I’ll add it to my to never ending to do list to draft again and share on my blog as it’s a great little pattern. Sadly, the actual measurements on the template are not correct and they will turn out teeny tiny!
Got a question about beginner sewing just ask?

my sewing room

Well after 2 years in this house I have permanently moved back into my sewing room……..and am loving it. It’s still a work in progress and there is nothing fancy but I love that no more exchange students means I can stay put and have everything at my fingertips. I also love that it’s a little craft refuge away from the rest of the house. Mind you, look who likes to follow me in there. And can you see I’ve been sewing …..lots more dresses for Mathilda’s.

my little sewing corner

We moved the bookshelf in so I have all my craft and cooking books in one spot…this is just my craft book and magazine collection with an overflow of a couple of cooking books. I also devoted one cube to childrens books in case I get little visitors (and I do…..often). I just need to train the little visitors to put books back instead of spread them across the whole floor!

all my craft books in one spot
Odds and ends and craft supplies are in this bookshelf….unfortunately some things are in reach of little people and buttons and fabrics are very popular to play with.

shelves of stuff

I turned one of my market tables into a makeshift cutting table and have set it up with a mini ironing board, iron, snap press machine and cutting mat. I am loving this table and it sure beats the floor!

quick cutting table

and here my little Brothers sit side by side for some sewing action. I put my scissors, pins, measuring tapes and machine supplies in the basket behind my machine which I am also loving. No getting up trying to find something which is what usually happens.

my sewing table

and my market rack is also set up so I can add dresses to it as I go and also remind myself I still have lots more dresses to get done before October 30!

dresses

and then behind me is a huge double wardrobe overflowing with fabric and batting. I’ll need to fold and tidy it up before I show you. I am actually very spoilt by having 2 adjoining rooms and my own bathroom as my sewing room.  The bathroom is hiding christmas presents and the other room is crammed with 12 big plastic tubs stacked to the ceiling full of fabric, wool and patterns and all my market stock too………that’s for another time when it’s looking neater! Like I said…work in progress!  

sunday night sewing

phew…its been a week between posts as I’ve been recovering from a morning tea I held for 18 adults and 30 kids that was just crazy!!! Now I’m just itching to start a new quilt but am forcing myself to finish the 3 outstanding projects I have on the go…..so tonight I pulled out the sewing machine and finished the quilting on this little cot quilt.


I was having doubts about the ragged edges but actually its turned out nicely and the edges are quite forgiving. Its a quilt as you go project so as you attach the flowers and centres you are quilting…trying to get lovely curves has been a challenge for little old beginner me but I’m happy with it.


Tomorrow I’ll trim the edges and do the binding………

sewing and slowing down

Well on Sunday I finally got the sewing machine plugged in and made a dent in my to do list. First up were 3 cushions in hollabee fabric (from my store of course) for my SIL’s birthday which were quick and easy (I got these all ready to post before snapping so they’re a tad folded).


next up was a softie for keira that was also quick and easy and here’s my little miss in her role as quality control inspector


and I managed to cut out the Amy Butler birdie sling and have to whip up 2 this week for birthdays….it actually will make a great nappy bag as its larger and roomier than I expected and I’m even going to put pockets in which is something I tend to skip on my own bags only to regret it when I can’t find a thing in my bags!


and after all of that I was exhausted….I am officially now in slow down mode as everything tires me out from walking the stairs to the shopping aisles to entertaining keira…the babies weighed 1738 and 1739 grams today and have impressive head sizes that measure 2 weeks ahead but thats no suprise as keira had a 37cm head at birth….they are both head down but unfortunately in the same corner of my body which is rather uncomfortable but with less than 6 weeks to go the end is in sight and then the fun really begins…..and here is my belly which now measures an impressive 115cm which is about 3/4 of my height!!!!

an afternoon of sewing…….and keira tries to pick up boys


Well I had a lovely afternoon of sewing with 3 generations in my sewing room – little keira, me and my mum! We were very productive and also enjoyed some delicious german gingerbread biscuits with our coffees…..keira was captivated with her grandmummy’s sewing ability as you can see

on a sad note I was bidding on a great new overlocker on ebay but missed out….it just got too expensive but I’ve been told that I can have one for mothers day…yipee but I’m thinking I might upgrade my sewing machine instead and just an old one from ebay! you’ve got to love ebay!

we ended the day with drinks down at manly wharf hotel and was suprised by how many prams there were down there …..and my daughter was picking up the little man at the table next to us, she was waving to him and when the music picked up she started bouncing to it and looking at him…uh oh…..we have trouble on our hands!

starting small

I have a few things up in my etsy store here if you live in Australia and love bonnie & camille fabric. All prices include postage in Australia and GST. I have a few more fabric packs to add during the week. I decided that etsy was an easier way to manage everything rather than a standalone online store. I have a few Moda pre-releases coming in June which I’m excited about, a bit more of the lil’ red to list and also will be making some fabric packs using older japanese fabrics. The craft room needs to make room for me to set up one of my sewing machines so that my girls can learn to sew this year.

So bear with me and hopefully I can have a few more things listed. It’s just been a crazy few days with my big girl turning 10, my little girl’s first excursion, my big girl needing a pair of white shoes for her Eucharistic procession that didn’t cost the earth and me losing my wedding ring. I thought I’d clean out the Nissan before handing it back (very sad about that) and gave the car mats a good shake out into the garden. Seemed easy enough until my 4 piece wedding ring flung off my finger and went in all directions. I’m blaming the GAPS diet that I just started again for the rings being a bit loose. I managed to find the first 2 pieces easily, the 3rd piece took me a while but I just couldn’t find the 4th piece. Anyway, I spent 2 hours out there with the kids raking through leaves and trying to find it. And then someone almost hit the car with the end of the rake and everyone was fighting over the torch or shining it in each other’s eyes. Yes, you can imagine. I was having THE best time out on my driveway with 6 helpers. So we kept going for a bit longer before I called it a night. I should have been baking my big girl’s birthday cake. I found a metal detector guy who finds jewellery and he got back to me so quickly but he couldn’t get there till monday and I was just so upset about the one lost piece we couldn’t find. Hubby drives down the driveaway on Friday night with his lights on and sees something shiny on the driveway. My ring!!!! I was so happy.

Moral of the story is don’t go on diets if your rings fit perfectly or don’t clean your car mats with your wedding ring on. I’m definitely not doing any crazy shaking of car mats again anytime soon.


how to sew a shopping bag holder

For years I’d been saying I must make myself one of these and then I made one and wondered why I’d waited so long. I then made about 12 for my school fete last year. They all sold that afternoon. These are quick, easy, fun and so practical. They sell out at any fete and make a great Mother’s Day gift or just an essential item for your kitchen


What you’ll need

1 fat quarter (about 50x55cm) fabric (I used Amy Butler for this project

50cm Elastic (any width)

Scrap of ribbon/tape for hanging loop

Sewing machine

Iron

Pencil, scissors, pins, safety pin or bobkin, thread


How to make it

Take your fat quarter and cut off any selvages. With right sides of your fabric together fold lengthways and pin the long sides together (this gives us longer carrier to fit more plastic bags in).

Sew a straight line from the top to the bottom of your long edge that you have pinned together and then zig zag/overlock edges

Now you are going to make elastic casings for the top and bottom of the carrier. Take your fabric to the iron and fold over a few mm’s around one end and press well. Fold over again by a width wider than your elastic and press well again. I like to put the elastic against the folded over section and check that it’s bigger.

Repeat with the other end of the carrier and take to your sewing machine

We are going to sew close to the folded down edge but we are going to leave about a 1inch gap between our first and last stitches so that we can thread through our elastic. Repeat with the other end of the carrier.

Now cut your elastic length to the width of your carrier. Cut 2 pieces

Take a large safety pin and place it in the end of the elastic with a pin at the other end. The safety pin is used to push through your elastic and the pin prevents the end of the elastic getting lost in the casing. Thread through the safety pin first and push through. Taking care not to twist the elastic remove the safety pin and pin and sew elastic closed. I do this with a zig zag stitch and go back and forth a few times

Repeat with the other end of the casing.

Now work out which is the top of the carrier (important if you have a fabric with an obvious design) and you are going to cut about 5cms of ribbon/tape for our hanging loop. I like to have the loop inside the bag but you might like it on the outside. It’s up to you. Using the line of the stitches that you sewed around the bag and with a pin on the loop sew up the casing closed making sure you sew through the layers of the loop as well as the fabric.

Sew closed the elastic casing at the other end of the carrier. Trim all threads and you are done.

These are very addictive.