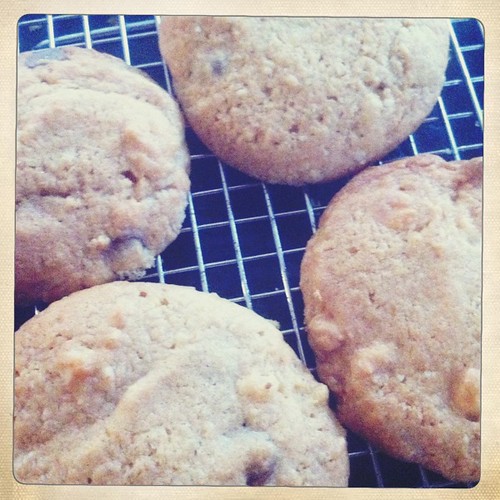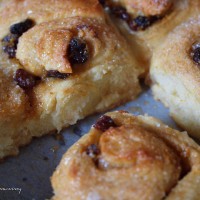
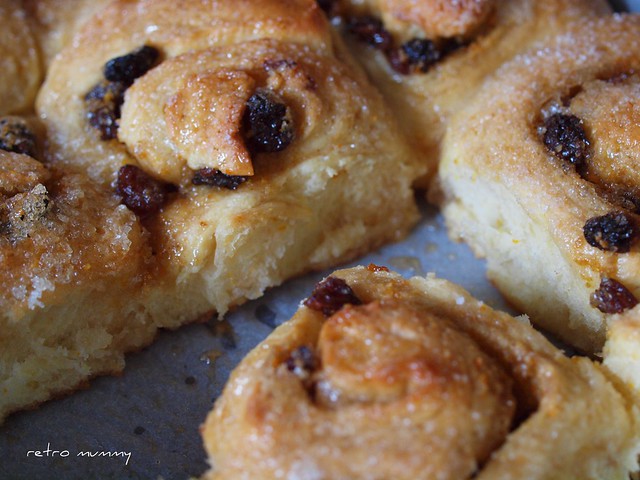
I don’t know what to call these. The recipe calls them chelsea buns, I think they are scrolls and I’m pretty sure the americans would call them rolls. But whatever you call them, they are good. Really good. I’m a huge fan of PW’s cinnamon rolls and the oh so buttery goodness. But they do use a lot of butter. These orange and maple scrolls are a bit more of an everyday treat with a lot of the goodness coming from the orange and sultanas. The recipe comes from the May 2011 issue of Country Living (British Edition) and tweaked with what I had in my pantry and I’ve also converted for the thermomix. Enjoy. Oh and I’ll still love and make cinnamon rolls but these orange ones will be for the lunchbox!
Oh and set aside a morning or afternoon to make these as you need about 2 hours of proving time for your dough. Use this time to do your housework, hang out your laundry, feed the baby, change nappies and so on. Or read blogs. It goes quickly plus you are so excited to get these out of the oven that is worth the time you put in.
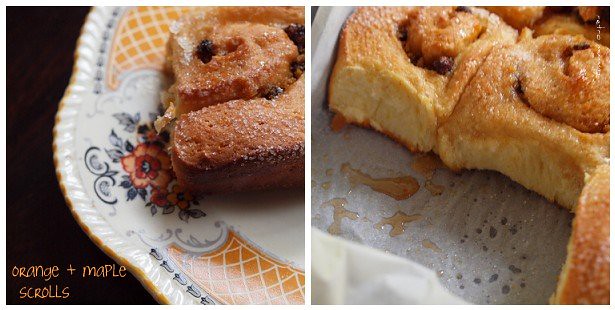
orange + maple scrolls
225g/ml milk
1x7g sachet dried yeast
40g caster sugar
450g strong/bakers flour ( I use this)
1/2 tsp ground cinnamon
45g butter, cubed
zest 3 oranges
1 egg
filling
40g butter, melted
40g brown sugar
1/2 tsp cinnamon
100g sultanas/currants/raisins
about 1 Tbsp orange juice
topping
caster sugar
maple syrup
in the Thermomix
Place orange rind in TM bowl and pulverise for 10 seconds on speed 10. Set aside. Pour milk into bowl and heat for 50 seconds at 90 degrees on speed 1. Now tip in flour, yeast, caster sugar, cubed butter, egg, cinnamon and 2/3 of the orange zest. Mix for 6 seconds on speed 7. Knead dough for 2-3 minutes on interval setting with closed lid.
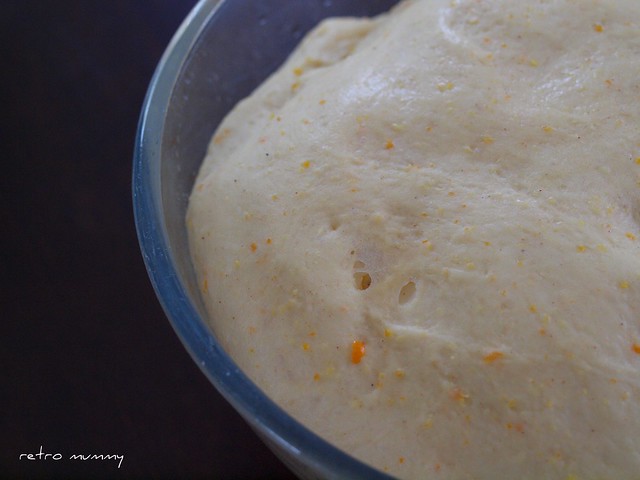
*Place in clean, lightly oiled bowl and cover with a clean tea towel (or wrap in your TM mat). I use glad wrap to cover my bowl btw. Now you need to prove your dough for 1-2 hours. I did about one hour in my oven which I turn on for a little while beforehand then turn off and put my bowl in.
Now add your melted butter to brown sugar, 1/2 tsp of cinnamon, remaining zest and 1Tbsp orange juice.
Preheat oven to 200 degrees. Knock down your dough and roll it out to a rectangle (mine was smaller than my cutting board). Spread with filling mixture and sprinkle over the sultanas.
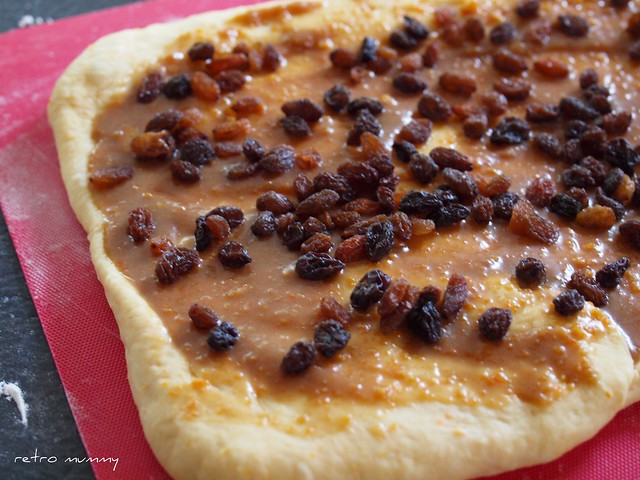
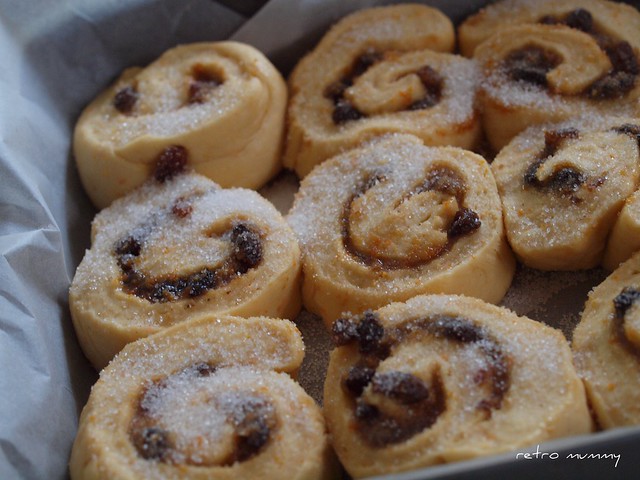
Roll tightly into a swiss roll (or not which is what I did) and then cut into 2cm rounds. I got a bakers dozen. Place in lined or greased baking tray and cover with tea towel and leave to prove another 15 -20 minutes. Sprinkle with caster sugar. Bake for 20 minutes or so until golden on top. My oven is the slowest in Australia so it took almost 30 minutes. Now pour over your maple syrup and enjoy! The recipe called for brushing with a bit of maple syrup but go on. Drizzle it all over. Brushing is for wimps. It gets into all the little bits and is so much better.
Now if you don’t have a thermomix (and I hope I’m changing your mind that you need one) then zest your 3 oranges and get a little bit of juice out of one orange for the filling. Heat your milk until just scalded then leave to cool slightly until it’s warm. Sift flour and cinnamon into a large bowl and add in yeast. Rub in cubed butter and caster sugar and 2/3 of your orange zest. Separately, beat the egg and milk together. Make a well in the centre of flour mixture and pour in milk/egg mixture and mix until combined. You could do this in your kitchen mixer if you like. Knead until smooth and elastic either by hand or mixer. The recipe suggests 10 minutes by hand. And now follow instructions from * above.