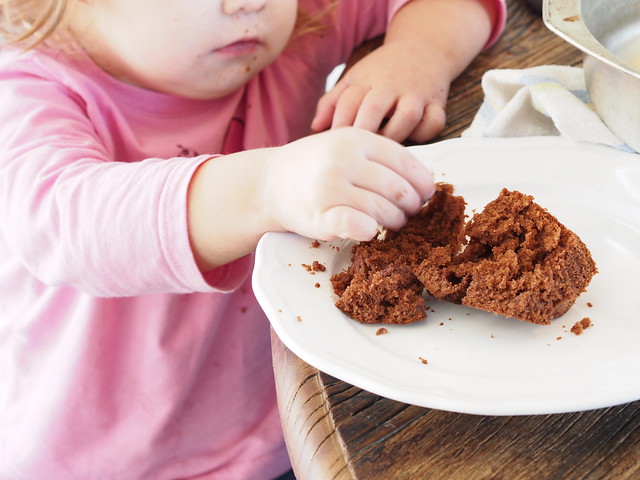
I don’t usually bake on a Monday morning. Instead you’ll find me pool side at the twins 9am swimming class. But elodie and emerson were still sick, it was freezing cold and we were staying home. And I can’t imagine baking without my helpers in the kitchen…….who help themselves to ice cream from the freezer and it wasn’t even mid morning yet. But my elodie does have a sore throat and a bad cough so maybe she had a little bowl of what she wanted.
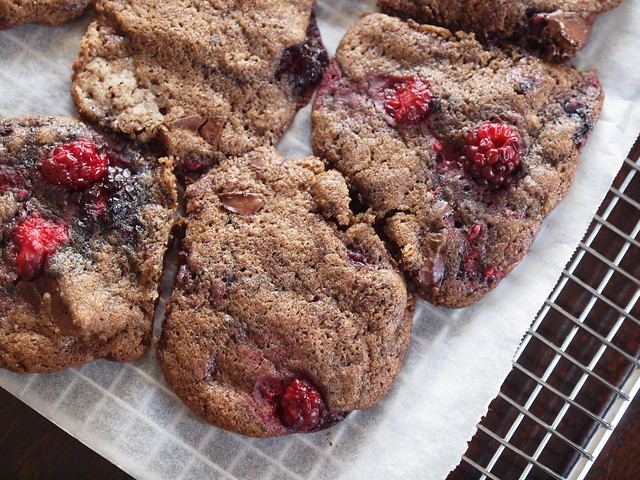
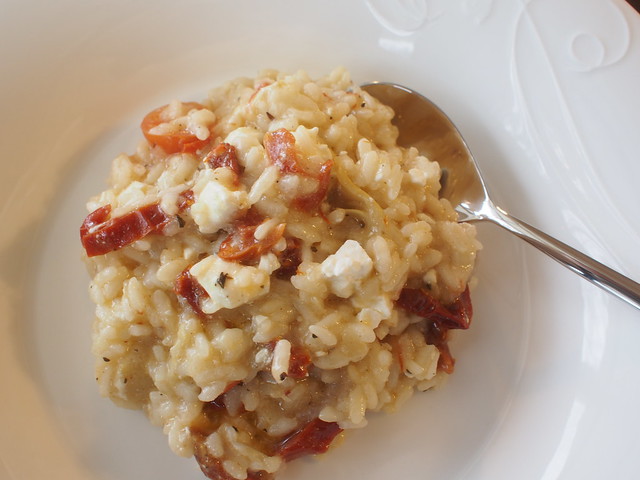
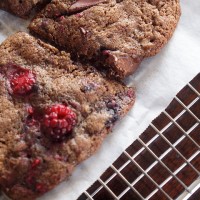
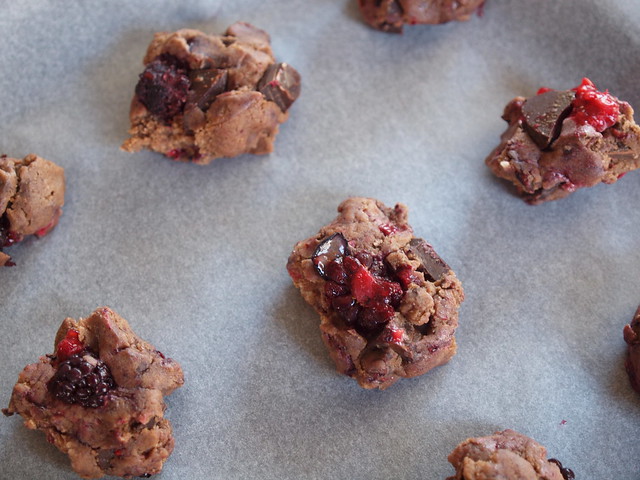
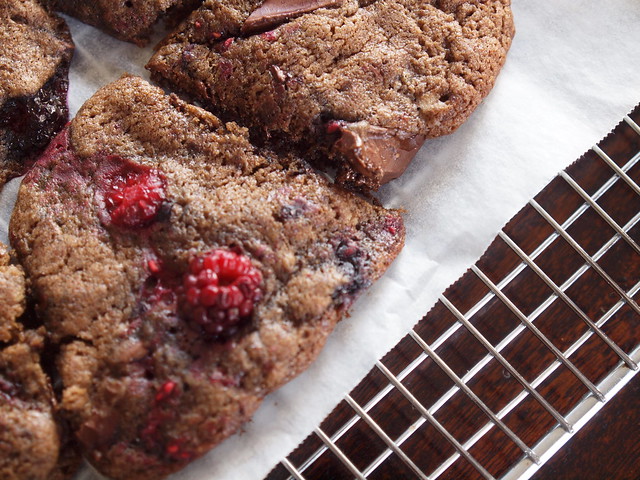
These cookies are goooood. I’m trying not to gain a few kilos this winter but sometimes you need to throw the diet out the window and get some baking done. And these cookies are easy and delicious. I think they’re perfect when you want something a bit more fancy than a regular biscuit or cookie but you don’t want anything as rich as a brownie. And you can choose how you’ll eat them – will you eat them bent over the baking tray when they’re hot out of the oven and oozing chocolate and kind of soft and bendy. Or wait a while and eat them when they are chewy or if you’re very patient or you get some later in the day (IF they last that long) and they have a nice crunch to them.
happy baking………………
- 125g butter, room temperature
- 170g caster sugar, I use raw caster
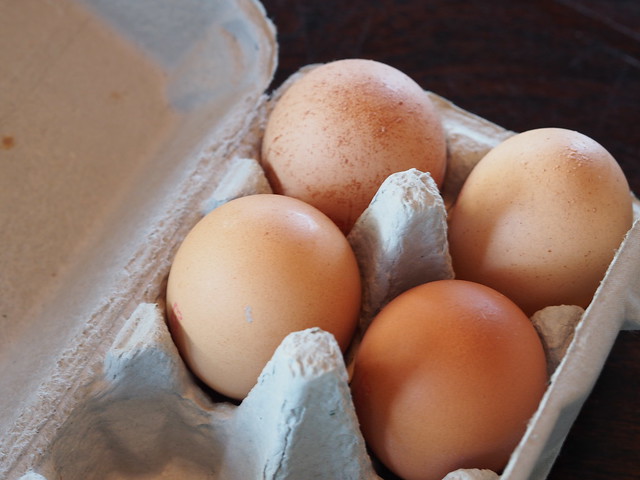
- 1 egg
- 1 tsp vanilla extract/essence
- 185g plain flour
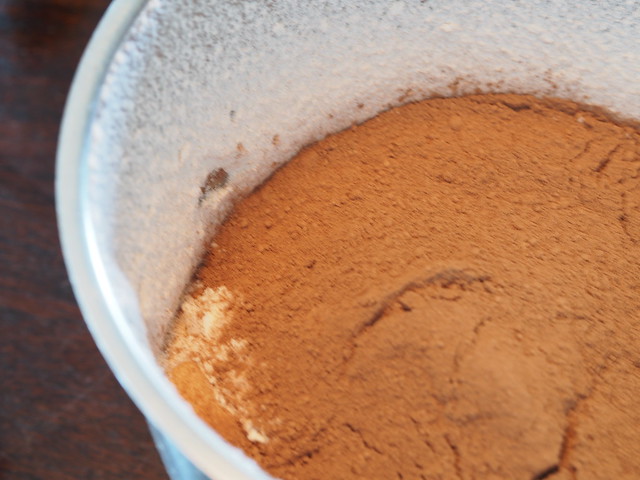
- 30g cocoa powder
- 1tsp baking powder/bicarb
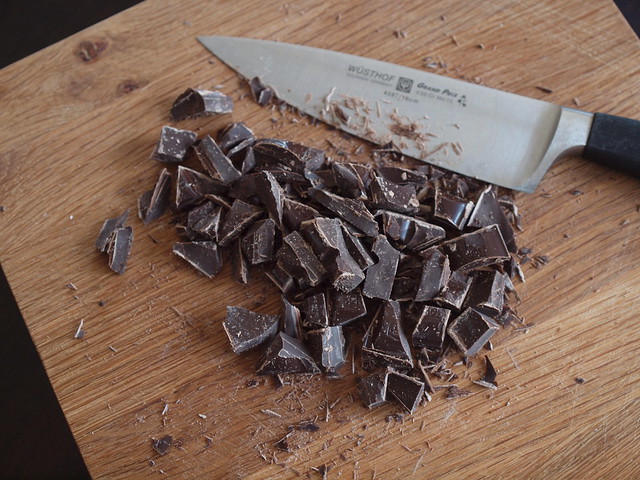
- 100g dark chocolate, roughly chopped
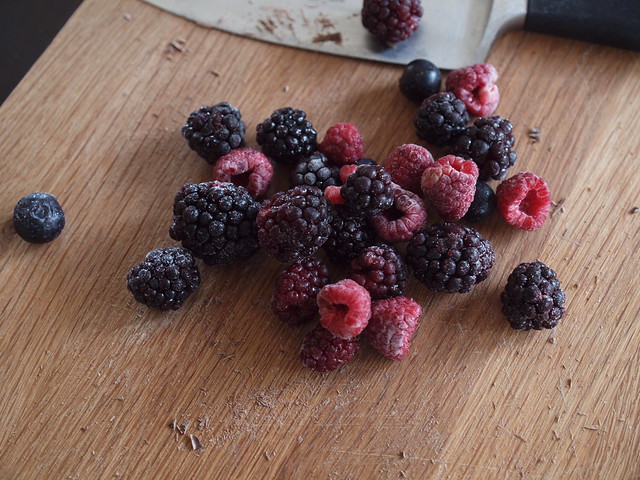
- 1-2 handfuls frozen raspberries or berries, roughly chopped
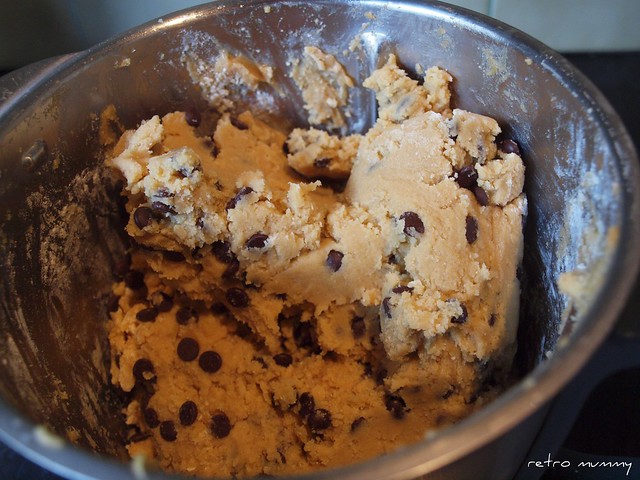
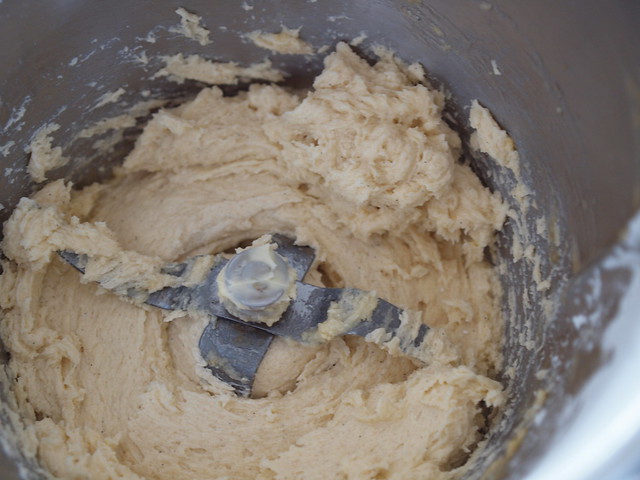
- Cream butter and sugar together with the vanilla. I do this in my thermomix for at least 20 seconds speed 4 or 5. Scrape down bowl.
- Add in egg and mix well. Just 10 seconds in the thermomix on speed 4 and another scrape down of your bowl. If you're doing this in a kitchen aid or mixer then do longer times until it's combined
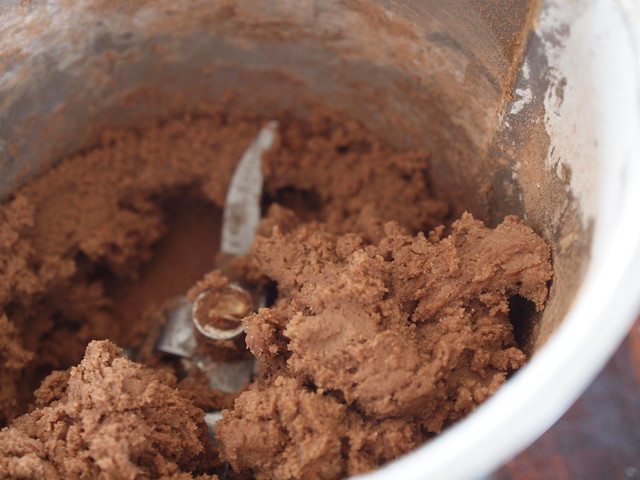
- Sift in flour. cocoa and baking powder/bicarb and gently combine.
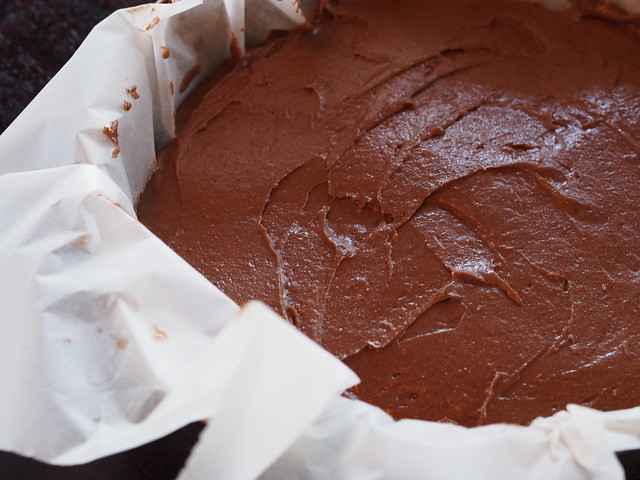
- Now I like to tip out my mixture into a large bow. Tip in the chopped chocolate (not too big pieces otherwise they'll take over your cookies) and raspberries and gently fold through with a spatula so that it's evenly distributed.
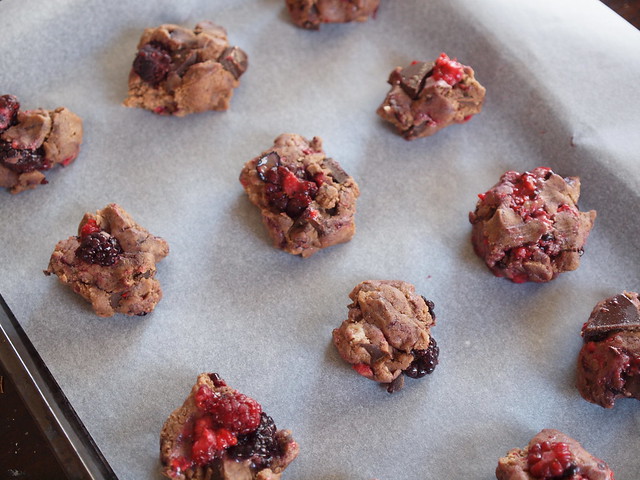
- Now the fun and getting your hands dirty party - make cookies from a tablespoonful of mixture and place on lined baking trays.
- Leave some room as these babies spread.
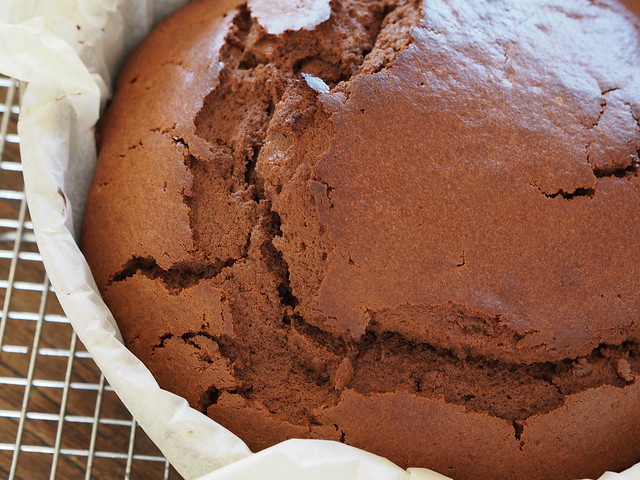
- Flatten a little and bake for about 12-15 minutes in a 180 degrees (a bit less for fan forced, remember my oven is from the 70's).
- Leave to cool on tray for a couple of minutes then lift off the baking sheet by the paper and leave to cool on cooling racks.
- You'll get 2 trays of cookies from this recipe and they lasted till just after dinner.