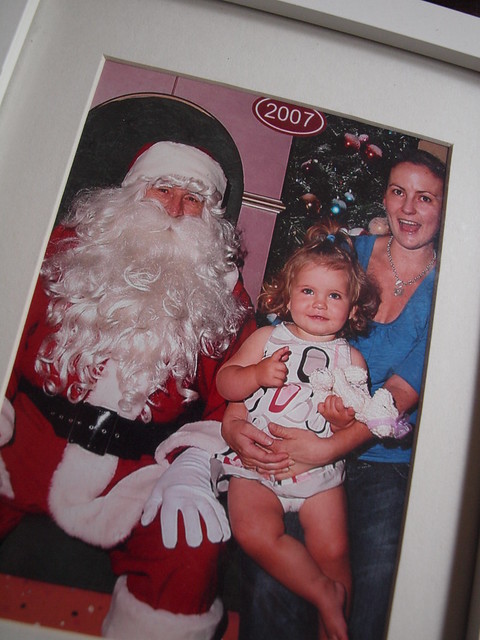
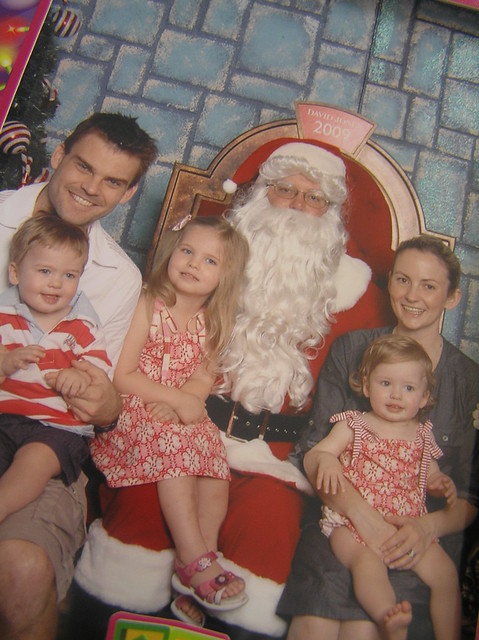
For once I am early with the santa photo! Usually I do it a few days before Christmas but the invitation to have our photo taken at QVB today was too good to give up. Especially after last year’s photo which I wasn’t really in love with because I decided to try a different place to beat the queues. But before I share this year’s photo I think we need to go right back to the beginning…..when we had our first baby, Keira. So let’s take a trip down memory lane and my love of the santa photo……well it’s kind of love hate because as the years go on it’s getting harder to get everyone to smile/participate/look nice by the time the photo is taken but I do love the santa photo.
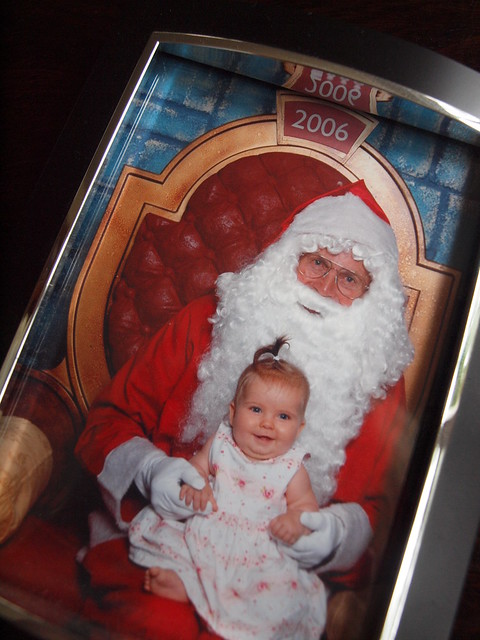
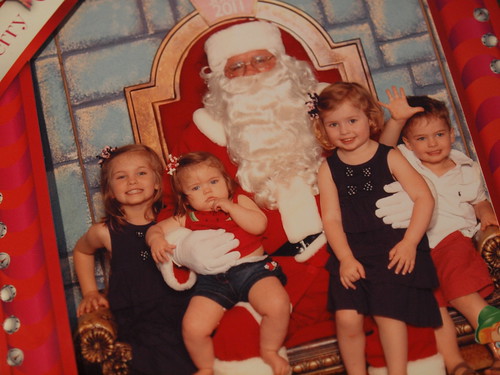
this was before I realised that I might actually have to get in the photo…..you only make that mistake once and now retro daddy dresses for the occasion.

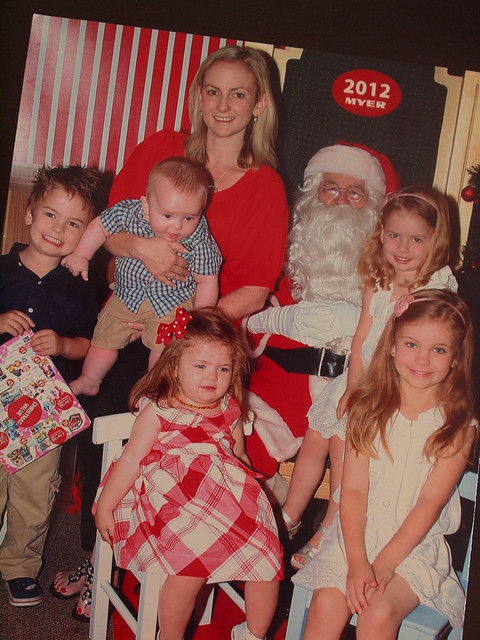
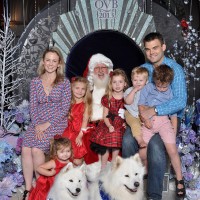
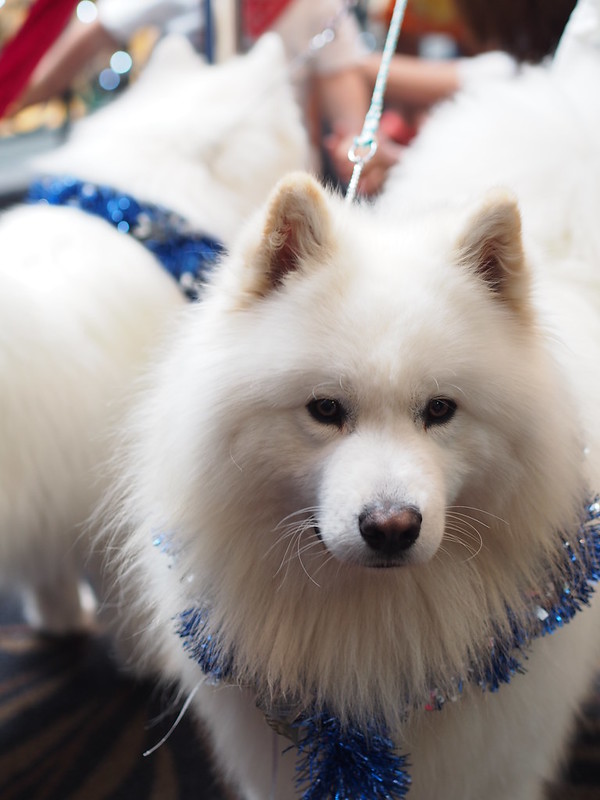
and drumroll please………….introducing the santa photo for 2013……………complete with the most gorgeous dogs and a boy who didn’t want to have his photo taken and didn’t want to stand out of the photo either………………………………………………….but a huge improvement on 2012!

I love it! It was the best of 47 photos (no I’m not kidding you) and elodie was just so taken with the pups and was patting them and oohhing and ahhing over them. They were so gorgeous and well behaved. I think I might have found my favourite photo destination…….but the gorgeous pups were just for today I’m afraid. Just visit the QVB website here to find out more details and I love that they are using SMS this year so you can get a booking, do some shopping and come back for your photo. Genius idea because I’ve done my fair share of santa photo queues in my time.
A big thank you to Santa (the happiest I’ve met), QVB and everyone involved in today as we had a ball and the kids had a fabulous time………..even finn who is now laughing at the santa photo and said he did look at the camera once.


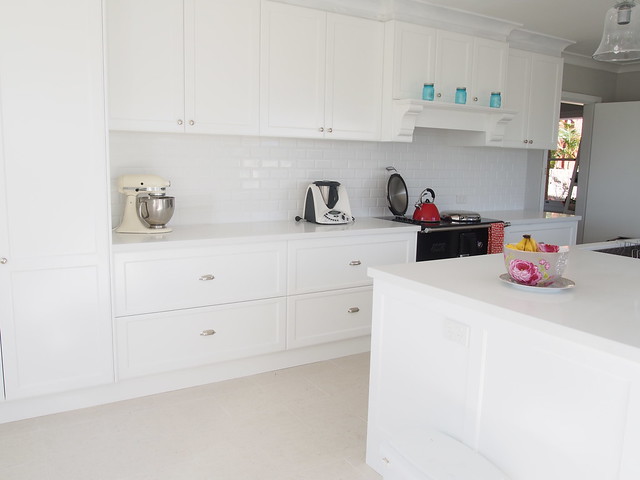
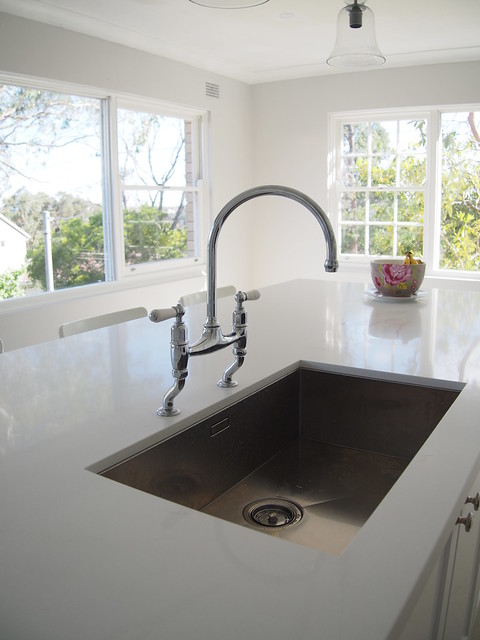 Sink
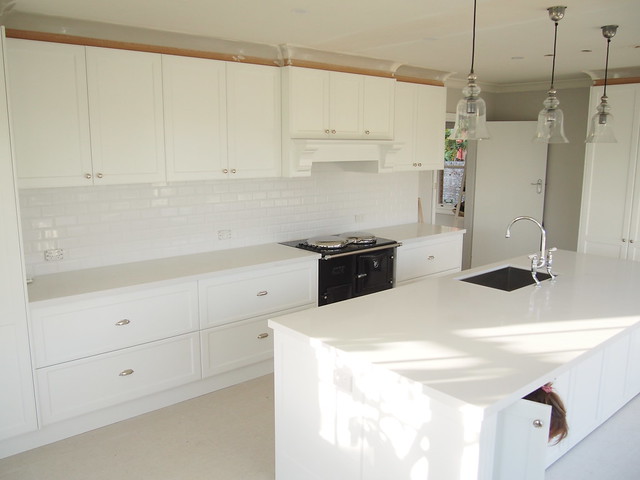
Sink