For years I’d been saying I must make myself one of these and then I made one and wondered why I’d waited so long. I then made about 12 for my school fete last year. They all sold that afternoon. These are quick, easy, fun and so practical. They sell out at any fete and make a great Mother’s Day gift or just an essential item for your kitchen
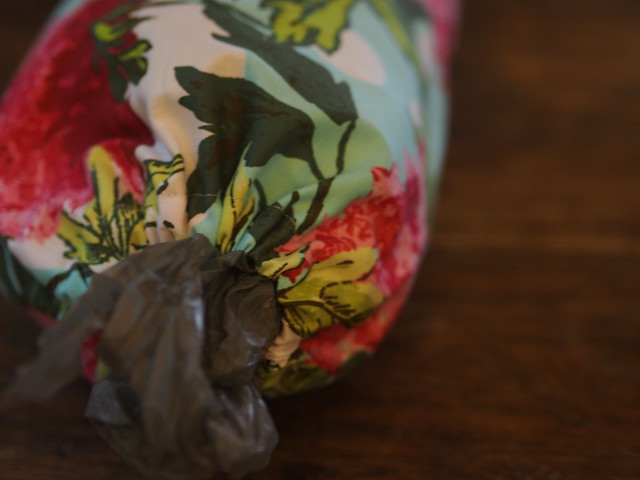
What you’ll need
1 fat quarter (about 50x55cm) fabric (I used Amy Butler for this project
50cm Elastic (any width)
Scrap of ribbon/tape for hanging loop
Sewing machine
Iron
Pencil, scissors, pins, safety pin or bobkin, thread
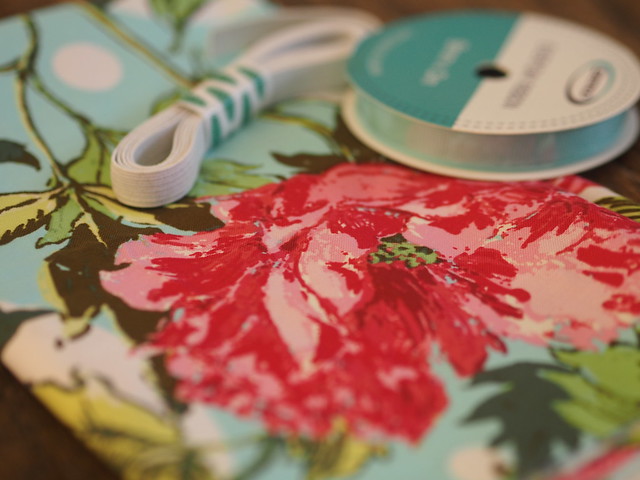
How to make it
Take your fat quarter and cut off any selvages. With right sides of your fabric together fold lengthways and pin the long sides together (this gives us longer carrier to fit more plastic bags in).
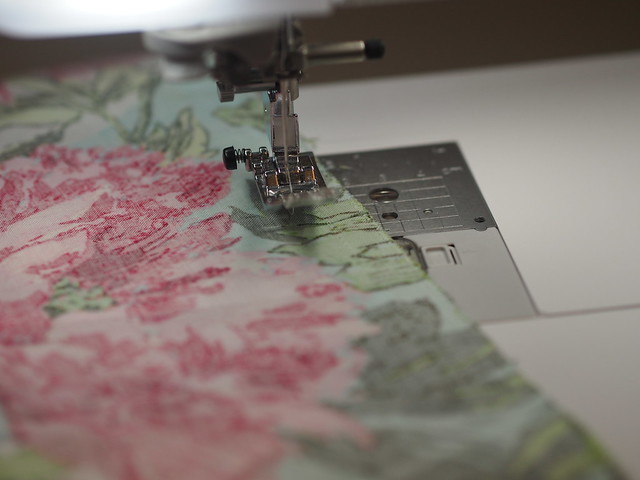
Sew a straight line from the top to the bottom of your long edge that you have pinned together and then zig zag/overlock edges
Now you are going to make elastic casings for the top and bottom of the carrier. Take your fabric to the iron and fold over a few mm’s around one end and press well. Fold over again by a width wider than your elastic and press well again. I like to put the elastic against the folded over section and check that it’s bigger.
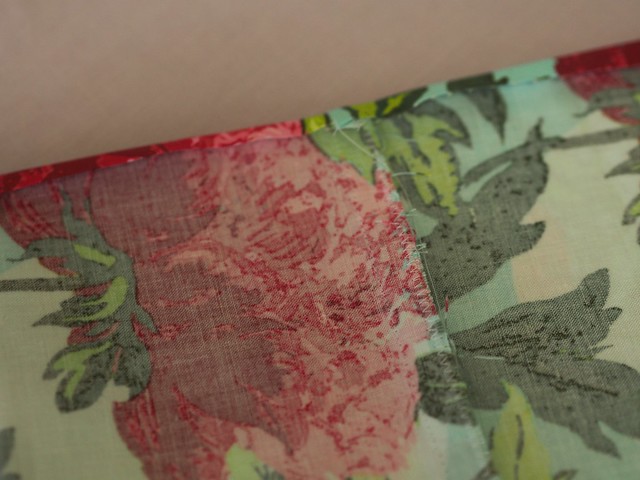

Repeat with the other end of the carrier and take to your sewing machine
We are going to sew close to the folded down edge but we are going to leave about a 1inch gap between our first and last stitches so that we can thread through our elastic. Repeat with the other end of the carrier.
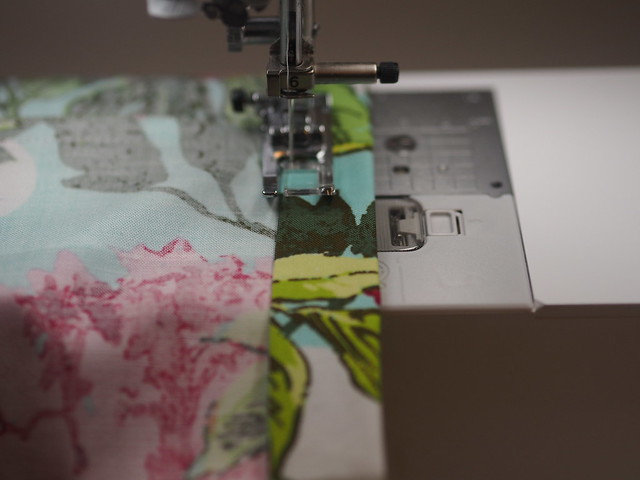
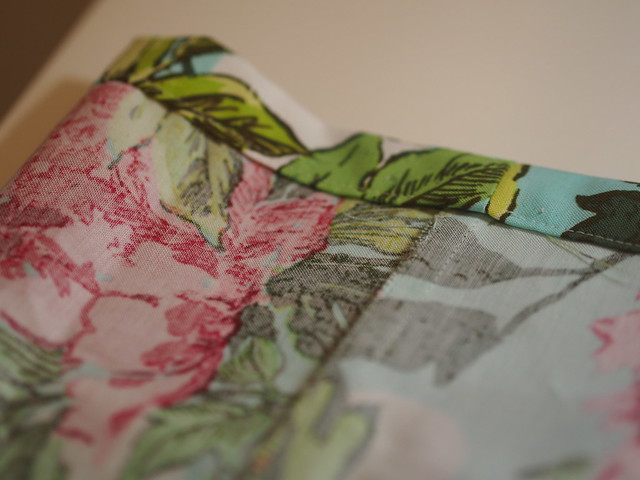
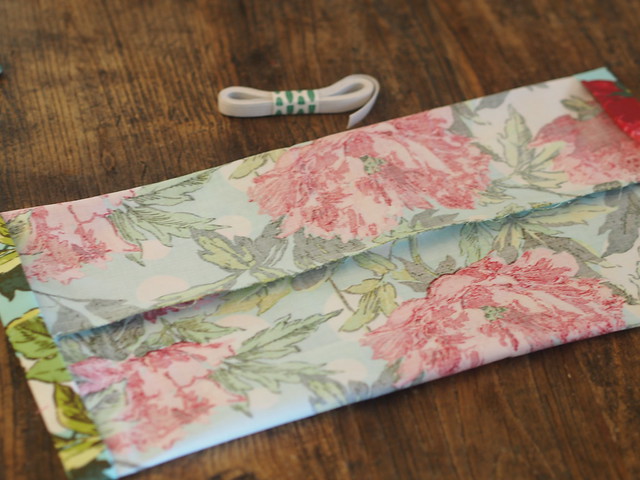
Now cut your elastic length to the width of your carrier. Cut 2 pieces
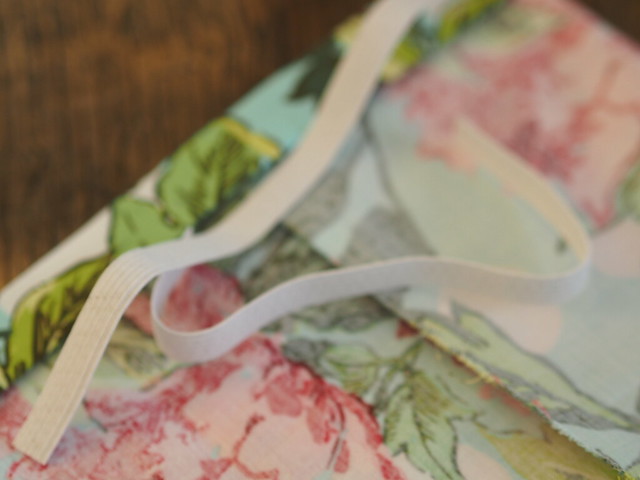
Take a large safety pin and place it in the end of the elastic with a pin at the other end. The safety pin is used to push through your elastic and the pin prevents the end of the elastic getting lost in the casing. Thread through the safety pin first and push through. Taking care not to twist the elastic remove the safety pin and pin and sew elastic closed. I do this with a zig zag stitch and go back and forth a few times
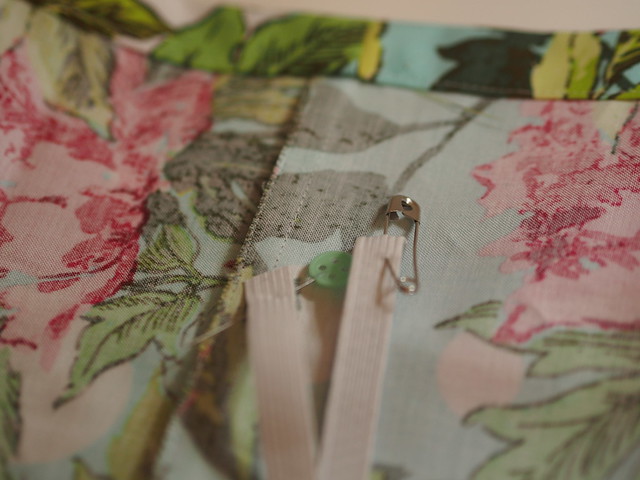
Repeat with the other end of the casing.
Now work out which is the top of the carrier (important if you have a fabric with an obvious design) and you are going to cut about 5cms of ribbon/tape for our hanging loop. I like to have the loop inside the bag but you might like it on the outside. It’s up to you. Using the line of the stitches that you sewed around the bag and with a pin on the loop sew up the casing closed making sure you sew through the layers of the loop as well as the fabric.
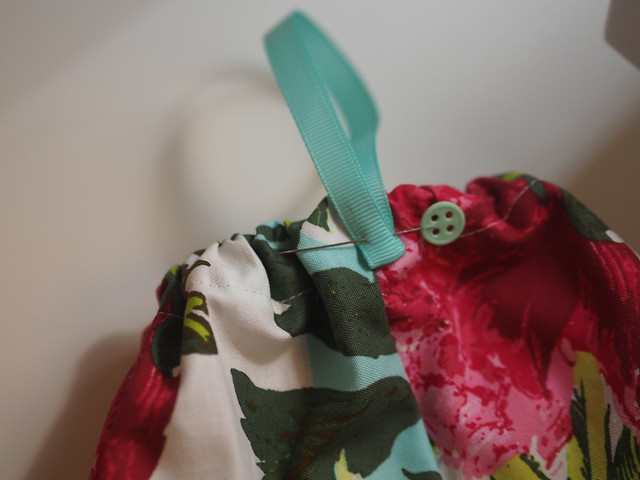
Sew closed the elastic casing at the other end of the carrier. Trim all threads and you are done.

These are very addictive.
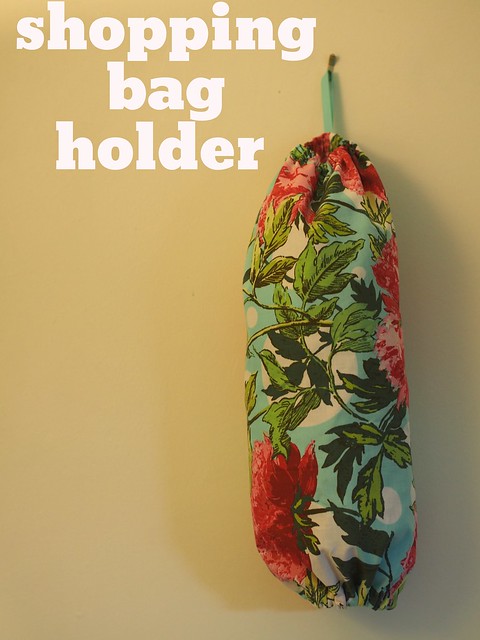


I swore I would never buy these. Yet last year I bought TWO… and it makes such a difference when organising.
Looks easy enough, maybe even I could make one!!
I love mine! Thanks x