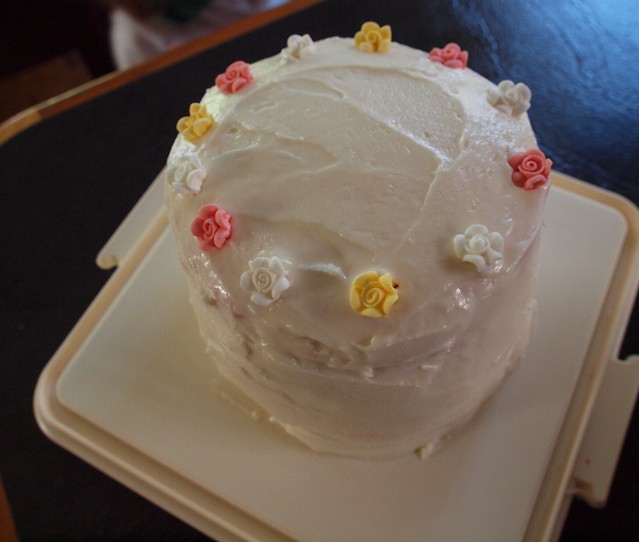
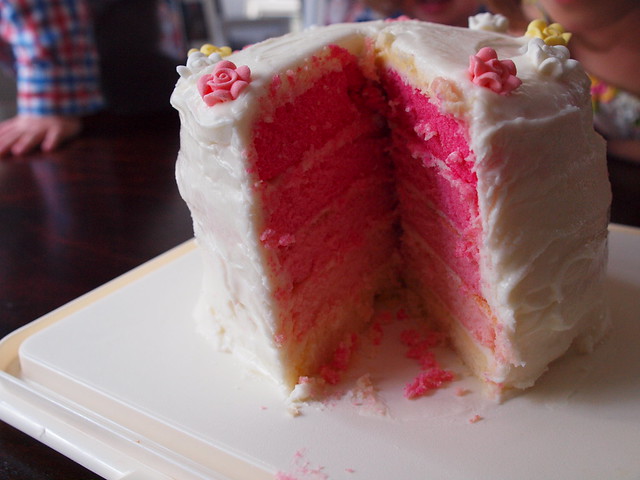
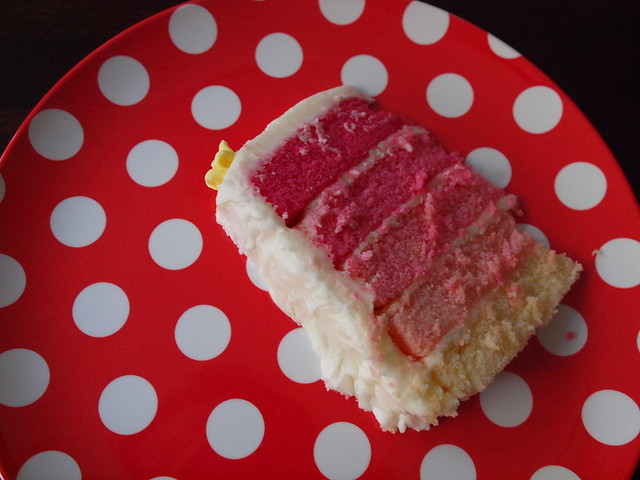
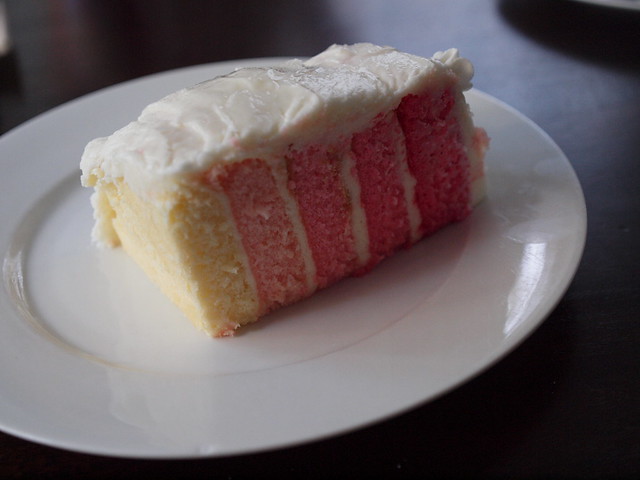
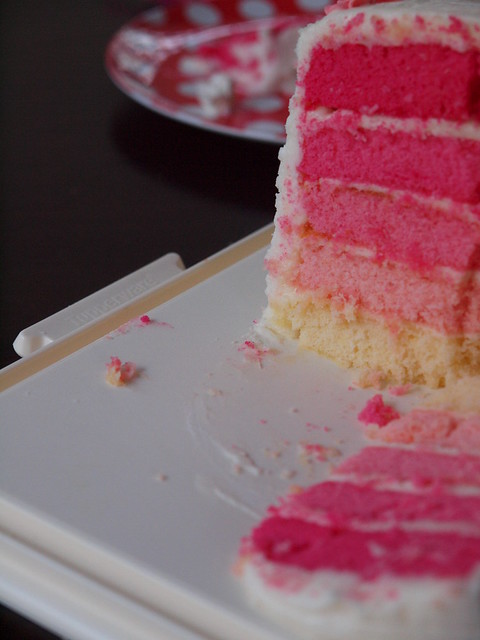
Almost half of the frosting will go in between the cake layers. Get your cake board or large plate ready and lay the plain cake on it in the centre. Place a dollop of frosting over the top and with a wet knife, spread the frosting evenly over the cake. Spread it right to the edges. Now repeat with the rest of your layers going from plain to the darkest pink.
– give yourself plenty of time to make and ice the cakes
– try to make your cakes the day before
– make lots of frosting. My recipe above will be the right amount for the entire cake
– because I know you’ll ask: each cake measured 16cm across and 2-2.5cm high.
– lay baking paper over your cooling racks as I got serious indentations from the rack onto my cakes
– trim your cakes if necessary, I did this with a slightly smaller cake tin
– keep the cat out of the kitchen because it will want to lick the icing
– forget about how much frosting you are putting on the cake and then eating
– the best diets always start tomorrow/on monday/next week/in the new year


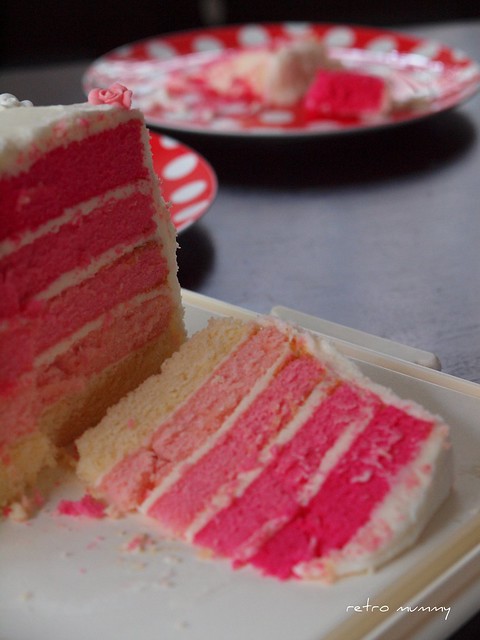
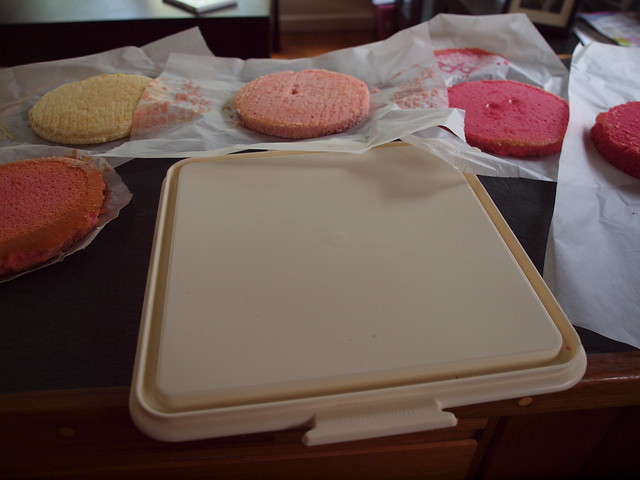
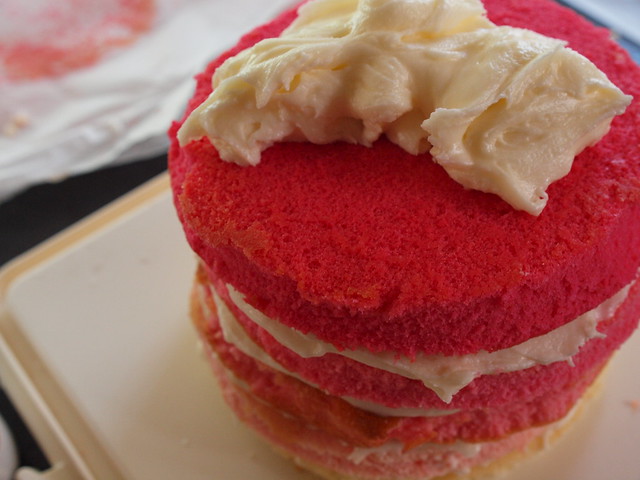
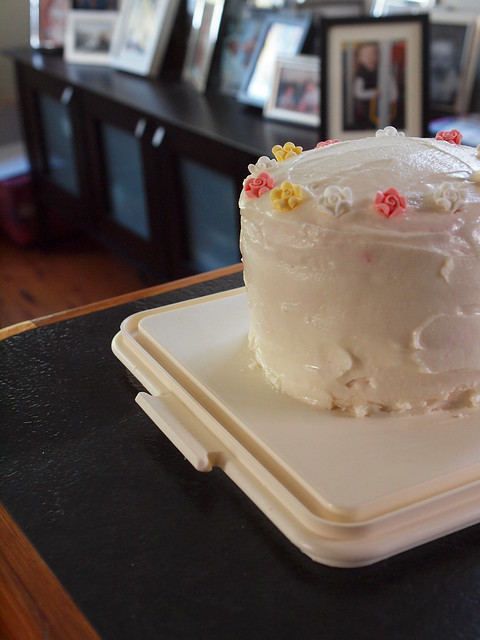
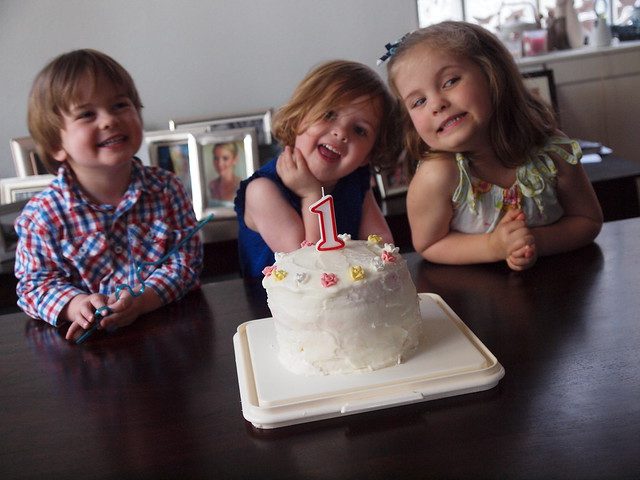
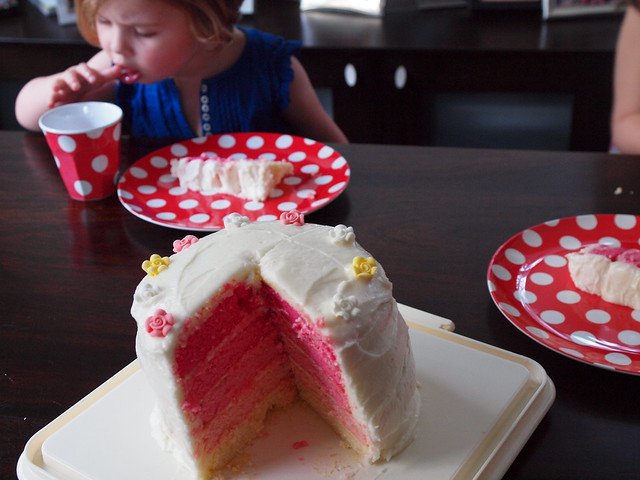

Hard to believe she is one already…. love the cake and the kids are very cute.. too
Happy Birthday Elodie
I think I have pinned this cake too! You did an amazing job!
Love it Corrie, you’ve done an awesome job. Happy Birthday Elodie, welcome to toddlerhood!
Happy Birthday, Elodie!
You did an amazing job Corrie, it looks so delicious and very girly. I looooove it. Well worth the effort.
That is very impressive and looks lovely. I was going to do something similar for my daughter’s 2nd birthday, but decided to do a strawberry shortcake one, still want to try this though. Happy birthday to your little one :)Sam
Would love to see a photo of the birthday girl with her cake? I, too, have pinned that cake – though may do a blue version here!
I just pinned this cake on my pinterest board yesterday! Thought I’d give it a go for my daughter’s 3rd birthday in a few weeks time. Thanks so much for the full instructions as now I’ll definitely give it a go!
I’ve never been game to try a rainbow cake. That looks divine! Happy birthday to your little one.
I really want to make this but it looks so scary to screw up!
sweet
Oh so pretty and you did a great job with all the pink layers! Looks delicious and such a special day for Elodie! Happy 1st birthday
Thanks so much for sharing that. I will be copying that one for my daughters birthday..you know how it is…they lloooooooove pink. Thanks again. Lisa
PS you did a great job on that cake by the way
Corrie your cake was awesome! Happy 1st Birthday Elodie!
Thank you so much for dealing tips with rainbow cake, I’m going to make my own soon for both of my girs, they have birthdays in November
You have just made me ridiculously hungry for cake!
I think I like that much better than the multi-coloured rainbow cake that everyone seems to be making at the moment.
I want buttercream now…..
And where is the photo of Elodie with cake in her face?? LOL
Love the cake. I saw it too, and was thinking about who to do it for!
Oh I love this Corrie, looks absolutely gorgeous, you’ve done a stella job. My Nana used to make me a rainbow cake every year when I was little, I just loved them!
Gorgeous pics, but I was looking through for a pic of the beautiful birthday girl, no Elodie shots!
Happy Birthday to the gorgeous princess xo
Oh god love your little girl! Happy birthday Elodie! What a clever mumma you have to make such a pretty cake! God bless x
Looks fabulous Corrie, thanks for sharing your tips. I might have to attempt this for Adelaide one day.
Beautiful… a perfect first birthday cake for a gorgeous girl. Can’t believe she’s 1 already. Terrifying actually! Big kisses to Elodie xx
I so want to make one of these for my pink mad girl – you have made it look easy! Happy Birthday to your wee girl.
Amanda xox
WOW!!! I’ve seen these rainbow cakes on Pinterest, and thought AMAZING! Thank you for sharing, you made that look easy enough for me to actually try!
Wowee zowee! this is a fab cake alright! Thanks so much – my nearly 4 year old thanks you in advance
How funny, we’ve had a birthday boy and I went for a blue rainbow cake!
Time certainly does fly!
Sandra x
Lovely! did you need to use supports to hold the cake together – everything I’ve read suggested it, but if I can get away without straws in my cake, I’d like to 😛
Wow it looks beautiful! Fantastic job! I have been wanting to make a rainbow cake but wasn’t sure how to pull it off. Now I know, Thanks for sharing! Oh and Happy Birthday to your current littlest one, Elodie.