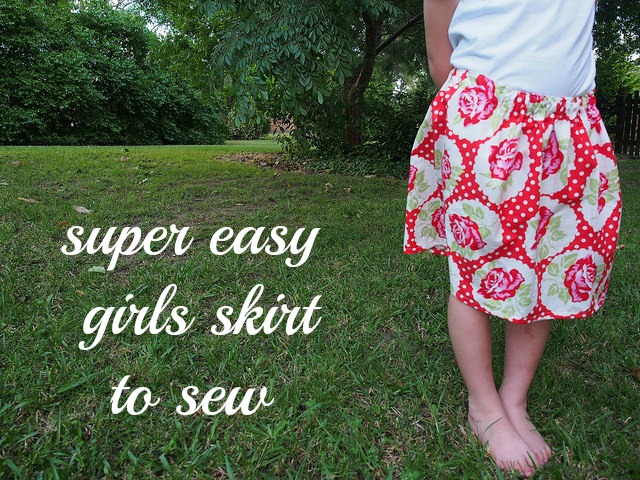
Summer is coming, Christmas, parties, presents, places to go and things to do. So I’m cutting into my stash and whipping up a few pretty skirts for my girls AND doing a quick tutorial of how I do my skirts. I certainly don’t own this technique and won’t be the first person to share how I do them but they are so quick and easy and you’ll be making them in no time. They are also great for budding sewers and absolute beginners.
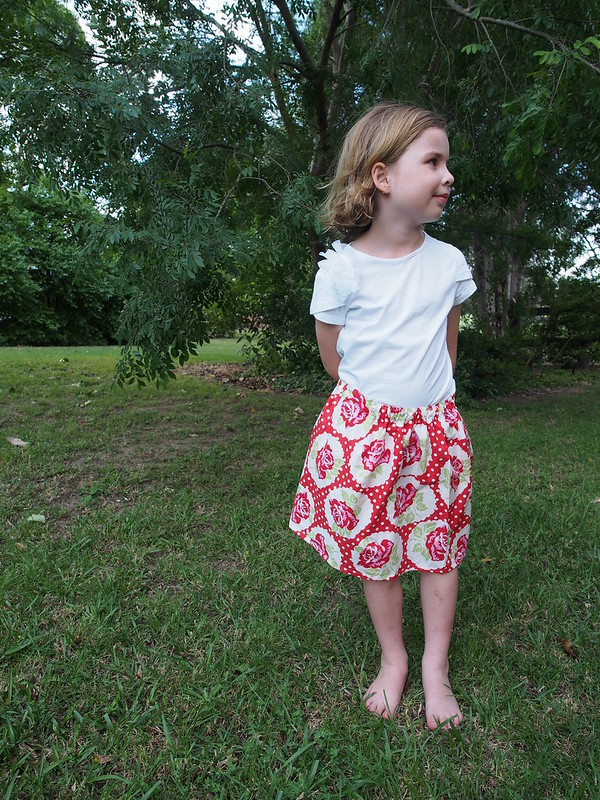
you’ll need about 1/2 yard – 1/2 metre cotton fabric (we used just under 1/2 yard for this skirt pictured which is about a size 5-6)
elastic for the waistband at least 1/2 inch wide
thread, pins, scissors or rotary cutter and ruler
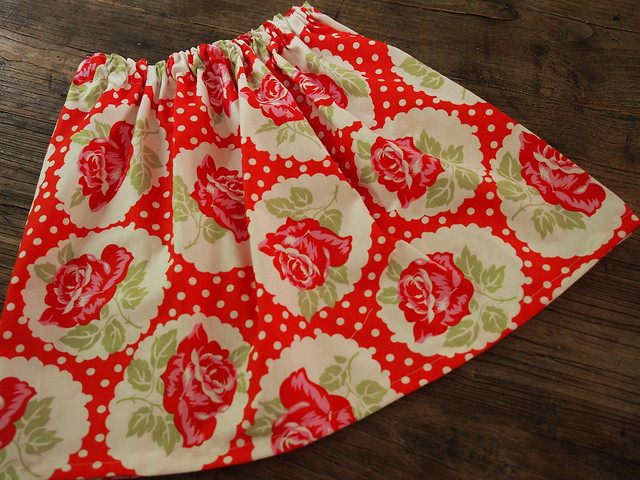
1. measure out your fabric. To make a size 3-4 skirt I did 15 inches (about 38 cm) of fabric by the width (about 44 inches/112cm wide). For the skirt photographed which is size 5-6 I did 17 inches (43cm) fabric by the width. We are keeping the fold in the fabric so it’s 15 or 17 inches x 44 inches. For longer skirts you can just add 2 or more inches to the 17 inches or find your daughter’s favourite skirt and add 2 inches to cover the waistband and hem.
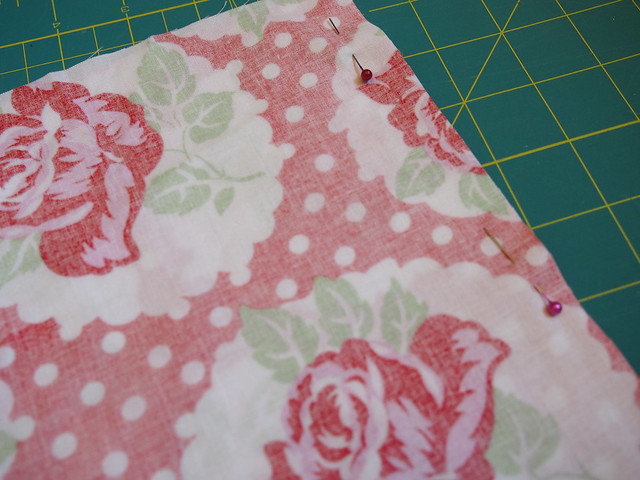
2. remove selvages from fabric with a rotary cutter or scissors
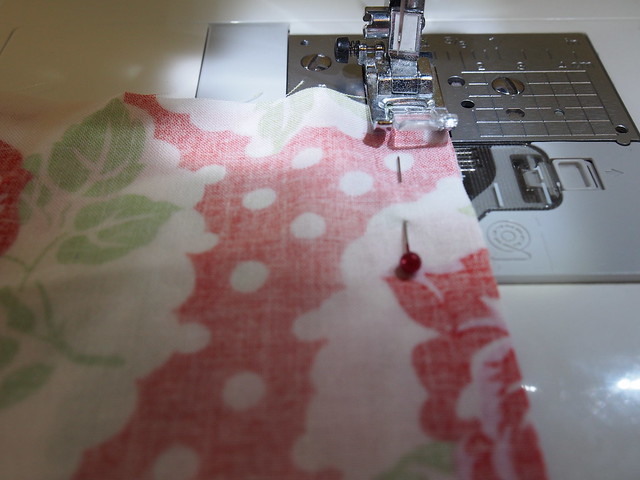
3. with right sides together you are going to sew the short sides together. I use the needle left position on my machine and with the foot of the machine on the edge of the fabric off I go.
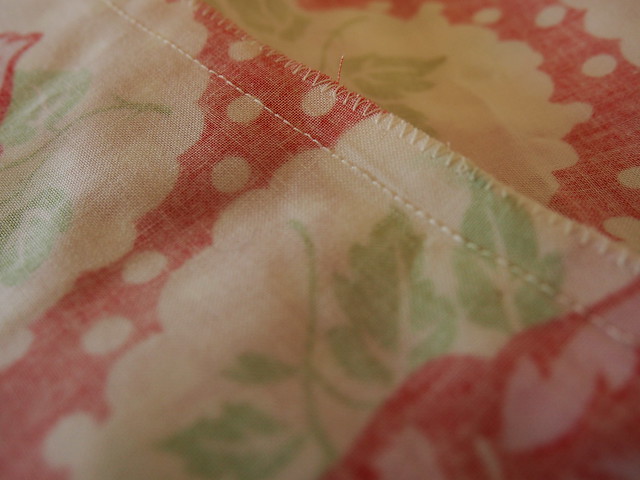
4. overlock or zig zag your edges to prevent fraying once it goes in the wash
5. take your skirt to the ironing board with the wrong side of the fabric facing out. Press over your seam to one side. Now we’re going to create our waistband casing. With your fingers, press over a small amount of fabric at the top of the skirt and press with the iron, continue around the top edge of your skirt until you’ve come back to the starting position.
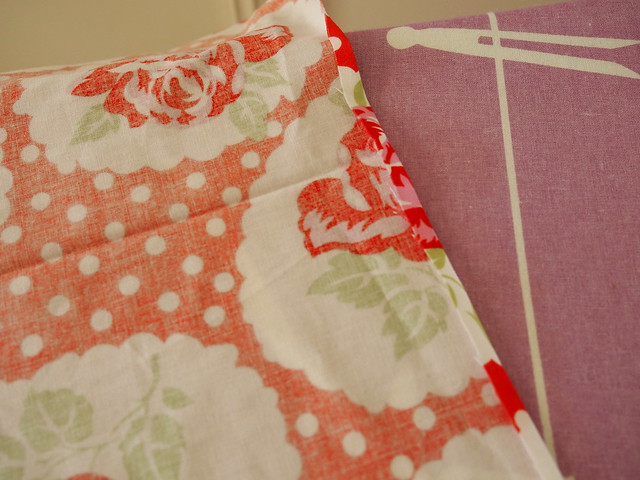
6. Now press over again by an amount wider than your elastic. You don’t want it too much bigger (in fact it’s probably a bit too wide in this pic) but I like to do a row of stitches at the top of the skirt to make a neater waistband and also prevent the elastic twisting. Press with a hot iron to keep the fold in place. You could pin it down to help you with sewing if you’re a beginner/new sewer.
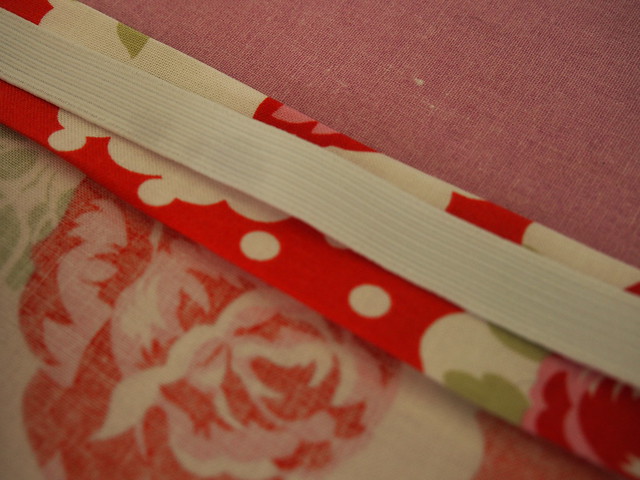
7. Now we’re going to do the hem in a very similar way. At the bottom of the skirt press over a small amount and go around the bottom of the skirt until you are back at your starting point. Fold over again by about 1/2 – 3/4 inch and press with the iron right the way around the skirt.
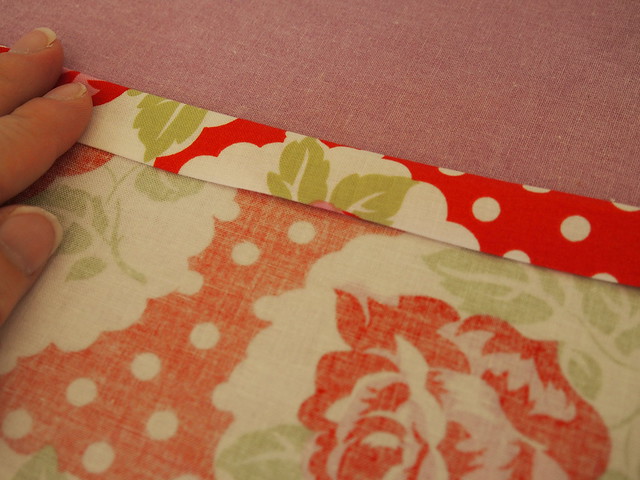
8. This is what your skirt will look like. At one end we’ve got a bigger folded over edge for our waistband and at the other we’ve got our hem. Now we are ready to sew.
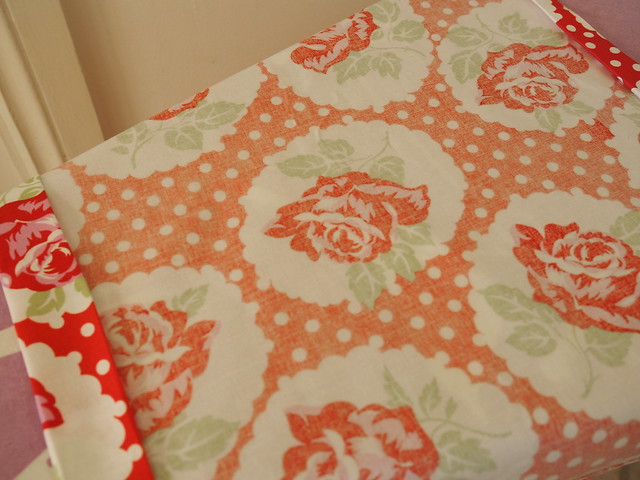
9. OK let’s get sewing, with our needle in the needle left position we are going to do our waistband and we are going to start an inch out from our side seam and finish an inch out, that space will leave us enough room to thread in our elastic. I like to sew on the wrong side of my fabric so I can see that I’m catching the folded over edge with my stitches.
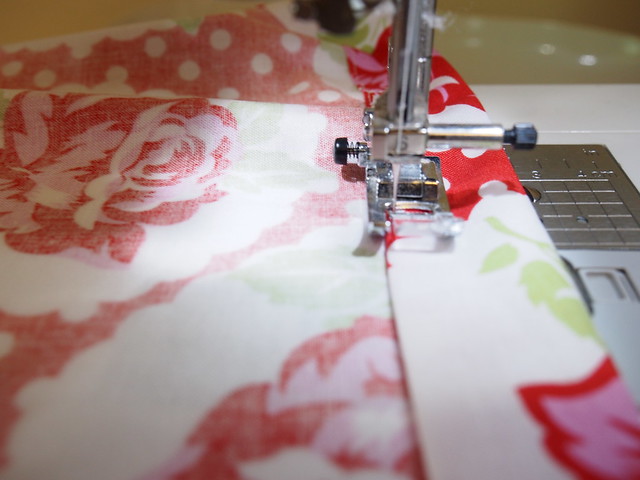
10. Now before I thread the elastic for my waistband I like to do the hem while I’m in that frame of mind. Now I like to sew my hem with the right side of my fabric facing up. Go right around from start to finish and don’t race it because you want a nice even edge. I do needle left position and edge of the foot on the edge of the fabric if I can. If you’re nervous that you might not catch the folded over edge underneath then you could do what you did for the waistband with the wrong side of the fabric facing up.

11. To measure my elastic I actually grabbed one of the kid’s shorts and measured it against that plus a cm or two. As a rough guide this was 16-18 inches but we are a bit slim on the waist here (sorry I mean my kids not me! I have the opposite problem). So use a skirt/shorts you have that fit well or measure the child’s waist and cut your elastic to that size and then you can take an inch or two off to make it sit nicely.
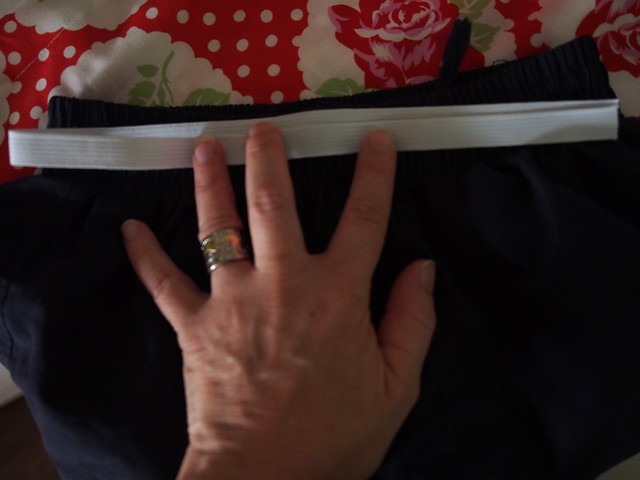
12. Put a pin in one end of the elastic and a safety pin in the other. The pin will prevent you losing the elastic at the end and the safety pin is to push the elastic through.
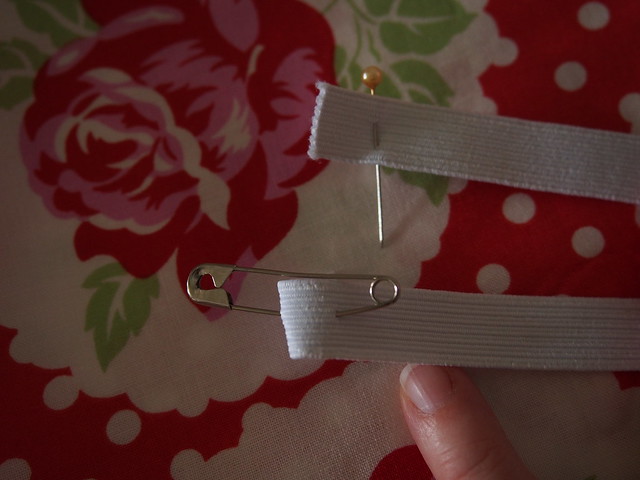
13. thread that elastic through by pushing the safety pin into the space you left open in the waistband and the end of the elastic with the pin won’t go into the waistband but will be there waiting for you when you’ve come out the other end of the waistband.
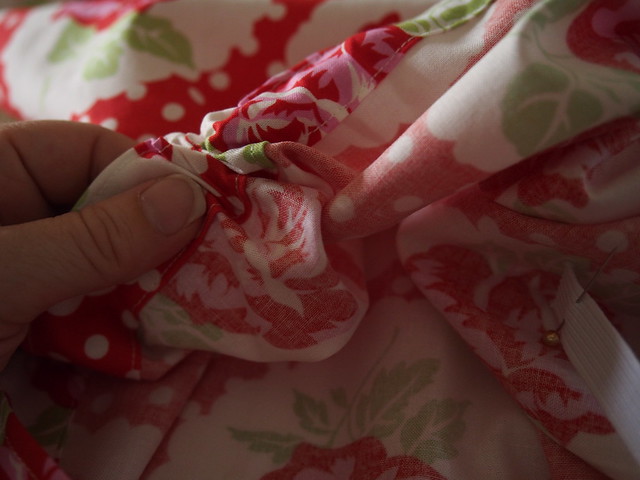
14. pin the ends of the elastic together and don’t twist!!!!! nothing worse than closing up your waistband and twisting the elastic.
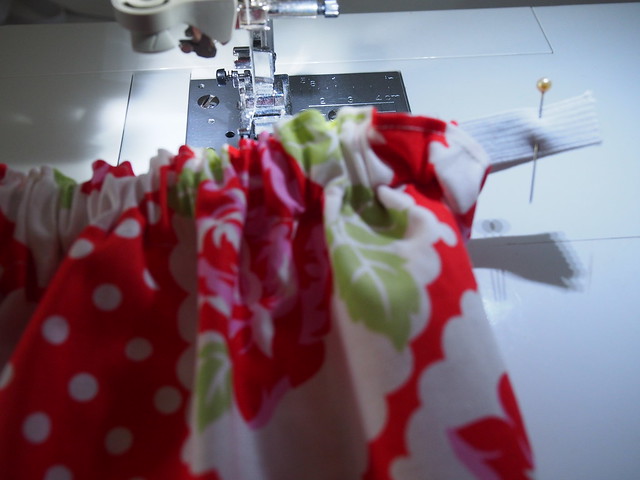
15. Now I just like to do a little zig zag back and forth to secure the elastic ends together and trim any excess elastic.
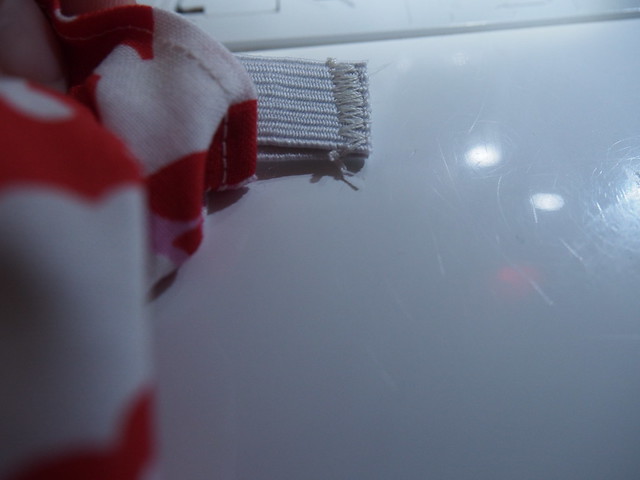
16. Now we’re going to stitch between those 2 inches we left to thread our elastic through and I just line up my stitches with where I left off. Don’t sew through the elastic and you have one finished waistband and skirt! You can see I’ve done a top row of stitches on the skirt so if you feel your waistband casing is too wide, unthread the elastic and sew a top line of stitches, I think it makes for a cute waistband.
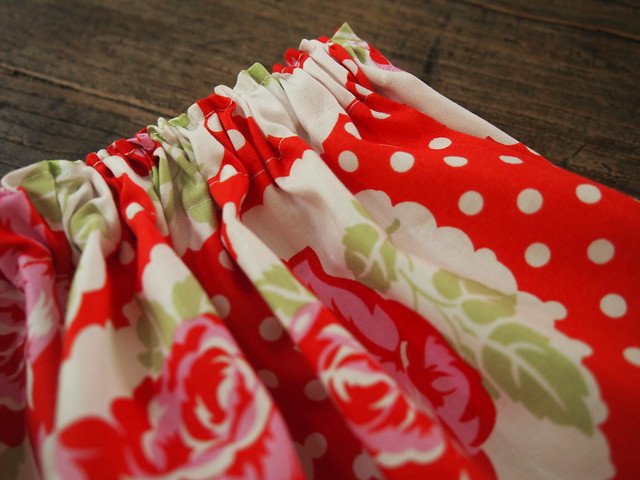
17. Give it a press and you are done. Admire your work.

18. Grab a model to make sure it fits and take a photo!
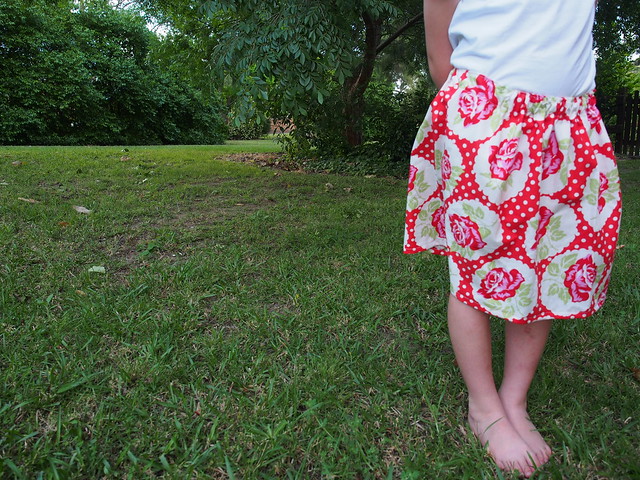
We like to team our skirts with plain t-shirts. You can also applique some of the fabric from the skirt on to your tee……but I’m loving this white tee and skirt combo and in fact it’s out and ready for church tomorrow morning.
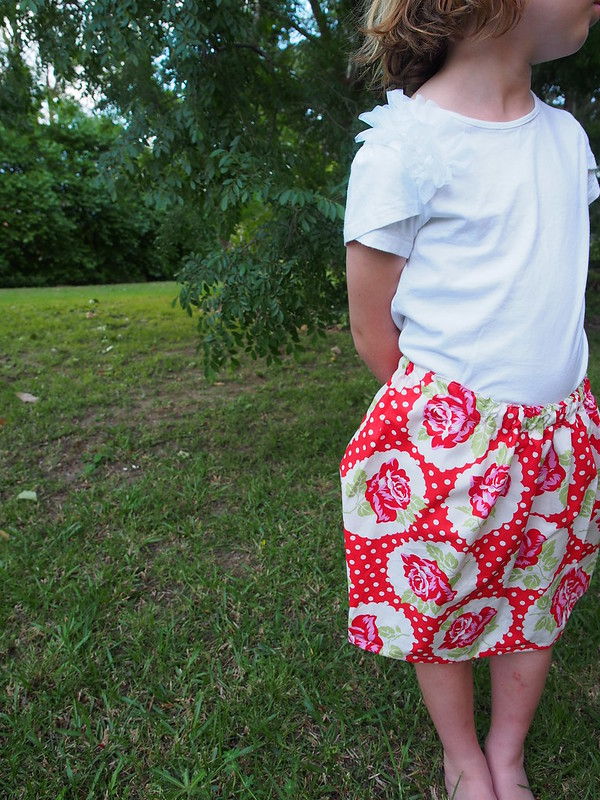
If you’ve got a question or anything isn’t clear just ask! I hope you find this helpful and I promise you won’t stop at one.


Very pretty. These little skirts can be dressed up with button trims or a bit of lace as well.
Thanks for sharing this – might have to whip up a couple for my daughter. Love having quick easy handmade projects I can do for gifts or for my own daughter.
Thankyou! I keep meaning to get into sewing – I’ve got two little girls, one of whom is in a real skirts-and-tights phase, but it always seemed too hard. Even ‘easy’ patterns aren’t easy, but with all these photos, I feel like I can manage this. Thanks!
So pretty and I love the fabric. Thanks for the tute
I still do a double take when someone mentions Summer and Christmas in the same sentence!!! Love the skirt, almost makes me want to take up sewing.
I very much want to be able to sew clothing items for my grandchilden to be. I do hope that I have girls so that I can try this out.
thank you for this,i just wonder what does left foot needle position mean?sorry iam a beginner…is is a special sewing foot?
Thanks! I’m all inspired I think 4 girls will have pretty new skirts this weekend Miss 11 and Miss 10 might even make their own.