Here is an easy and fun tutorial for how to sew a simple cushion!
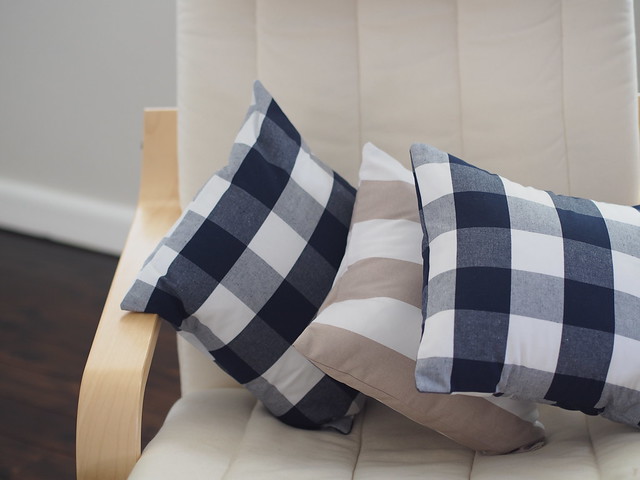
There was so much choice for fabrics but I found myself in the upholstery section and really drawn to these colours. I came home with 6 cushion inserts for $36 and 3 m of upholstery fabric priced from $9.99 – $12.99 a metre…….I was shopping on a sale day and paid $7.99 a metre for the fabric. Nice. It’s a good idea to use a fabric that is a little thicker than a regular cotton or poly cotton if you are making couch cushions. If you’re making bed cushions then you can get away with a quilting cotton. I need something a bit sturdier with my lot.
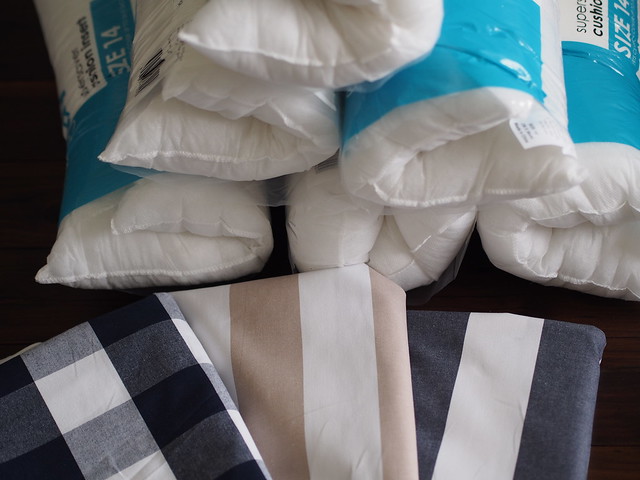
I do a very simple cushion and I’m going to tell you how you can do it at home. Simply take your cushion and measure across. You are going to cut your front piece fabric to the dimensions of the cushion and not add any seam allowance. This gives you a nice plump cushion rather than a flat one and cushions tend to go a bit flat over time so better to start out with a nice plump cushion.
Now the back piece is going to be a simple fold enclosure so we’re going to cut two more pieces the same size as the front piece and you want the fabric pattern to be the same direction as your front piece. We’re going to fold those pieces over to make the back enclosure and we don’t need any buttons or anything fancy making it a great project for a beginner.
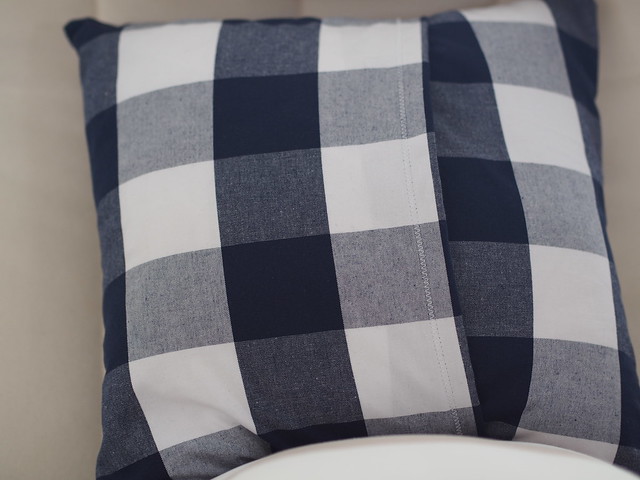
OK let’s begin. I am using 14 inch cushions so I cut 3 squares that were 14×14 inches. I used my rotary cutter and mat but you could use a pencil and ruler to rule up your squares and then just cut with some fabric scissors.
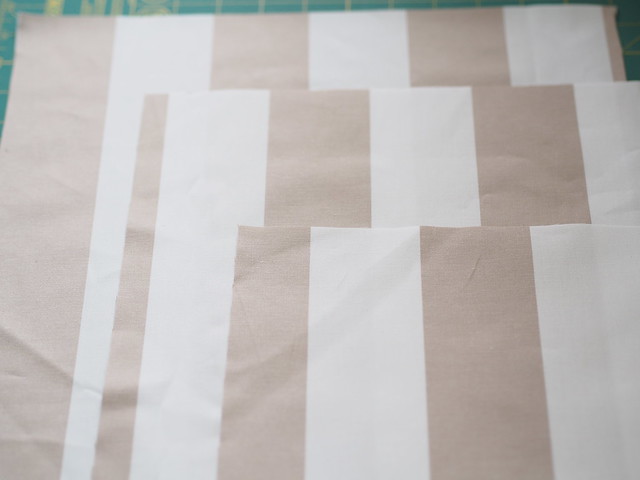
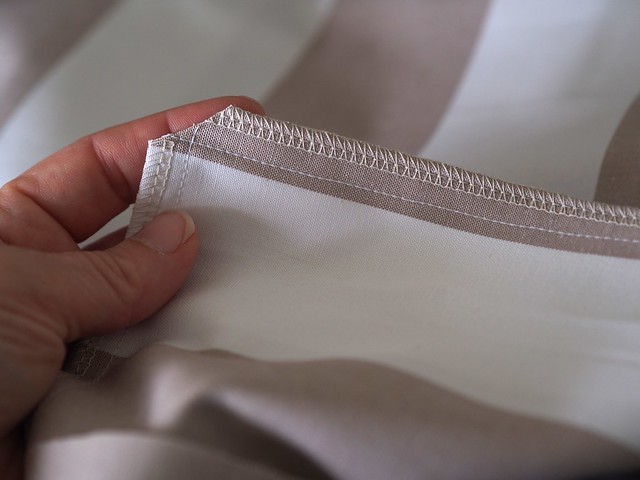
Take one of the pieces of fabric and lay it right side up. Take another piece and lay it right side down with all edges lined up. Fold about 1/3 of the fabric back (vertically) and repeat with the other piece so that the back folds overlap each other. The raw edges of the fabric are what you can see in this picture below and one of the folded edges can be seen which will be the inside fold.

Now we are going to hem the back enclosure pieces, I like to do a zig zag stitch for something different and sew with the right side of the fabric facing up and the folded over edge is underneath. Sew about an inch or two in and using the markings on your machine, keep the edge of your fabric in line with the same marking as you sew for a straight line. If you don’t trust yourself or you’re a beginner then just use your normal seam allowance.
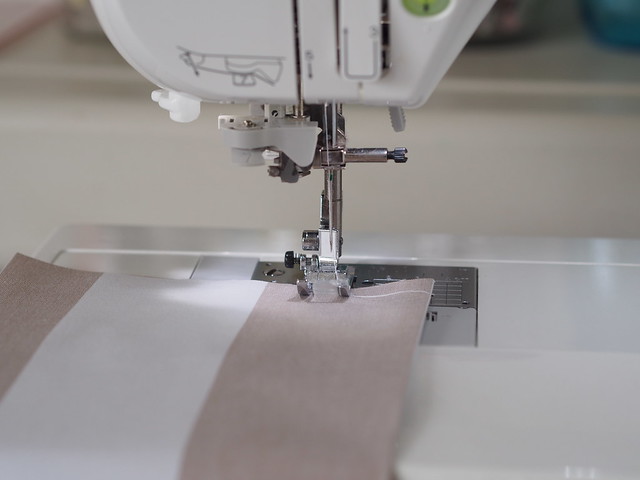
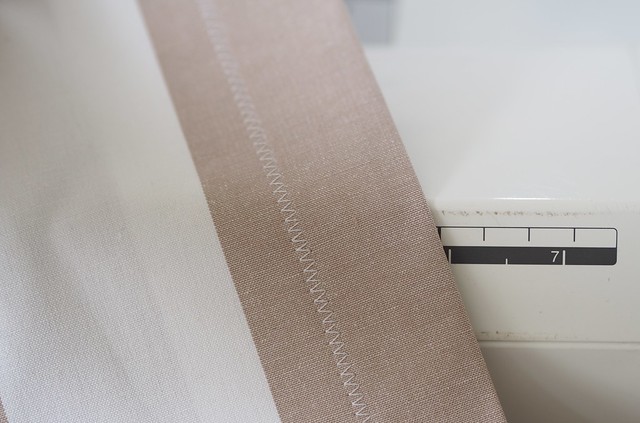
Now place the back pieces with right sides facing to the right side of the front piece of the cushion and pin all around. A little tip is to have the pins placed so that they are easy to pull out as you sew. So imagine how you are going to put the fabric through your machine with the fabric on your left and your pins are running along that edge with the pinheads at the bottom and as you are sewing and approaching the needles you can pull them out.
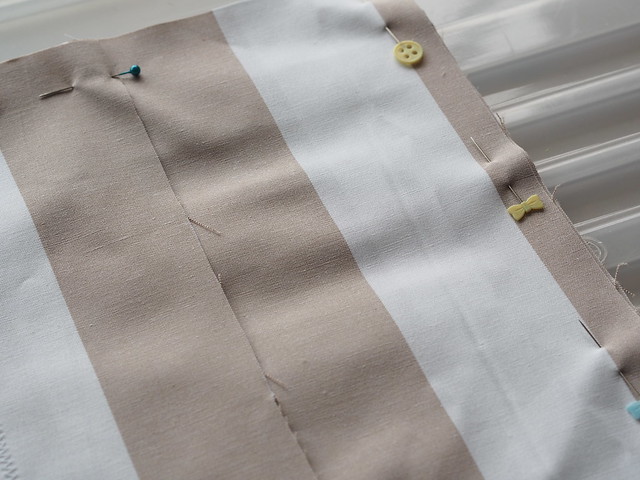
Sew around with you usual seam allowance, I like to do a 1cm.
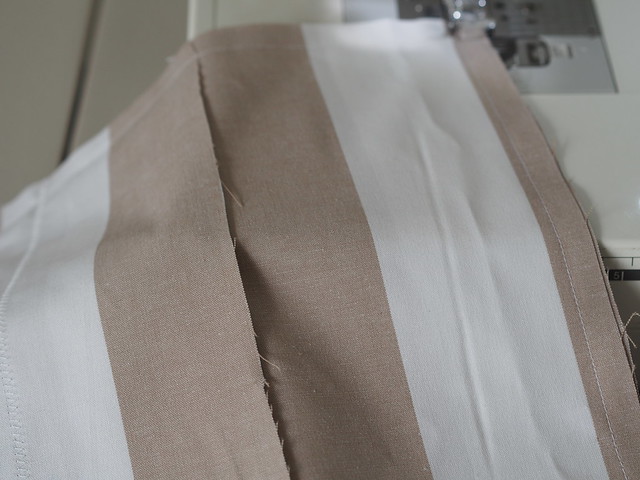
Overlock or zig zag your edges.

Trim your corners so they turn out nicely. And turn out your cushion so that the right side of the fabric is facing out. I also like to use a little pin to pull out any pesky corners or push them from the inside out.
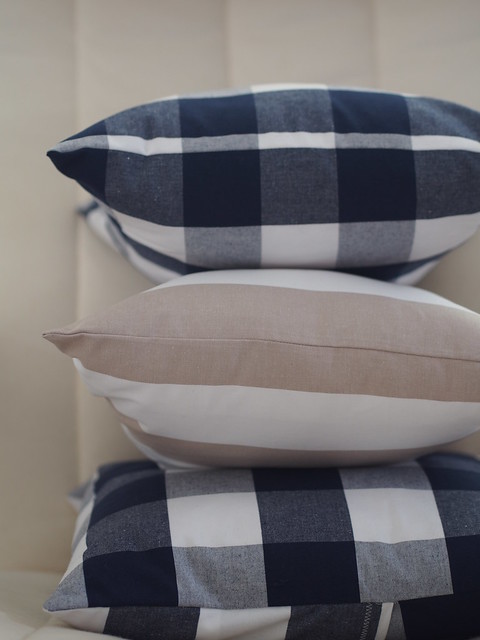
Pop your cushion insert into your lovely new cushion cover and you are done.

No really, you are. That’s it. No zippers, no buttons, no velcro you are done. Make up the rest, pop on your couch or bed or your favourite chair, step back and admire your handiwork.


Thanks for the directions – I really love the colours you have used.
I don’t understand that you cut the front piece the size of the cushion if you don’t have a seem allowance.
Maybe I am missing something.
Thanks again.
oops I should have added it gives you a nice plump cushion! thank you!
if I cut it plus the seam allowance it would fit the cushion and sit kind of flat and not be nice and plump. Cushions tend to get a bit flat over time so better to start off really plump
Corrie:)
thanks Corrie, I thought that might have been the explanation. That’s why your cushions look so plump and comfy.
yep, trust me it’s because I did a whole batch once with ikea fabric and no plumpness:( learnt my lesson that year one of those times where you say well I learnt the hard way but at least I won’t do that again:)
Thanks Corrie, you’re a gem and I’ll be off to Spotlight this week for the fabric love the natural and beige stripe…have a great week, Lyn
they were so lovely and classic and I knew they wouldn’t go out of style!!!! good luck:) thanks Lyn
Ohhhhh glad to see I am making my own cushions the right way!! I do them exactly the same, and I love it, so simple…… They look so fresh Corrie! Gorgeous!
yep I’m all about keeping it simple:)
Lovely colours.
Just a couple of questions (sorry)
I make my cushions in a similar way but just use a long rectangle folded into thirds and sewn along the outer edges (I finished the end seams with overcasting – inside, and turned – outer end).
Is there a benefit to cutting 3 seperate peices? And why do you make the back panels big but fold back so much – rather than narrow seaming a slightly narrower rectangle?
Thank you, I’m guessing there are great reasons for the points above – your cushions look much better than mine 😉
I actually did the 3 separate pieces to make it the easiest for readers. Often I’ll cut a slightly wider piece than my front piece and cut in half but decided keep it all simple for readers with 3 squares:)
Corrie:)
Thank you, that makes sense
You’ve given me that excited anxious I-need-to-craft-now feeling looking at your goodies from Spotlight!! Best make a trip there soon I think!! Oh and fab cushions! x
happy to inspire:) my machine is sooooo dusty! same with my overlocker, happy crafting!
Brilliant as usual
I really needed this post today, thank you!!
Thanks for the tutorial about the sewing of cushions covers which will help in a great manner for home improvement and provide a new look to the house .
I’m impressed, I must say. Seldom do I come across a blog that’s both educative and entertaining, and
without a doubt, you’ve hit the nail on the head. The issue
is an issue that too few people are speaking intelligently about.
I’m very happy that I stumbled across this during my hunt for
something relating to this.