Search Results for: sewing machine

my new sewing machine Brother DreamWeaver XE

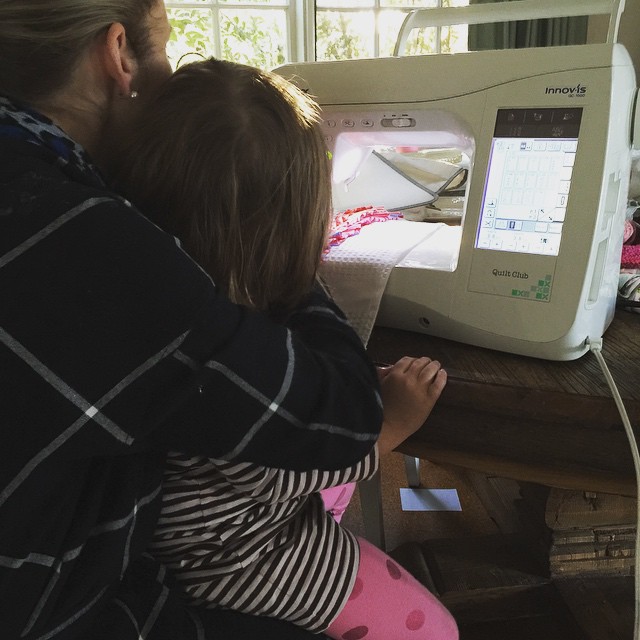
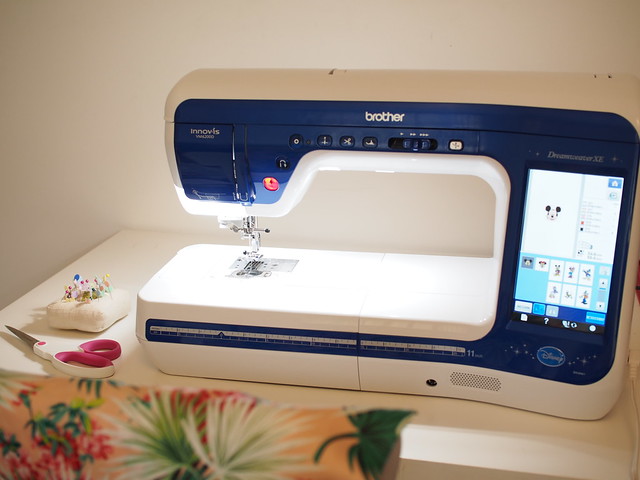
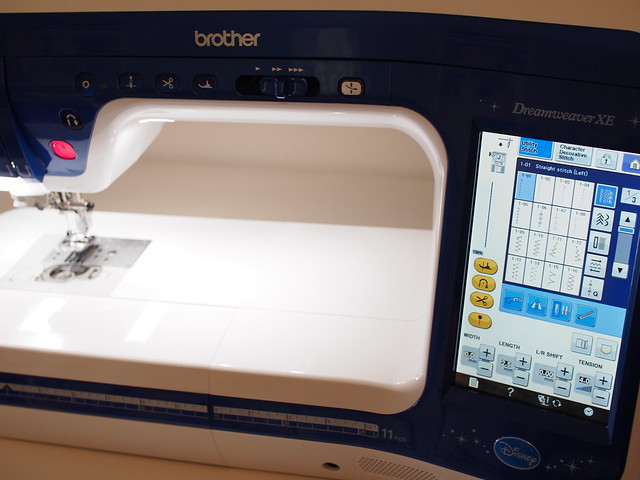
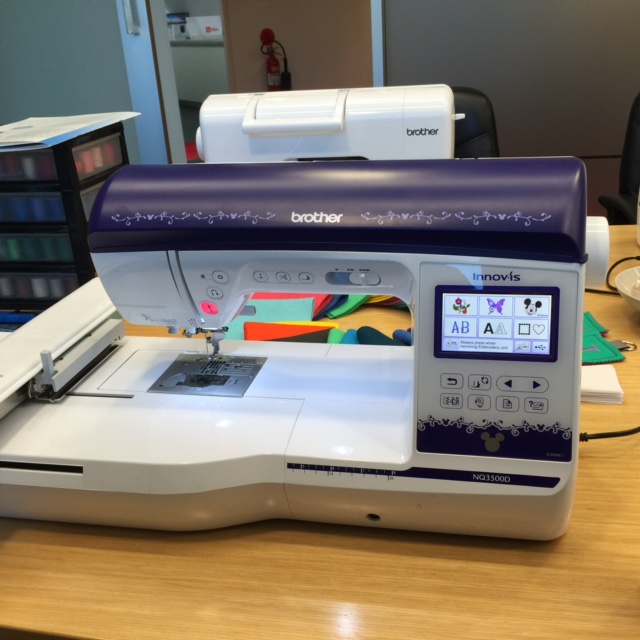
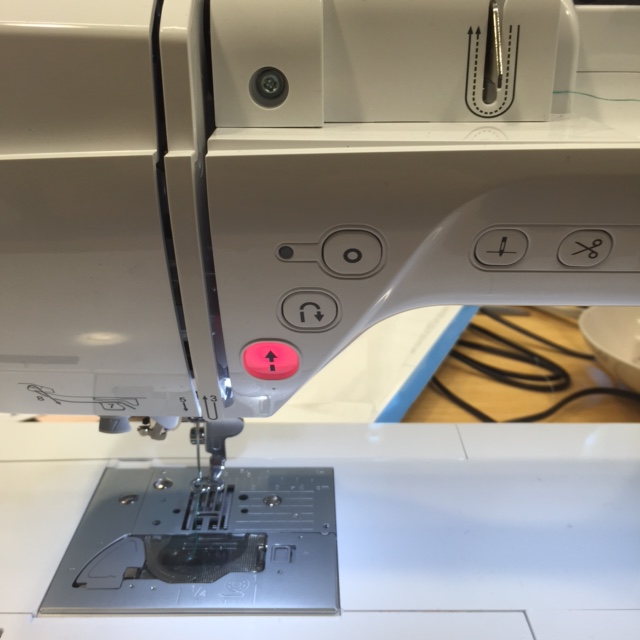
What a week! My new sewing machine arrived on Monday so I thought to myself this is going to be a great week but it went downhill after that with a few things going on here at home. A super quiet weekend without my van did have an upside – I could grab some time to have a play on my new toy. And isn’t it lovely?

Thanks to Brother Australia I’ll be doing all of my sewing and quilting on this baby….when all of my big babies are asleep or at school. We’ve tried doing some sewing while little people played in the room behind me but it didn’t go down too well and embroidery threads have been made into big towers that fall over and then rolled around the room.

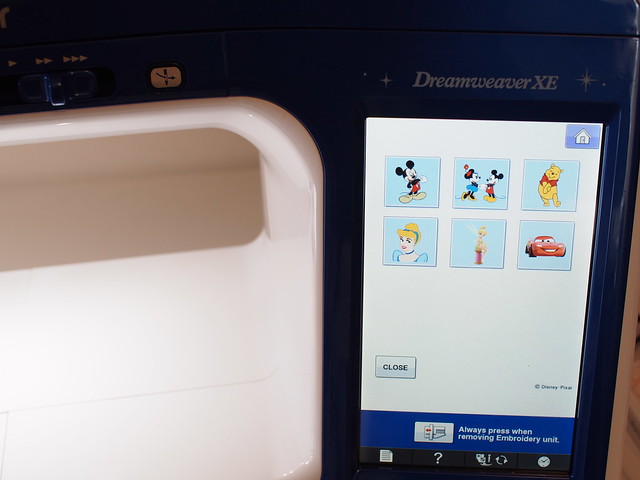
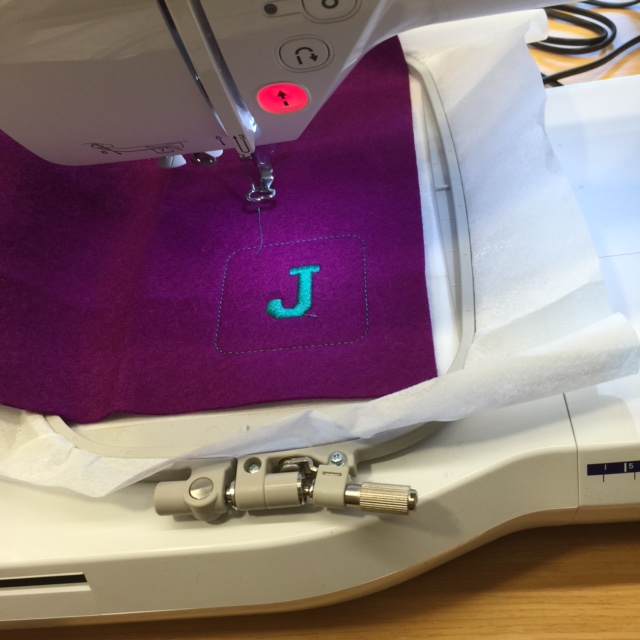
This is a Brother Dreamweaver XE VM6200D and the D means that it comes with Disney embroidery designs built in. They have been so cute to play around with and with one major Toy Story fan in the house I had to go to the shops and get all the colours to make him a Buzz lightyear. But I’m still finding my way around the embroidery functions so am hoping to do Buzz this weekend. You simply click on one of these icons and it takes you to more pages of designs.

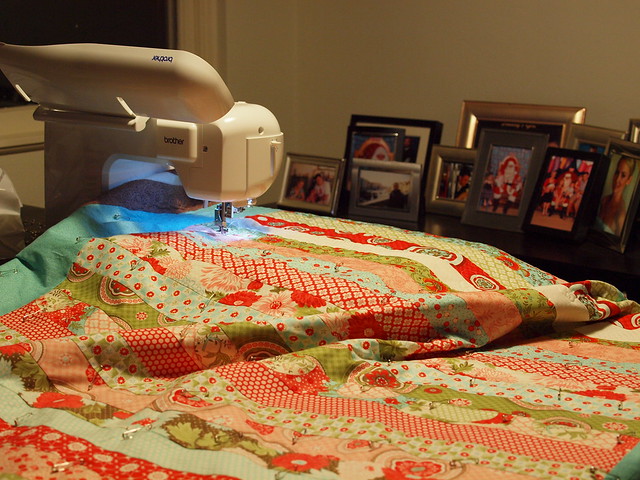
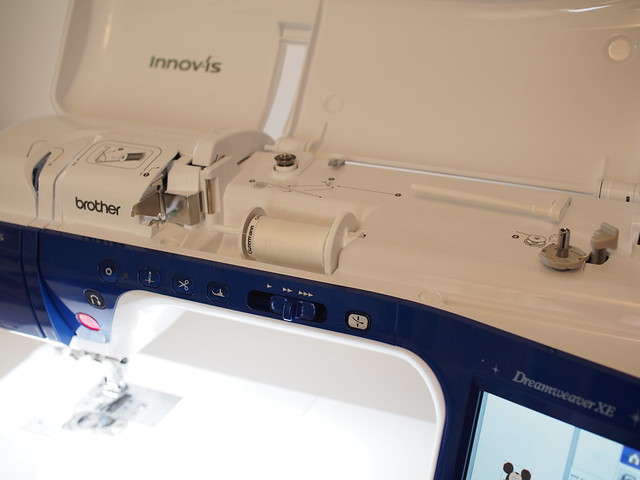
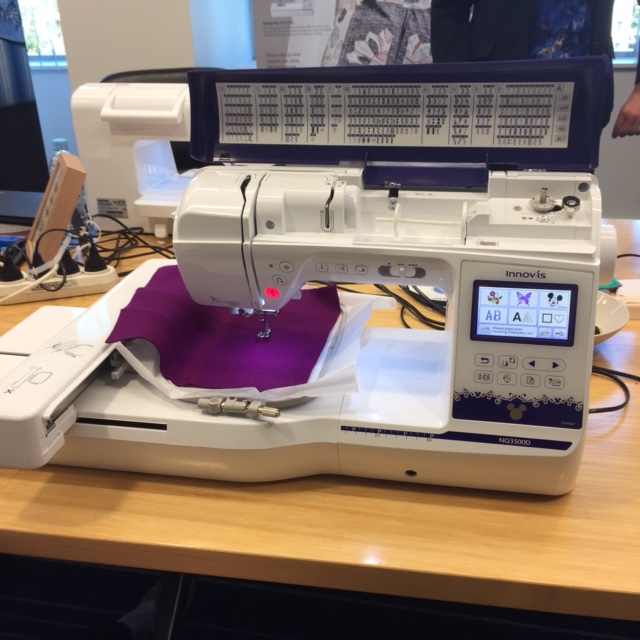
There is so much to love about this machine  and so much to learn and make the most out of it. I am blown away by the size, the lights which really light up the work surface, how easy embroidery is (I did have the manual in one hand teaching myself but so far so good), the colour touch screen and the number of ways I’m going to be able to use this beautiful machine. Oh and the needle threader is so much fun. My last needle threader saved my life on many occasions and this one is just more high tech and like a little robot that comes down, wraps the thread around and goes back again. I love it.

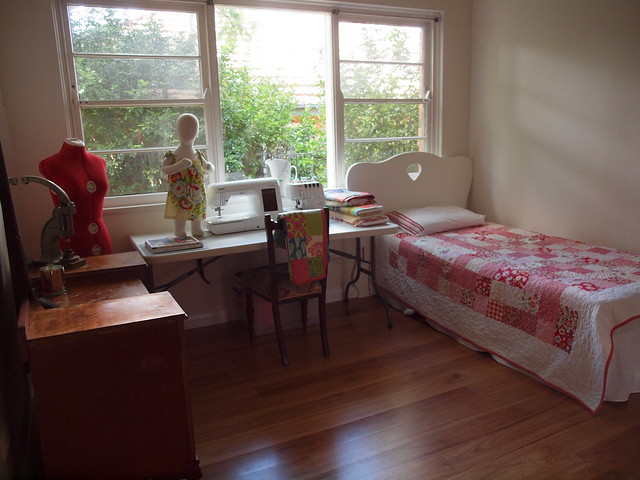
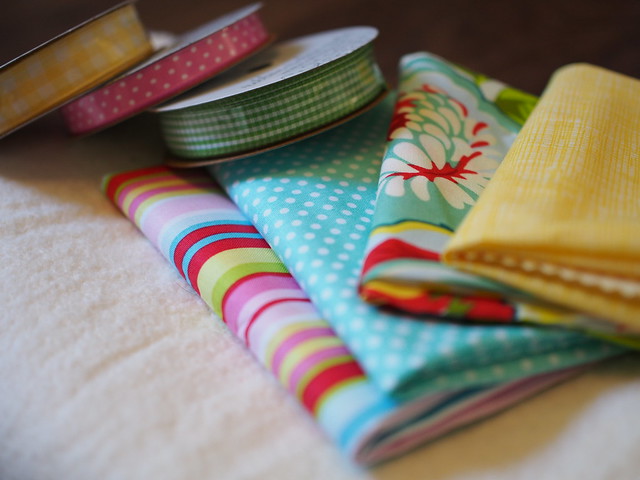
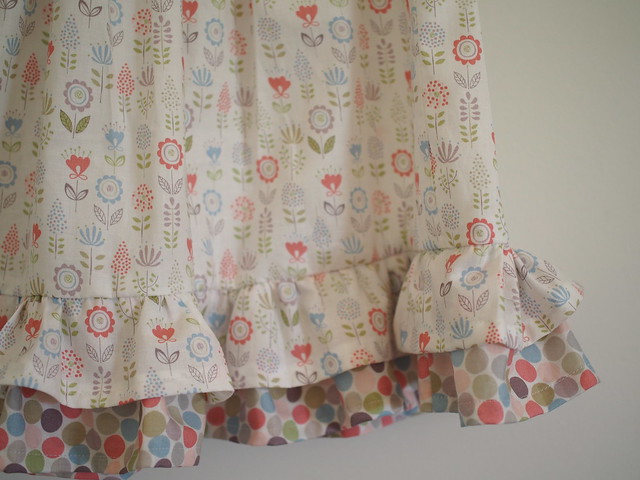
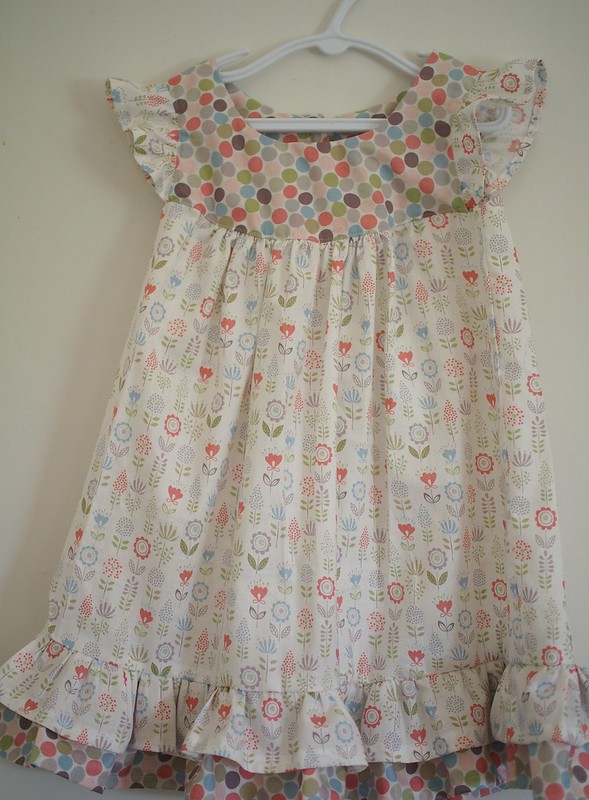
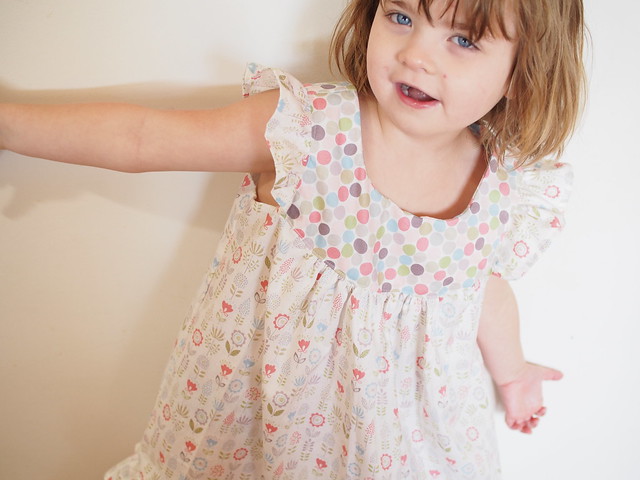
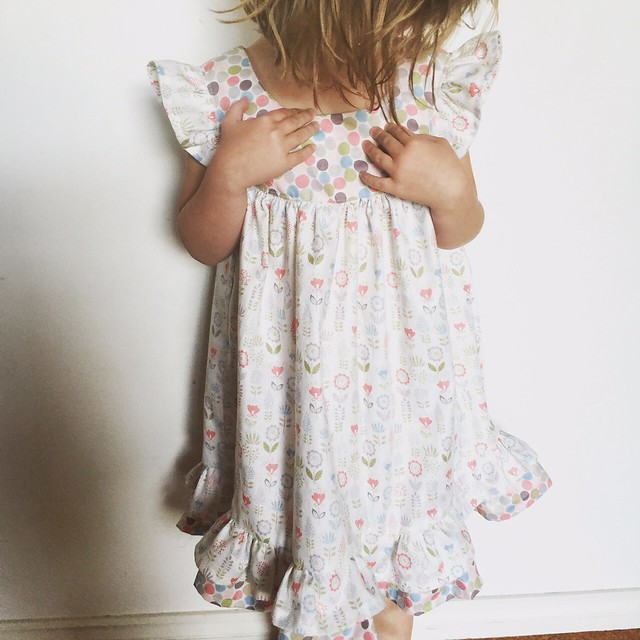
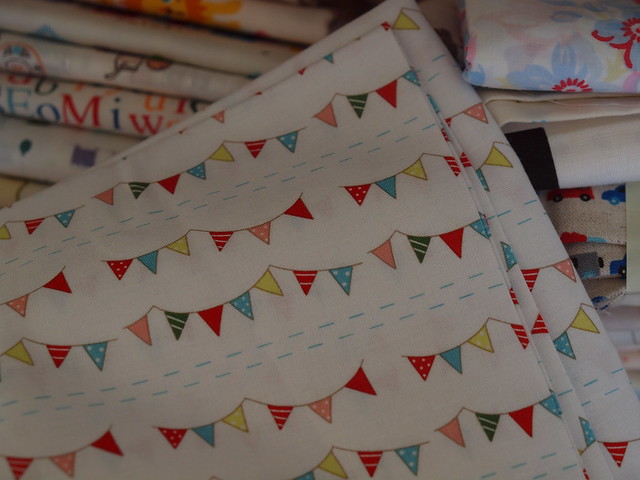
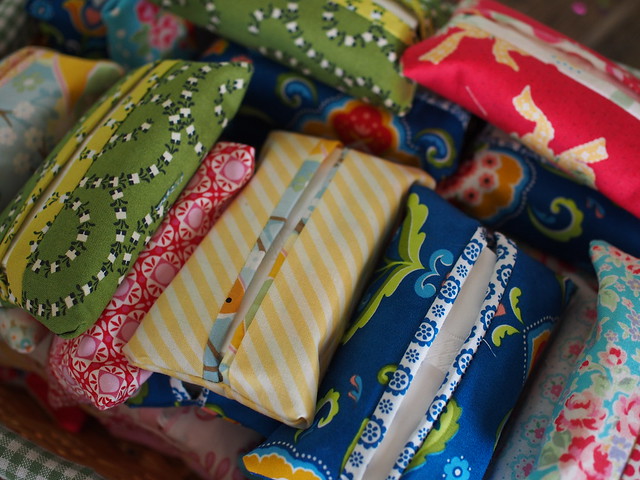
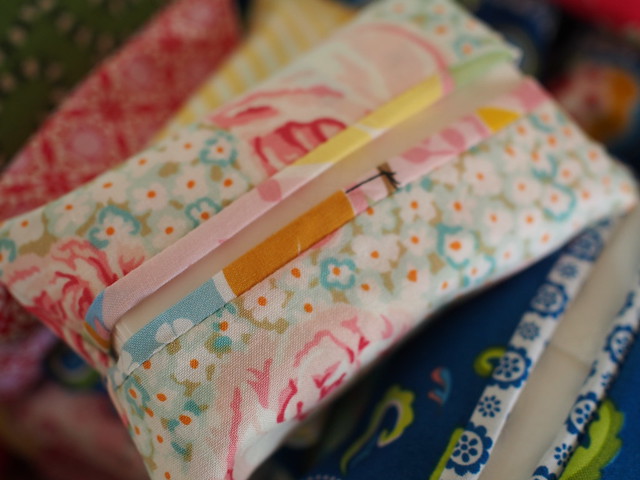
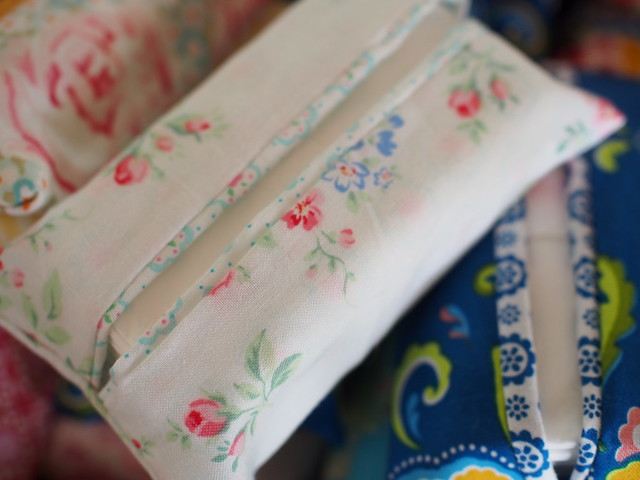
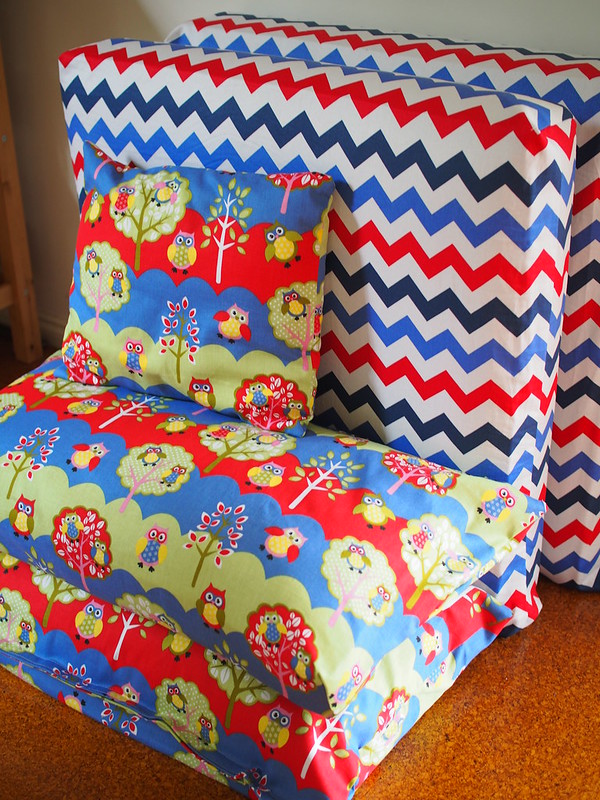
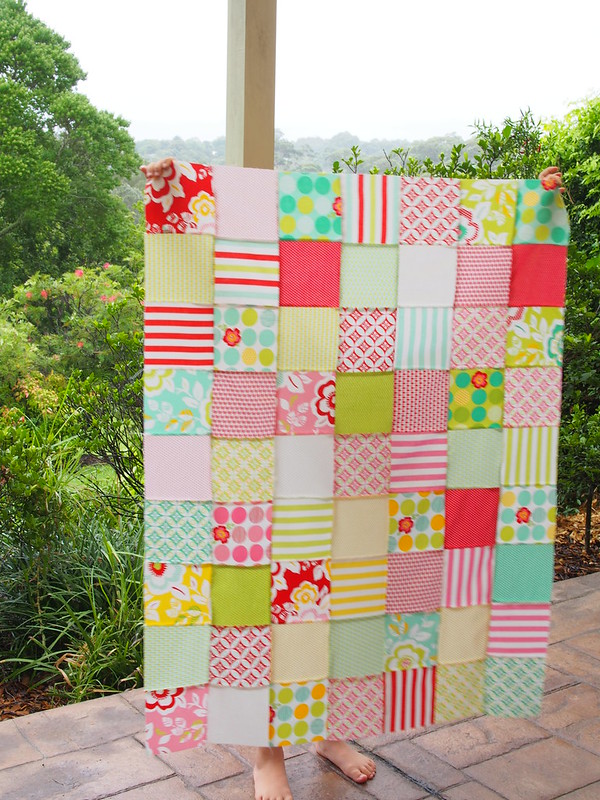
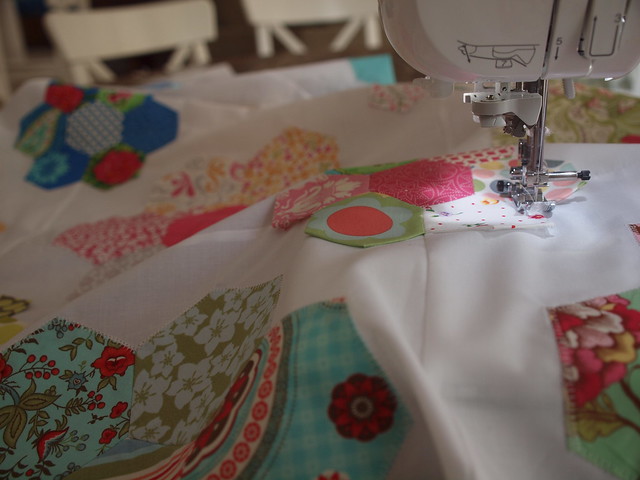
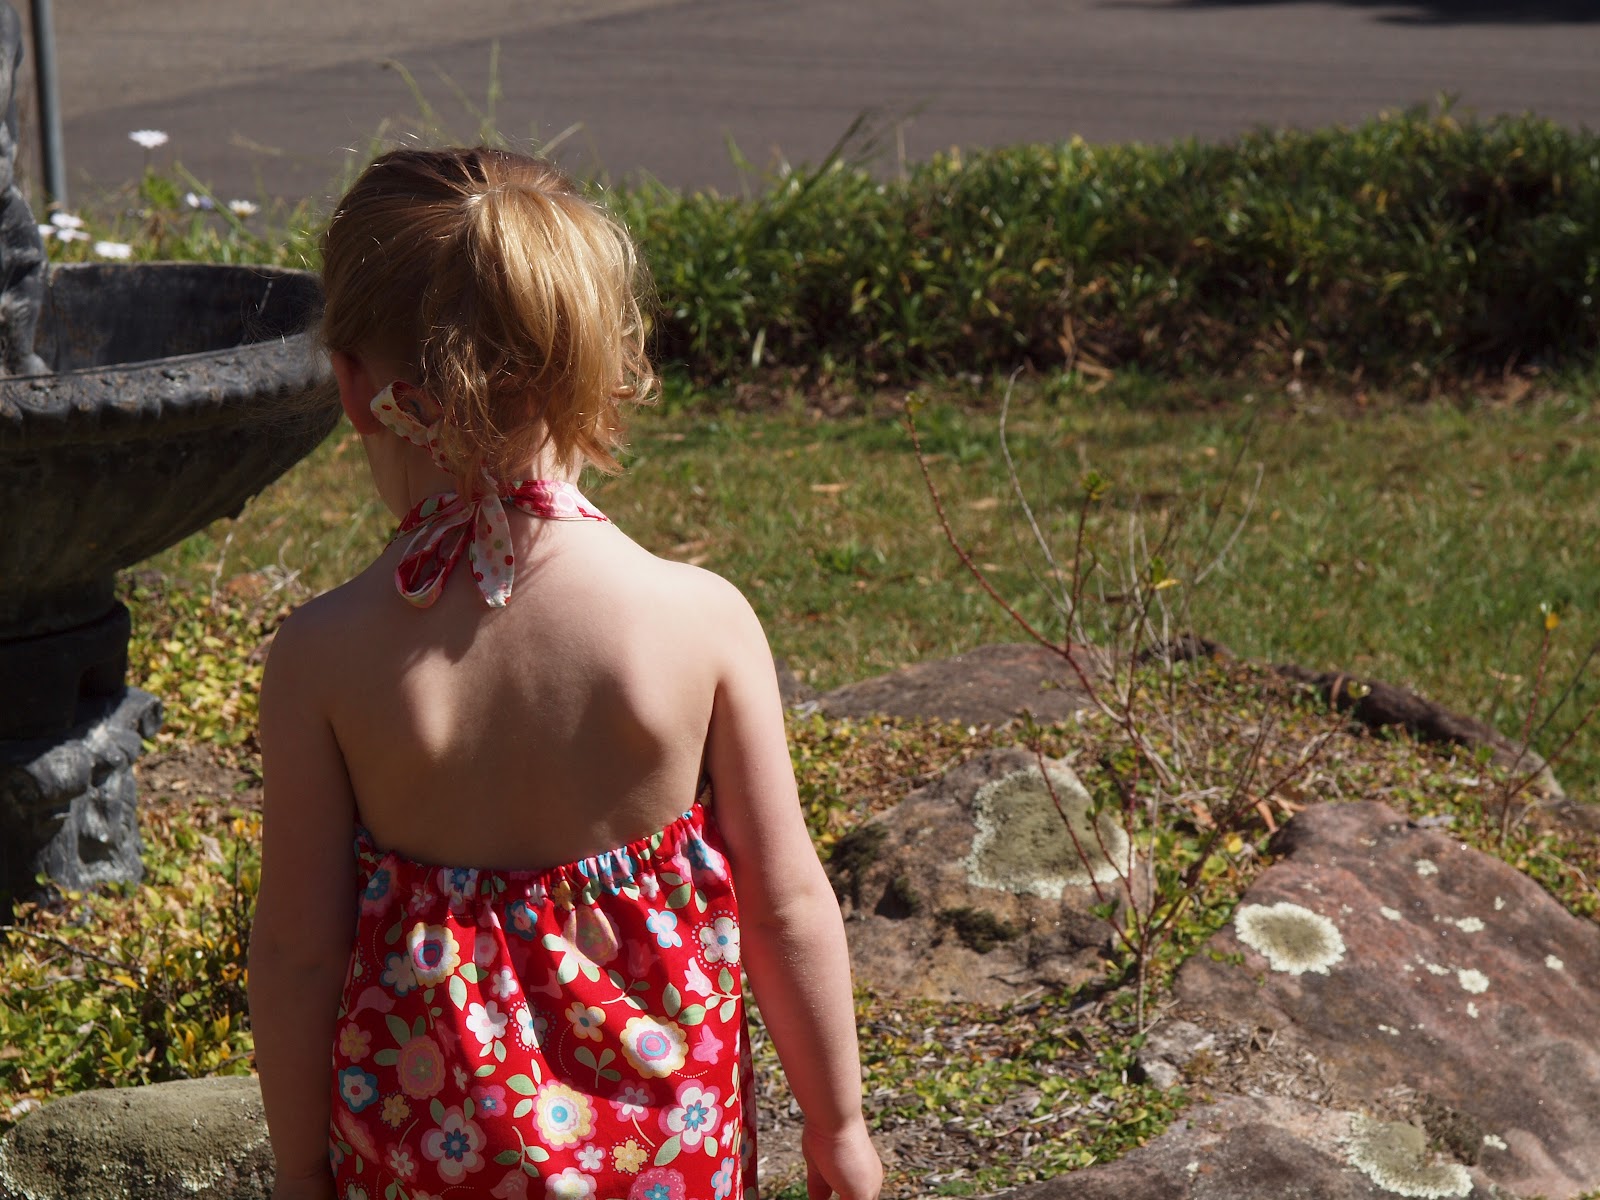
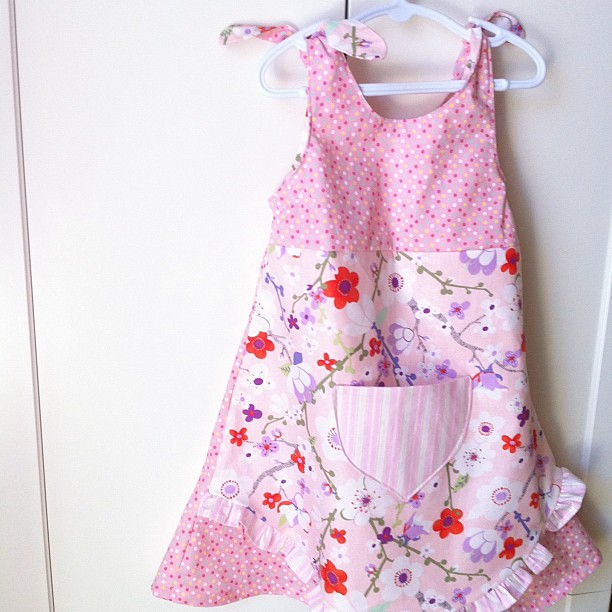
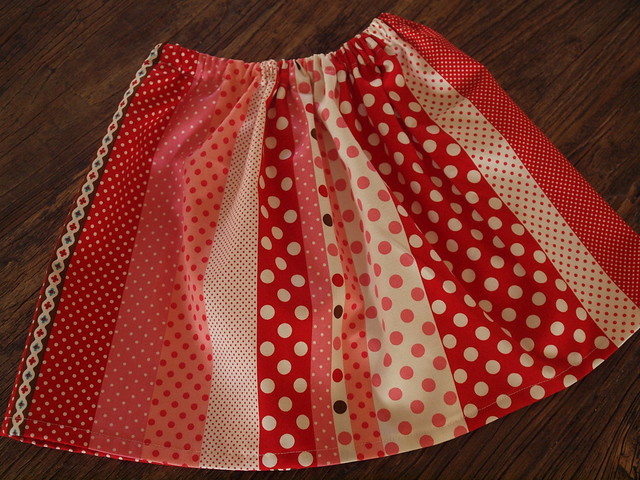
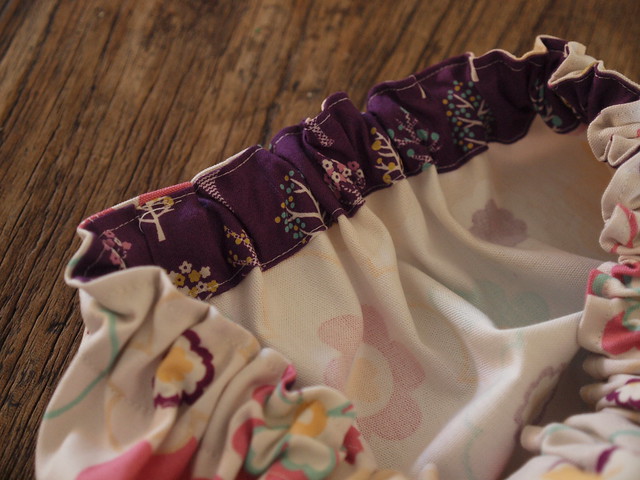
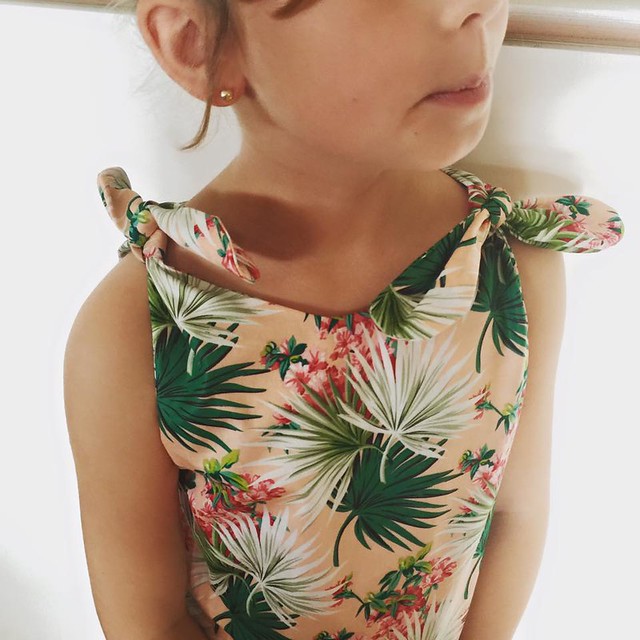
I’ve done a few simple projects – facewashers, some handtowels, a cute dress for my big girl (still to be hemmed), iPad bag for speech therapy and I’ve got lots more planned.

I’ll be back soon with some photos of what I’ve made and some little videos of how I’m going……………

the latest sewing machines from Brother

If you’ve ever asked me what sewing machine I use and recommend then you’ll know it’s a Brother. I started with an Innovis 600, then upgraded to the QC1000 which I’m still using and loving and also have a Brother overlocker. So after all of those years of being a happy customer I couldn’t say no to an invite to their head office to see their latest machines! And they didn’t disappoint. I had a lovely morning and didn’t want to leave except I had a babysitter at home.

There are 5 new machines in total and I have my favourite!

IMG_3896

My favourite machine is of course the most expensive of the new machines, no surprise there. Its the Brother NQ3500D which you can use for sewing, quilting and embroidery and is the Disney model which comes with Disney embroidery built in. It also has a USB port so you can find other embroidery images and upload them to your machine. So wonderful to use the internet to search for what you want. I also loved the LED lighting under the arm so it lights up your work surface. My machine doesn’t have this and it’s got a nice big work surface  with 8.3 inches from needle to arm which is great for working larger quilts with your machine.

Now I have to confess that I think of machine embroidery and I think of towels and t-shirts and that’s about it. I’ve been tempted to get the embroidery features before when looking for a machine but then wondered how much would I use it. But now that I’ve spent the morning with the new machines and seen how easy they are to use I’m already in overdrive thinking about all the great things we could make for our school craft stall and for the kids. And how I can get my hands on one. There are 4 different sized hoops that you can put on the machine and you can size up the embroidery you want to do so that you can make tiny embroidery motifs or larger ones. And best of all you get it started and then can do other things while it does its business. I like that one as I’m a serious multi-tasker.

There are a variety of embroidery threads you can use but if you use the Brother embroidery threads (I didn’t even know there was such a thing) your machine tells you which number threads you need for a particular motif and you just select them. You can also find these at Spotlight (I have to confess I haven’t seen them).

The NQ3500D has similar features to my own machine in that it comes with feet for free motion and you can also use the extension table for your larger projects or free motion. I also love automatic tension, needle threader, thread cutter and there is a new feature on all of the machines on display including the NQ3500D and that’s the lock stitch. This was a new one for me and is this circle button on the machine which ties off your stitches at the beginning and end of your project. I’d love this for my free motion and when I’m doing font on my machine.

If you’re after just an embroidery machine then the new Innovis NV800E is the latest embroidery only machine from Brother and you can read more about it here. This is a great option if you want to add a machine just for embroidery especially if you already love the machine you are using.

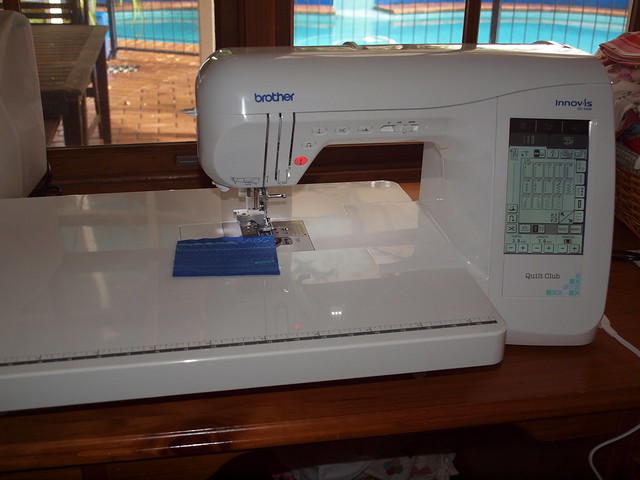
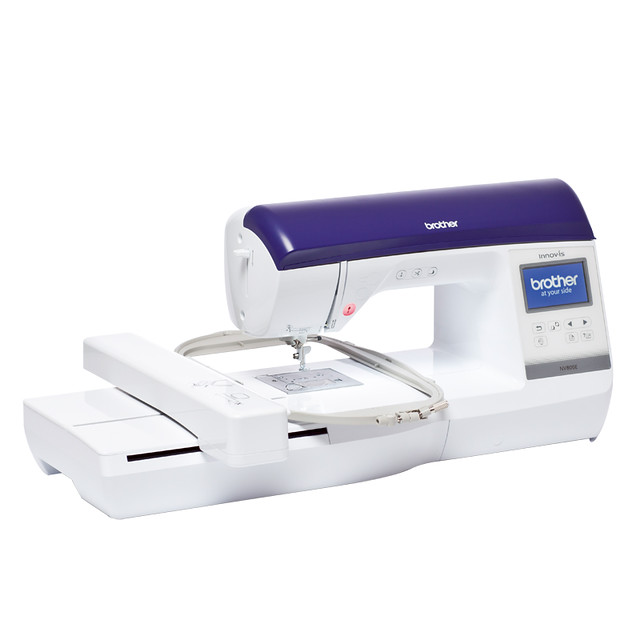
But if you’re not after the embroidery functions then you’ll love some of the new sewing and quilting machines in the Innovis range – NV1100, NV1300 and NV1800Q which you can read about here. The NV1800Q really caught my eye and is a more compact quilting machine than mine but has a lot of the same features as well as some new ones that I don’t have – like the LED light over the work surface and the lock stitch. And I have to tell you that I quilted my very first single bed quilt on a Brother Innovis 600 over 4 years ago. They are a great range of machines and have the features you need for free motion like the ability to lower feed dogs, free motion feet, extension tables (don’t come with all models)


Some interesting and fun facts I learnt on the day

The NS range still represents the great entry level machines that I recommend for readers and friends. The NS10 has been replaced by the NS15 (RRP $499) and offers great little features that really make sewing enjoyable like needle threader and thread cutter. Trust me on that one.

The top of the line Brother sewing machine has a DVD function so you can play DVDs while you are sewing. Apparently this is for you to watch tutorials, my mind was thinking you could have a home entertainment system in your sewing room! Sewing for a market or friends takes on a whole new life when you can be watching movies or your favourite shows on your machine!!!!

The Brother ScanNCut which is a super popular product (I’m always seeing it come up in my facebook feed) can even be used for fondant by cake decorators. There you go.

So there you have it! You can find out more about the range of Brother machines here and when you click on each particular machine you can read the product brochure too which is a great help when you are trying to do your research. Follow Brother on Facebook and Instagram and if you have a Brother be sure to tag your creations with @brotheraustralia #brotherinspires. I was so inspired after my morning that I came home and finished some craft stall sewing with my little miss on my lap.

Any questions just ask! Choosing a sewing machine can be daunting even if you’re an experienced sewer……..


sewing machine envy – Brother Dreamweaver

If you’ve been reading here for a while then you know I love my sewing machine – a Brother QC1000. And if you’ve ever emailed me before you know what machines I recommend – Brother. For  a few reasons. My very first sewing machine was a little Bernette which I bought new while I was at uni for $299! Saved up my cash to get it as I was doing a sewing course and it was a great little machine except the lower bobbin would get a bit messy as it had a bobbin case. It was heavy but a good sturdy basic machine.

Once I started sewing a bit after Keira was born my mum lent me her Janome Memorycraft……………………………from the 80’s. All brown and beige but top of the line back then with a few fonts and embroidery stitches. She was the original retro mummy and always making most of our own clothes, flower girl dresses, swimmers and more. Did your mum sew? I think a lot of crafters do craft because they grew up with it. Anyway she loved that machine and I loved it too EXCEPT when I had to take it to a class. It was really really heavy………….like stop a couple of times as you walk to class heavy!

So I did my research and bought a Brother Innovis NV600. I was attracted to it by all of the features it had – auto tension, needle threader, cuts threads, extension table and feet for quilting. It was a great machine. I did 2 single bed quilts on it and the nice little features made it a dream to use. After I’d done a few quilts I wanted something a bit more industrial and faster for my free motion as I’m pedal to the metal and would love to go a bit faster while I’m quilting. I was doing some work for Notebook magazine and we were trained by the lovely Brother state rep on the NS range.

Now they are  great machines and actually the ones I recommend to people looking for a machine to start out or a mid range. Lots of good features, great price, easy to get parts here in Australia, reliable and really good technology because they come from Japan. Anyway I was telling her I was looking at the PQ-1500 which is a semi-industrial machine and she told me I needed to be looking at the Brother QC-1000. Which I did. Picked it up 2nd hand from John Watts (who does the quilting frames) and saved myself $1500. Of course I tell retro daddy machines cost about $500. Some things are best kept to yourself.

OK so fast forward 2 1/2 years and I’m still always looking for a new machine, a bit faster and I’d love a bit more room to fit quilts under. The Janome Horizon has been out a while and tempts me with that big throat space (the space to the right of your needle). But I’m a Brother girl and was a bit nervous about teething problems with the Horizon. But I’ve read good things about it so far.

Anyway cut a long story short and I was doing some pinning on pinterest on Saturday (as you do) when I saw that Brother have released a brand new machine for sewing and quilting – Brother Dreamweaver VQ3000 (you have to love the hand movement at 45 seconds!!!). Ohhhhh I’m in love. All that space to fit quilts under (11 1/4 inches just smidging ahead of the Horizon), lots of features that I already love on my Brother like touch screen, auto tension, needle threader etc. I also quite like the laser light to help you sew in a straight line (nice for quilting lines). It doesn’t come cheap so I have my eye on it but will wait for prices to come down a little (or a lot).

I’d love to know what sewing machine you are using and why you like it!! Or what are you dreaming of?

easter sewing

Today I managed some sewing. It seems like such a long time between sewing sessions. There are just so many other things to do that when I finally get a minute to myself I just want to collapse on the couch with my knitting or to read a book. I’m reading the most wonderful book at the moment, The Life Giving Home by Sally Clarkson and I’m stuck between stretching it out so I can really enjoy it and also really wanting to just sit and read it cover to cover. It’s just such a lovely read and I promise to do a full review when I’m done.

But today I had a bit of sewing to create a project on my sewing machine for Brother. Fabrics and batting from the stash (always a surprise how many lovely fabrics you’ll find in there) and ribbons from Spotlight. Still not sure taking all 6 little people to Spotlight was a wise move since my big girls have discovered the kids craft section but they were told nothing over $5 and managed to pick something each. Also my tear away stabiliser for machine embroidery was 40% off and such a huge discount. If you machine embroider then you’ll know that the supplies don’t come cheap so I grabbed a whole roll which should keep me going.

Anyway I look forward to sharing this project later in the week and it was a great excuse to cut into some Heather Bailey. One of my first fabric loves.


school holiday sewing and McCalls M5835

Yesterday was the first official day of the holidays! Woo hoo! We baked some scrolls, relaxed at home (made easier because one little person had a fever and was throwing up so we weren’t going anywhere), got through some laundry, braved the outside after finding a red belly black snake out there on sunday and I got some sewing done at the rare moment that my 3 littlest ones were sleeping.

I picked up this pattern on eBay a year or so ago because I love a flutter sleeve and ruffle. And this has a double ruffle at the bottom of the dress…..even better. The fabric is from my stash and was purchased at a closing down sale. It’s called Town & Country and is by Lewis & Irene. Apparently the range came out in 2014. A little tip when you are buying fabric from a range is to buy 2 from the same range because often you need a contrasting fabric or a ruffle or want to use leftovers of the fabric for another project.

I cut out the dress on Sunday and put the main dress part together. On Monday I took some time to put it all together. Oh boy the bodice was killing me. I got the exterior of the dress is all sorted but once it came to the lining it didn’t work out and I had some excess fabric on each side. I’ve done older style patterns with bodices and lining before and I was desperately trying to remember how my sewing teacher taught me to put them together. This morning (After I had spent an hour on the bodice and finished the dress) I did some research online and found there is even a blog post for the pattern to help you with the bodice. Just read here.

Anyway the dress is just gorgeous. The double ruffle down the bottom gives the dress some weight and it was worth all the fussing around with the bodice. I have a little girl who only wears dresses and skirts so I’m going to make the bodice (the new way) and whip up another one. I always find the 2nd time around is much faster. I definitely give this pattern a thumbs up but only if you follow the instructions for the bodice from the link above or your own method and not the pattern. Another bonus was no button hole, just sew on a cute button and make a loop from thread.

I’ve been absolutely loving my new machine, it’s sewing beautifully. I whipped up a drawstring bag, some personalised facewashers and another pencil roll on the weekend for a birthday party and they were a hit. And a huge hit at home because apparently today I’m making drawstring bags for everyone with their name on. I never realised how much fun you can have with embroidering and I think every birthday party will have the present sorted. Growing up I had one of those names where you NEVER got anything personalised!

If you’re on school holidays then enjoy! I unplugged the foxtel before 10am yesterday and it’s out of action for the rest of the holidays. So far so good…………

your sewing doesn’t have to be fancy

One of the great things about having a sewing machine and fabric is that you can make something so simple and easy – a cushion cover or an easy skirt – and it doesn’t have to cost you very much money or take much of your time.

My little miss just loves dresses and skirts and with the colder weather we were running out of some options. Half a yard of fabric that I picked up on etsy a few years ago, sew a side seam, hem it, do an easy waistband casing, thread in the elastic and put it on my girl. Done and dusted in 20 minutes. Here are some instructions I wrote recently. She wore it yesterday afternoon and off to preschool today and is the happiest little girl ever. I also did a little brown polka dot cord skirt at the same time but she’s loving the butterflies. And just a note I’ve used my regular cream thread on this skirt but if I was making something fancier or a dress with more effort then I would match my thread. I always keep colour 111 from gutterman in my machine as a general all purpose thread. And don’t even ask me about changing overlocker threads, I never do that.

So start simple, don’t overplan it or get complicated patterns with zippers and buttons, just do something simple and you’ll be on your way. And if you get stuck there is always youtube.

I will say that buying 100% cotton fabrics will make your handmade clothes last longer and go the distance compared to poly/cotton. Check out the quilting section of your fabric store and especially the discount bolts. If you are after a licensed fabric or particular fabric that your child loves (butterflies, princesses etc) and are struggling to find it locally then I google it first and see if any aussie online stores have it, then I hit etsy or ebay (aussie and US) and put in what I’m after. That’s your best option and same applies if you’re looking for something older.

there has been sewing…tissue covers

My sewing machine has been gathering some serious dust! Just not enough time to get in there especially with an 8 month old who crawls everywhere and puts EVERYTHING and I really mean everything in his mouth at the moment. But church needed some handmade items and I took that as a great excuse to get on my machine for a few hours. I’ve shared a tissue cover post last year and you just can’t beat it for a quick and satisfying project that you can do in bulk for a market stall, fair or for presents.

This time I used this tutorial which made them a bit bigger but really worked nicely. I raided the stash and made them up before realising I needed green because not everyone loves red, white, blue and pink.

If you like to watch a video then watch this one here which is great and I shared last year when I was whipping up some of these babies for the mothers day stall.

My top tip is make up one or two and if you are happy with the size and instructions then sew the first side seams on all of the fabrics, take them to the iron and press all together then do the other ends and pop your tissue packs in. Now if you are doing a really big production line and have set yourself an ambitious target then I skipped the pressing the seams for quite a few and just did the good old finger press.

I did see mention of slitting the plastic tissue pack down the centre but I had plastic peeping out so I decide to remove the tissues. You could just put the tissue pack in unopen and leave it up to the person receiving it. Up to you.

Anyway, this was one afternoon and one night in my craft room. I had a few helpers who couldn’t get to sleep put the tissues in and I really need to get them sewing soon so they can help. I put them by the front door late last night and then as we were rushing out the door remembered I didn’t photograph them. Ducked into dining room, took a few photos, then out the door to church. Definitely give these a go as they are a great beginner project or fast project for any level of sewer. There are also loads more tutorials if you pop ’tissue cover’ into your search in pinterest or youtube.


a spot of sewing

Yes there has been some sewing. First up I’ve been doing some re-covering of cushions for the library. I said yes to the job and then almost had a heart attack when I actually saw some of the cushions and realised they were couch cushions. I was thinking easy job  then realised I might need zippers and side panels and put the job off until the end of the holidays. And then I turned to my old friend, Pinterest, and found this fabulous tutorial. It is so easy and straightforward and if you want removeable covers just work how how you want to close them. I did velcro and was really happy with them. Here are most of the cushions as we took them in 2 trips. The chevron fabric is from Spotlight and hoping you might know where the owl fabric came from as that was given to me by the library.

OK so with all of those cushions off my to do list I could do a quick quilt top for some charity quilts I want to make this year. I’m hoping to organise a day in march for us to get together and make baby and kids quilts for charity. I used almost 2 charm square packs of Moxi a new range into my store here which I had been hanging out for and definitely my favourite colour palette.

this is straight off the machine and hopefully won’t sit on the back of my sewing chair for the next few months waiting for me to quilt it.

and that sewing has all taken place with breaks for snacks, nappy changes, a baby waking up, overlocker rethreading and more. But it’s great to be at the machine. Hope you’ve enjoyed some craft time while the kids have been off school too……..or maybe you’re looking forward to them all going back and getting a bit more time to yourself. I know that’s been in short supply around here.

looking back on 2012 – the sewing and quilting

I’m not just a knitter. I’m so lucky to have a more expensive hobby like quilting up my sleeve. Quilting is so addictive but it’s not the cheapest of crafts. I was recently trying to explain the costs in putting a quilt together – the fabrics for the top, fabric for the backing and then batting. You go through lots of thread and once you get addicted to new sewing machines and having bigger and better……….well you have yourself an expensive hobby. But gosh I love making quilts for my house and to give away as presents. They are so special.  Unfortunately 2012 was not the year of the quilt!

appliquing the little ones on

I didn’t really get many quilts out this year. Oops! I started well and then it was all downhill after that. I finished this one on the 2nd January………………………this was just 196 squares that I cut using my Go Baby and joined together. I love it because it’s girly without being too pink and girly. It goes beautifully in the twins room now as finn has blue and red. Blogged here.

she loves it

And then while I was on a roll in January I put my Grandmothers Flower Garden together. It took me forever to do the hexagons but  I just took my time with it. These hexagons were all hand pieced, machine appliqued to white squares and all the squares were joined together before the smaller flowers were appliqued on. For machine applique I am a huge fan of the blanket stitch. I think getting a machine with blanket stitch is one of the best things you can do. It looks like a comb on your machine and just makes applique look beautiful. I’m often asked if I’ve done it by hand. Um that would be a no. I blogged this quilt top here.

one of my favourites

holding it up the wrong way around

And the finished quilt should look something like this……..I’m actually holding the quilt on it’s side in the pic above. Took me a while to work that one out but you get the picture.

working towards

I also made these quilt blocks – but they are now in a pile in my sewing room. Love the excitement of a new project then I get busy…..

Making Baby's First Quilt

And the only other quilt I made start to finish was for Keira’s teacher. Oh dear, 2012 was definitely NOT year of the quilt, was it? I love the colours in this quilt and everything about it. So does keira’s teacher. Hope keira loves her new teacher for 2013 because I’ll probably do it all over again!

And although my quilting output was down, there was some sewing to share! Emerson got 2 pairs of quick change trousers made for him. Blogged here. Love this pattern, if you can get your hands on it these are well worth making. They last a while in terms of sizing, are fun to make and look at and are so lovely to wear. Well I’ll take the little babies word on that one

There were also pj’s for little people…..this fabric was a cute find up at Spotlight and I loved making these up. Blogged here. My guys still love these pj’s but we tend to mix it up and often keira is wearing someone else’s.

3 pairs pj pants

all in a row

And then I made more pj’s! These really are easy, I find it hard to buy pyjama sets when it’s so easy to whip up a pair of pants for your little ones. I blogged these here and used the great pattern from the Make it Perfect book. What I tend to do is make a size 4 or 5 for the twins and then add a bit of extra length when I’m cutting them out and sew them for keira. Saves lots of time and you’d never know as pj pants are meant to be roomy. I must make myself a pair soon.

sewing

When the weather got warmer I did a couple of dresses……………..this was the first one. I wasn’t too impressed with the instructions but it turned out to be a cute little dress that Tillie adored. Blogged here.

And I made a dress for elodie that turned out huge so that went to tillie. I love this japanese fabric so much. It’s simple and pretty and this is another of tillie’s favourite dresses. Blogged here.

Elodie has a new dress! There were lots of breaks to feed Emerson, make lunch, change nappies, keep elodie entertained!

And by this stage keira was insisting that the next dress was for her. And I obliged with this cute little number from a modkid pattern. This really is a pretty dress. Although I made a boo boo with my overlocker it all turned out fine in the end and is one of keira’s favourite dresses. I blogged it here.

Ta da!

Oh and I almost forgot, one of my favourite things to sew when I’m rushed for time but dying to use new fabric – quick skirts. Love these. Blogged here. Just a rectangle, sew a side seam, hem it, make a waistband, thread some elastic in and you are done! Blogged here and here.

quick outfit

dusted off the machine

love this little waistband

And that’s that. I can’t beat myself up too much about the lack of sewing and quilting because I had a baby but I’m definitely hoping to get lots more sewing time next year with the twins at preschool for 3 days and my two babies loving their big afternoon naps. Well that’s the plan anyway.